15
4. Operating procedure
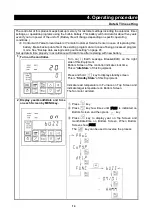
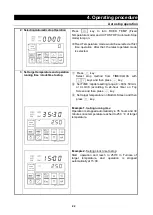
Date & Time setting
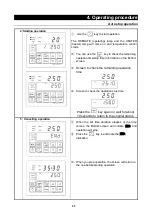
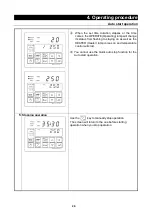
3 Set up year and month/date.
Set up year/month/date and clock time.
①
Flash CLOCK lamp. Year and month/date are
displayed on Top and Bottom Screen respectively.
②
Press
key.
③
Set calendar year with
keys and then press
key.
④
Set month/date with
keys and then press
key.
※
Press
key to shift setting position.
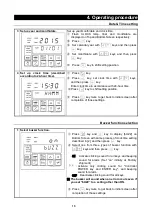
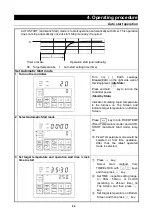
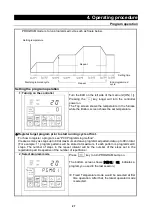
4 Set up clock time (described
according to 24-hour time).
①
Press
key.
②
Press
key, set clock time with
keys,
and then press
key.
Enter clock time in accordance with 24-hour time.
※
Press
key to shift setting position.
③
Press
key twice to get back to initial screen after
completion of those settings.
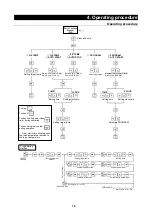
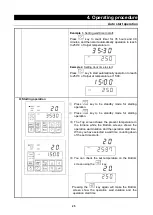
Buzzer function selection
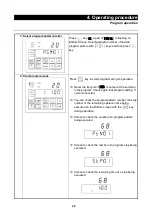
1 Select buzzer function.
①
Press
key and
key to display [bUZZ] on
Bottom Screen with same process of clock time setting
described in [2], and then press
key.
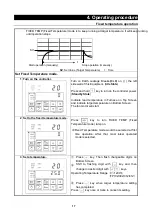
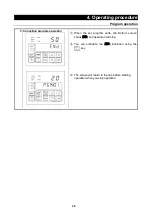
②
Select one from three types of buzzer function with
keys and then press
key.
ON
: Activate clicking sound for all keys and beeping
sound for alarm. (Set “on” initially at Factory
shipment)
: Activate only clicking sound for "Controller
POWER key and ENTER key", and beeping
sound for alarm.
OFF
: Deactivate clicking sound for all keys.
※
The buzzer will sound when an error occurs even if
you set “bUZZ” to a setting other than ON.
③
Press
key twice to get back to initial screen after
completion of those settings.
Summary of Contents for FP102
Page 67: ...64 12 Wiring diagram FP102 Wiring diagram Dotted line means optional parts ...
Page 68: ...65 12 Wiring diagram FP302 Wiring diagram Dotted line means optional parts ...
Page 69: ...66 12 Wiring diagram FP312 Wiring diagram Dotted line means optional parts ...
Page 70: ...67 12 Wiring diagram FP412 Wiring diagram Dotted line means optional parts ...

