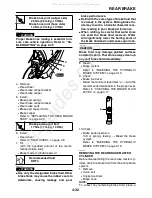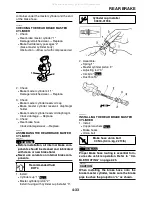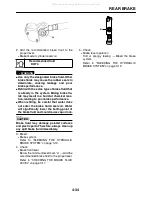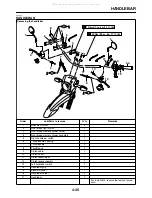
FRONT FORK
4-46
EAS23050
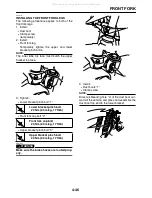
INSTALLING THE FRONT FORK LEGS
The following procedure applies to both of the
front fork legs.
1. Install:
●
Dust boot
●
Clamp screw
(temporarily)
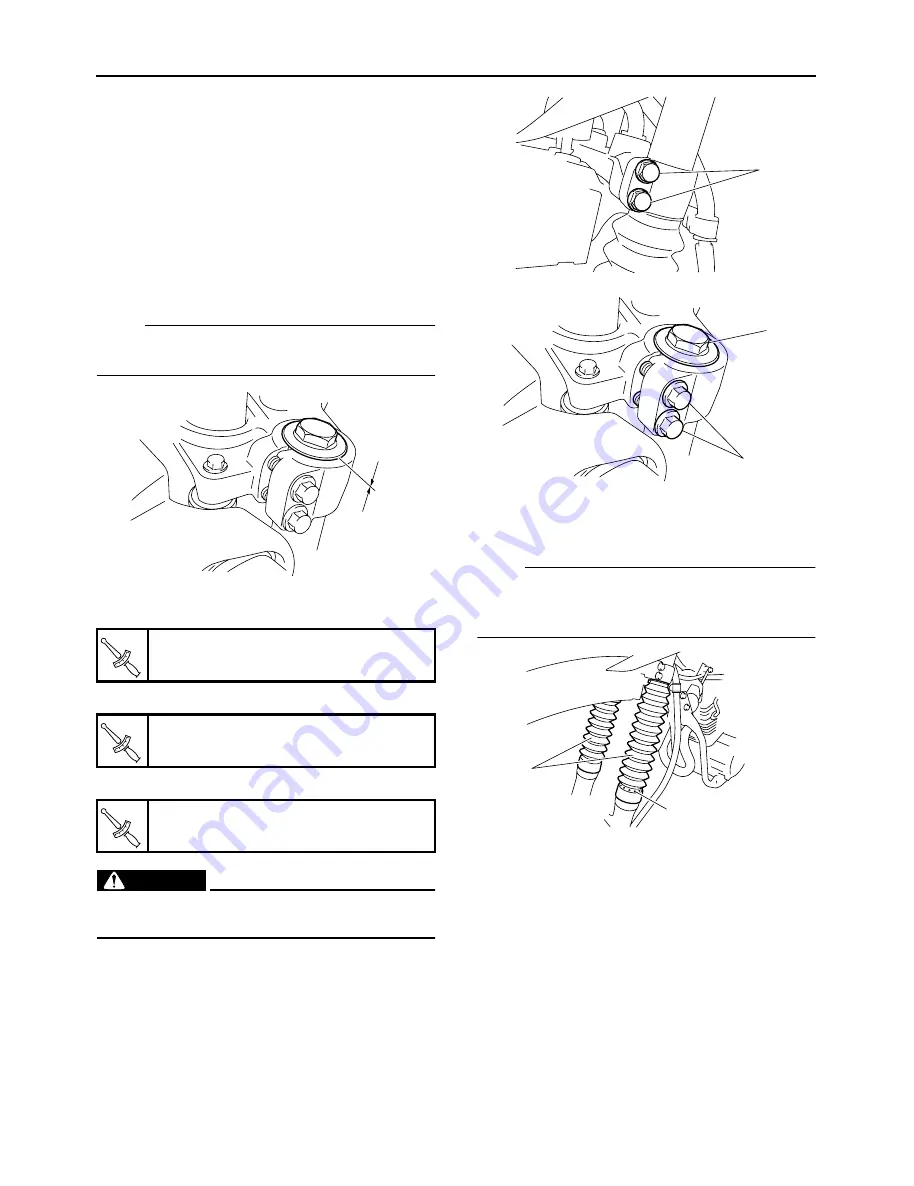
2. Install:
●
Front fork leg
Temporarily tighten the upper and lower
bracket pinch bolts.
NOTE:
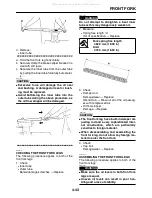
The inner tube top face must match the upper
bracket top face.
3. Tighten:
●
Lower bracket pinch bolt “1”
●
Front fork cap bolt “2”
●
Upper bracket pinch bolt “3”
WARNING
EWA13680
Make sure the brake hoses are routed prop-
erly.
4. Install:
●
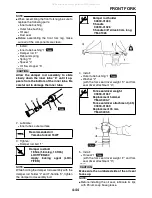
Dust boots “1”
●
Clamp screw
NOTE:
Direct air-bleeding hole “a” of the dust boot out-
ward of the vehicle, and press and assemble the
dust boot top end to the lower bracket.
Lower bracket pinch bolt
23 Nm (2.3 m•kg, 17 ft•lb)
Front fork cap bolt
23 Nm (2.3 m•kg, 17 ft•lb)
Upper bracket pinch bolt
23 Nm (2.3 m•kg, 17 ft•lb)
T
R
.
.
T
R
.
.
T
R
.
.
1
3
2
a
1
All manuals and user guides at all-guides.com
Summary of Contents for XT250X 2008
Page 2: ...All manuals and user guides at all guides com...
Page 8: ...All manuals and user guides at all guides com...
Page 54: ...CABLE ROUTING 2 35 All manuals and user guides at all guides com...
Page 82: ...ELECTRICAL SYSTEM 3 27 a b All manuals and user guides at all guides com...
Page 170: ...VALVES AND VALVE SPRINGS 5 24 All manuals and user guides at all guides com...
Page 224: ...AIR INDUCTION SYSTEM 6 13 All manuals and user guides at all guides com...
Page 239: ...CHARGING SYSTEM 7 14 All manuals and user guides at all guides com...
Page 243: ...LIGHTING SYSTEM 7 18 All manuals and user guides at all guides com...
Page 249: ...SIGNALING SYSTEM 7 24 All manuals and user guides at all guides com...
Page 253: ...CARBURETOR HEATING SYSTEM 7 28 All manuals and user guides at all guides com...
Page 279: ...All manuals and user guides at all guides com...

