54
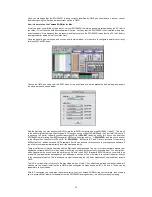
Remember that panning inside XGEDIT and also panning in the DSP Factory Input console window will be important
to the stereo placement and volume level of your individual outputs. Now that you have the basics, it may be a good
time to experiment with your software of choice. Many of the applications that support the DS2416 come with
comprehensive user manuals that cover this function. So remember to read them thoroughly.
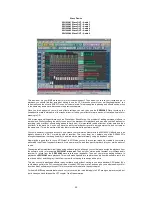
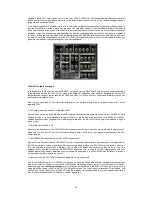
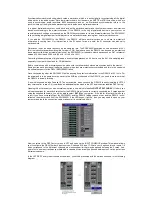
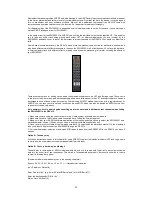
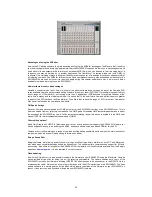
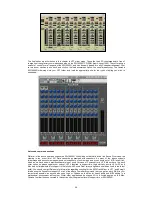
For the audio side of the SW1000XG to be passed over to individual outputs on the SI connector you need to open
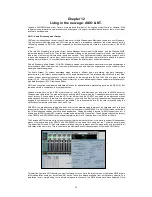
up the XGEDIT analogue mixer for SW1000XG.
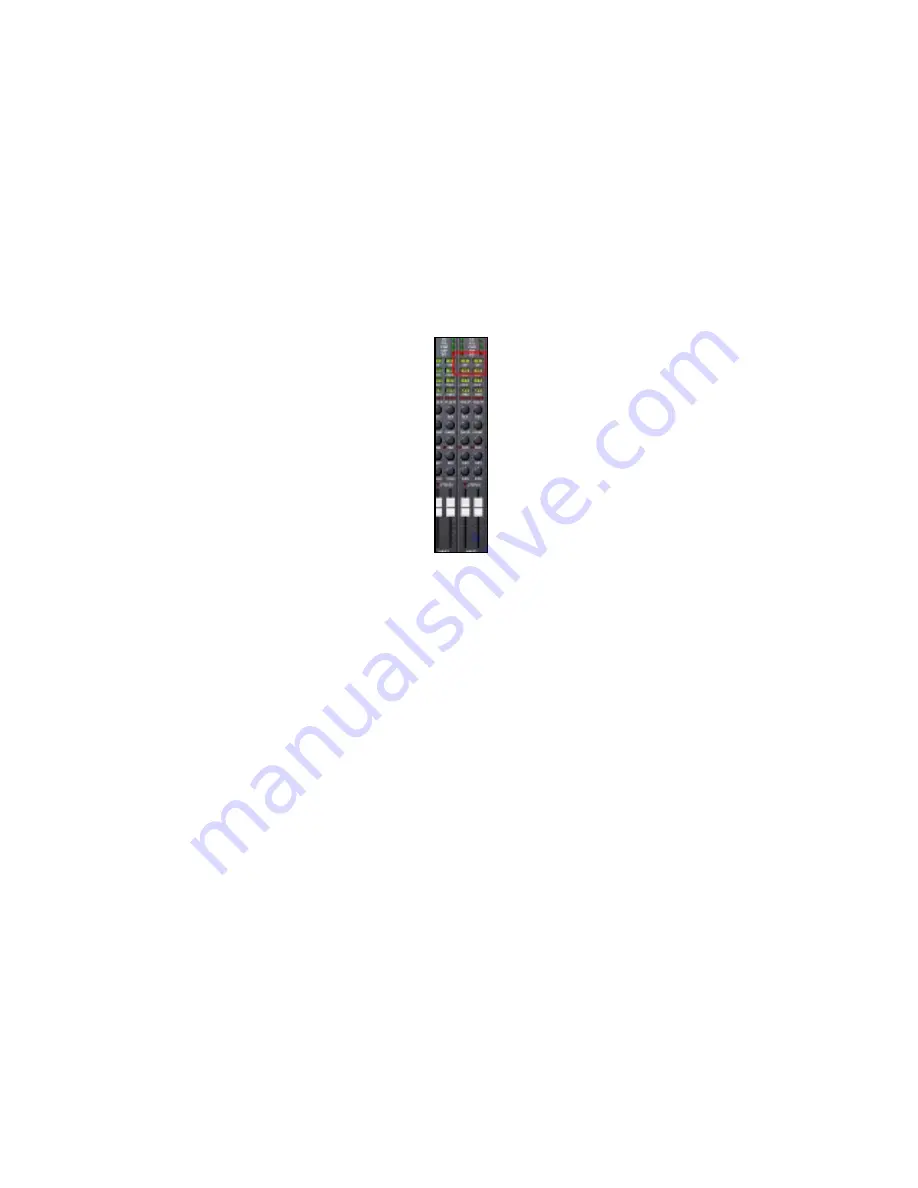
In the audio mixer for the SW1000XG in XGEDIT you will find the individual output option labelled OP. This enables
you to take any audio track being played back under VST (or whatever application you are running) by the
SW1000XG, and pass it over to any of the 8 discreet sub input channels of the DS2416. Why would you want to do
this?
As we have discussed previously, the DS2416 has a more comprehensive eq section for each audio channel, and
also has a different set of effect processors to those on the SW1000XG via 2 effect busses. You may wish therefore,
to treat your audio track with different effects, or apply some dynamics processing to it, whilst not using the effects of
your SW1000XG.
There are other options for setting up the audio linkup inside software such as VST and Emagic Logic. These come
in the form of the mixer maps, and environment pages we have talked about in the VST and Logic chapters. Yamaha
encourage the use of these maps, but you may find that using XGEDIT makes it easier, as with a registered copy of
XGEDIT you can save your mix set-ups, for both audio and MIDI, which can then be pasted as MIDI files into your
sequencer of choice very easily.
So in summary, here is a quick guide to setting up inter-connect and individual output channels when linking
the SW1000XG to the DS2416.
1: Make sure you are using the correct drivers for the 2-card system, available from our website
2: Make sure you have the SI linkup cable connected firmly linking the 2 cards together
3: Make sure that your DS2416 software application of choice supports the option to select the SW1000XG as a
wordclock master source, if it does not, you need to ask your software supplier why not?
4: Once you are in your software of choice, make sure that SI is selected as the wordclock master. If it is not selected
then you will not be able to hear the SW1000XG through the DS2416
5: For individual output selection of audio and MIDI parts to pass from the SW1000XG to the DS2416 you have 2
options
Option A: The easy way
Follow the instructions earlier in this chapter for using XGEDIT to select the individual outputs (VST and Logic users
can also use the mixer maps/environment pages to perform this task)
Option B: The very hard way (no kidding!)
The hard way to route audio or MIDI to individual outputs, and mix is to manually type it all in as system exclusive
data into the event list of your sequencer. This option is for desperate people only, but should you wish to torture
yourself in this way, here goes!
(Remember what we said about sysex in the opening chapters!)
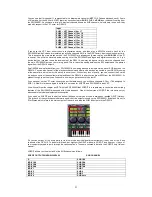
Sysex = F0, 43, 10, 4C, 0A, nn, 10, xx, F7 ------ Hexadecimal indication
(nn = Part #/xx = Output #)
Enter Part # for "nn" (e.g. Enter 00 for MIDIPart#1 and 10 for MIDIPart#17.)
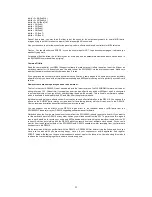
Enter the destination BUS IN for "xx".
Stereo Out = 00 (Sub1+2)

