47
desk. To get around this, Yamaha provided a free software tool for Windows users that will, if placed in the Start
Items folder of a PC, switch the default level back to LINE on start-up. This tool is free to download from our
Xgfactory website. Another way to get around the line level setting is to create a MIDI file in XGWorks that resets the
card to line level using the XGEditor for both AD1 & AD2 (left and right audio input channels), and then running this
MIDI file before you begin any work. The problem here lies with the fact that most MIDI files designed for XG begin
with a
RESET XG
command, so caution must be maintained when recording audio from a mixer with MIDI in an XG
file otherwise you could end up damaging something!
For people who do not have the line tool, or who use a Macintosh, the sysex string to set the AD Parts to line level is
quite a simple one. If you remember to include it after every XG RESET command in your sequencer event list, you
won’t go far wrong.
It is as follows:
F0 43 10 4C 10 00 00 01 F7 – For AD1
F0 43 10 4C 10 01 00 01 F7 – For AD2
Insert these 2 lines into your sequencer event list with a suitable gap between them, and all should be well.
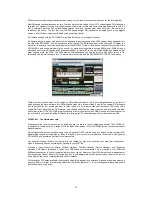
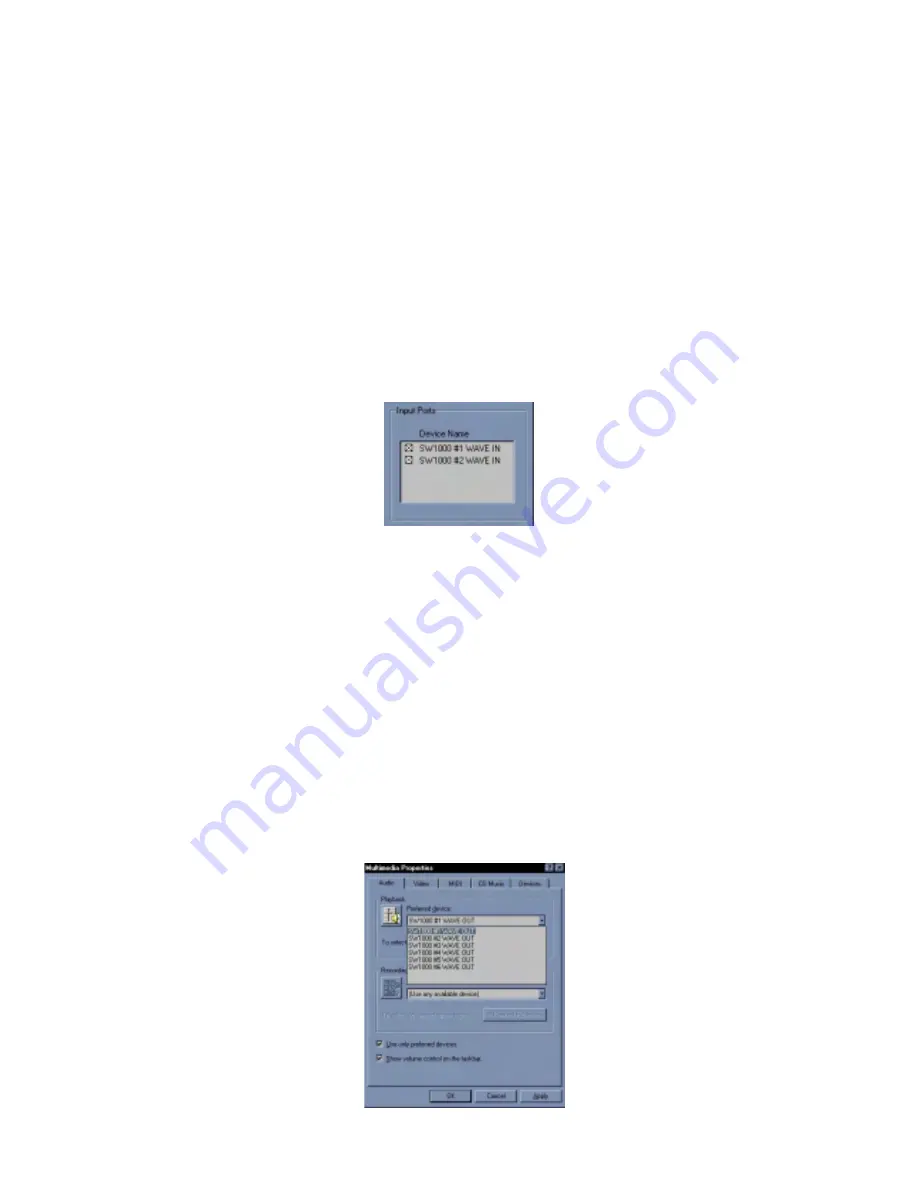
The SW1000XG has 2 methods of recording audio. When you open up your music software of choice, you will see
that although it has only 1 physical connector socket on the back, it actually has 2 record options. These are
So we have SW1000#1 wave in and SW1000#2 wave in, what is the difference?
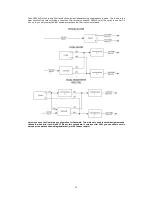
As we know the SW1000XG has a wealth of effects processing on board, these effects can be applied to the
analogue inputs in real-time allowing you to hear the effects as you record your audio. With SW1000#1 wave in, you
can monitor the effects whilst you are recording your audio, but the signal that is eventually recorded to your hard
drive as a wave file (or AIF/SD2 on the Mac) will be dry. Why would you want this? Well as any studio engineer will
tell you, committing your effects at the pre mix stage can be a bad idea. It is always better to be able to experiment
with the effects during mixdown, as this gives you more flexibility with your final sound. It also means that you can
chop and change effects at will without ever having to worry that the original audio track is being effected. Once you
have set your playback channels for your audio in your sequencer, you can use applications such as XGEdit to add
effects like Reverb, Chorus, and the other few hundred SW1000XG onboard effects at will, and all of this will never
affect the amount of CPU power your computer uses. Try doing that with Active Movie or VST effects!
We stated earlier that the SW1000XG in reality only has 4 physical outputs, 2 analogue and 1 stereo digital which all
carry the same data. This would be limiting if it were not for the fact that as far as Windows or Macintosh audio
software is concerned, the SW1000XG actually has a total of 6 discreet stereo outputs. Thus giving a total of 12
output channels, through which, as many audio tracks as your heart desires can be played. How does this work?
The SW1000XG driver cleverly tricks your Windows software into thinking that it is in fact 6 discreet (but locked
perfectly in sync) audio cards. This is by virtue of the ‘multiple wave driver model’ implemented on the card. Once the
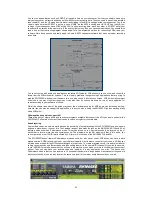
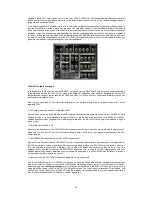
driver for SW1000XG is correctly installed, your PC will show up a total of 6 audio devices in your Windows
Multimedia control panel, and hence also in any Windows Audio software.
This is shown below.

