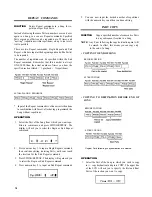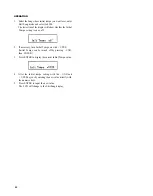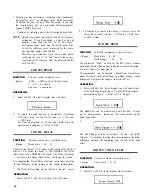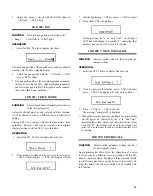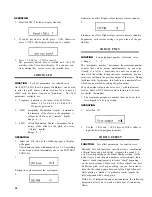
that key will then sound the same, since they are
“overstepping” the minimum/maximum Edit Voice value.
If this happens, you may want to alter the respective Edit
Voice parameter value.
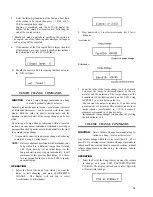
1: PITCH Step - 2 0 0 ~ + 2 0 0 cents (in 10-cent steps),
i.e. up to +/- 1 whole tone.
Setting positive values, e.g. +100 (= 1 semitone), creates
a scale of notes that get higher towards the right, like
on a piano. Negative values like - 200 (= 1 whole tone)
cause the notes to become lower towards Instrument
key L (opposite of a normal keyboard).
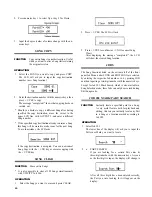
2: LEVEL Step -10 ~ +10
Positive step values make upper Instrument keys sound
louder towards the right, while negative step values lower
the volume in that direction.
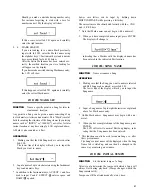
3: PAN Step -5 ~ +5
The further the Instrument key pressed is located towards
the right, the more the pan position of the sound is moved
towards the right channel (positive step values) or to-
wards the left channel (negative step values).
4: DECAY Step -10 ~ +10
Positive step values make the Multi Voice decay shorter
towards Instrument key L, while negative ones cause
longer decay in that direction.
* Individual settings for all four parameters can be used
simultaneously. Note, however, that you will no longer
be able to check the Step value on the display once you
switch parameters with the numeric keys. (After switching,
the step is always displayed as “0”, regardless of the actual
setting.)
* Once you have made Multi Step settings and exited from
this Job, further alterations of these values must be made
by accessing this Job #04 directly and NOT by first se-
lecting Job #03, Multi Voice. Doing so would erase all
current Multi Step settings.
* Parameter Assign can be used instead of or in addition
to Multi Step to alter the parameter values individually
for each Instrument key.
As an example, this allows you to create any kind of
personal “keyboard” with the keys A through L, for in-
stance representing a major or minor scale.
JOB #05: ACCENT LEVEL
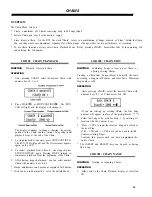
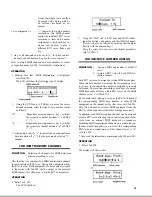
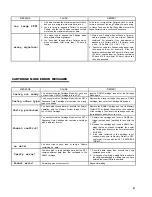
2. Select the voice whose Accent you wish to program with
its Instrument key.
(All current Accent levels can be checked by pressing
various Instrument keys in succession.)
3. To switch between Accent 1 and 2, press the corre-
sponding ACCENT button.
4. Input the Accent value with the - 1/NO and + 1/YES
keys or the DATA slider.
* The Accent values are again offsets which are added to
or subtracted from the Edit Voice level. Though their
theoretical range is from -63 to +63, Accents are also
limited by the maximum/minimum voice level value. If a
voice's level is already set to, say, 60 (i.e. 3 below the
maximum level setting of 63), all Accent 2 values over 3
(i.e. from +3 to +63) give the same effect, namely of
raising that voice's level to 63 when the ACCENT 2 is
pressed.
JOB #06: FOOT SWITCH ASSIGN
FUNCTION
Assigns the function of any front panel key
to a connected foot switch.
Applications for this function are entirely up to your imag-
ination. You could assign the voice of a specific Instrument
key, for instance the Bass Drum of key A, and “play” the
BD with an optional foot switch. Or you could use the foot
switch to add Accents, or assign it to + 1/YES to shift up a
variety of settings, for example selecting the next Pattern to
be played, etc., etc..
Default setting is START/STOP, with which a connected foot
switch functions as a combination of the START and
STOP/CONTINUE keys.
OPERATION
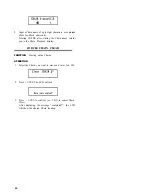
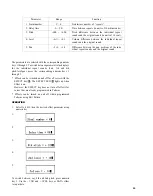
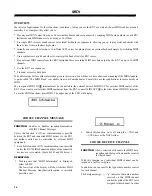
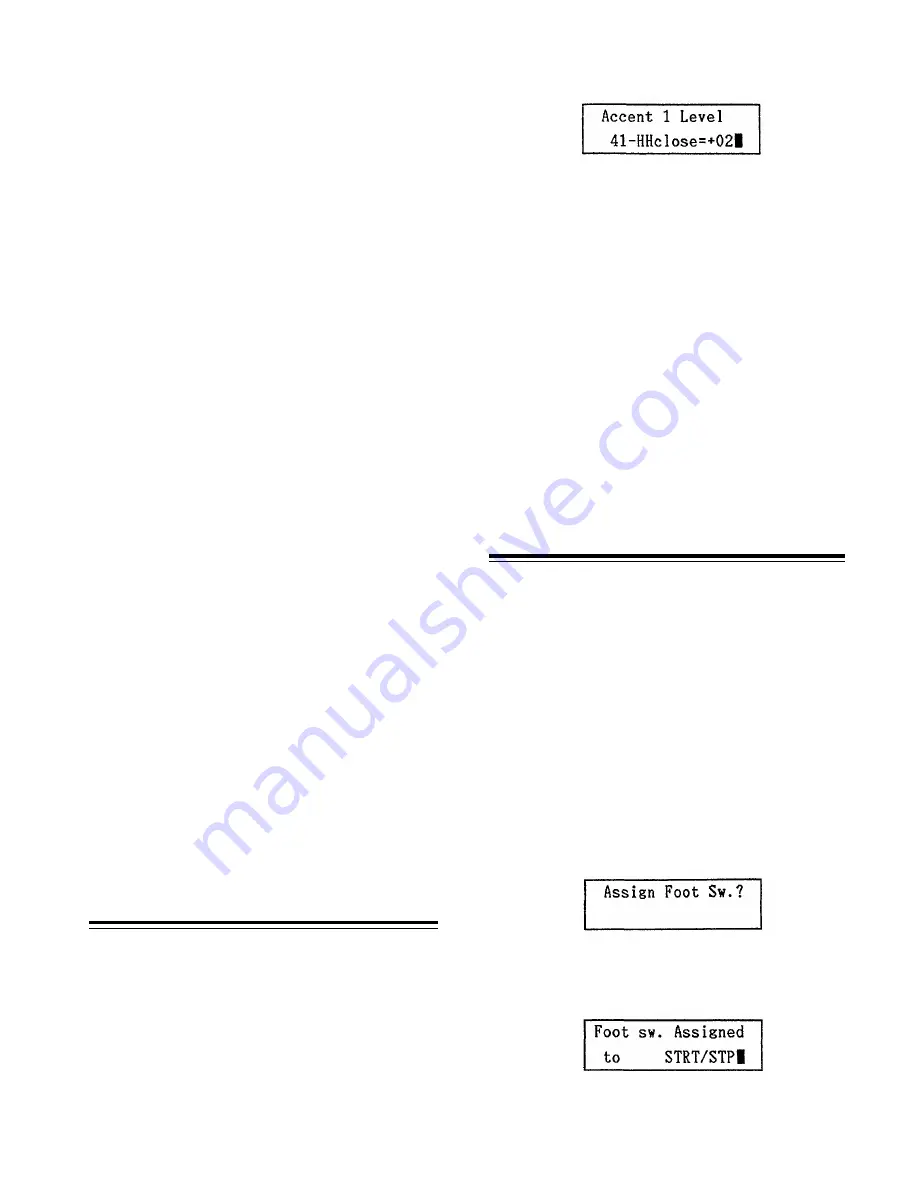
1. Select Job #06. The display will ask
FUNCTION
Programming the volume changes achieved
with ACCENT 1/2 for individual voices.
The green keys ACCENT 1 and ACCENT 2 are generally
used to accentuate voices on certain beats by raising their level
to a degree that can be programmed with this function.
Negative values can also be set for interesting effects.
OPERATION
1. Select Job #05.
32
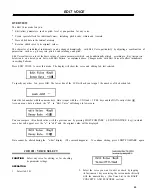
2. Press + 1/YES.
The display will show the function currently assigned
to the foot switch.
3. Tap any key on the front panel whose function you would
like to assign to the foot switch.

