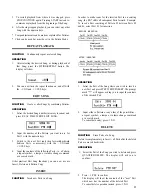
The ideal Quantize rate for Real Time Write will depend on
your ability to keep precise time. If you are very confident
of your sense of rhythm, you might want to keep Quantize
OFF all the time. On the other hand, Quantize will allow
greater precision if you are not such a sharp “drummer” yet.
A concrete example for Real Time Write Quantize is given
in the Real Time Write chapter below.
n
n
STEP WRITE
In the Step Write mode, Quantize determines the “step
length”, that is to say the length of notes or rests being input.
Since Quantize settings are an integral part of the Step Write
process, they are explained together with other Step Write
operations.
OPERATION
Quantize can be set/adjusted before or during
Pattern writing.
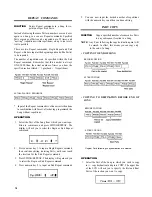
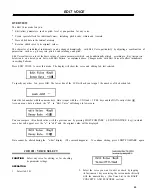
1. Press QUANTIZE/DELETE to display
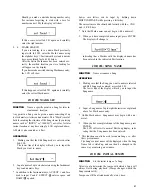
Quantize rate
Quantize= 1/16
Swing off
(See SWING chapter)
2. The Quantize rate is set with the numeric keys, similar
to setting Click: The fractions on these keys indicate the
respective Quantize rate, which covers the range from
1/2 to 1/48. Pressing numeric key 9/OFF turns Quantize
off.
3. As with Tempo and Click, Quantize can be set at any
time, and it is necessary to revert to a previous function
after Quantize rate adjustment by pressing the corre-
sponding key.
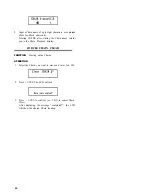
Real Write PTN00
06 / 8 :bar04
REAL TIME WRITE
FUNCTION
Create, overdub or alter a Pattern by playing
the voices live (in real time).
To create a new Pattern from scratch, you must first specify
the time signature and length of the Pattern in bars.
This is not possible with existing Patterns you want to overdub
or change, since their time signature and length are already
fixed. (However, you can append Patterns to each other using
COPY, thus creating longer ones.)
*
You can exit from Real Time Write mode any time by
pressing STOP/CONTINUE.
OPERATION
n
n
TIME SIGNATURE AND PATTERN LENGTH
1 . Making sure the PTN LED is lit and the Pattern location
you wish to write to is selected, press REAL TIME
10
WRITE. If the location is empty, the following display
will appear:
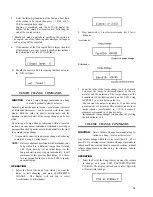
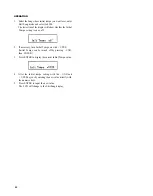
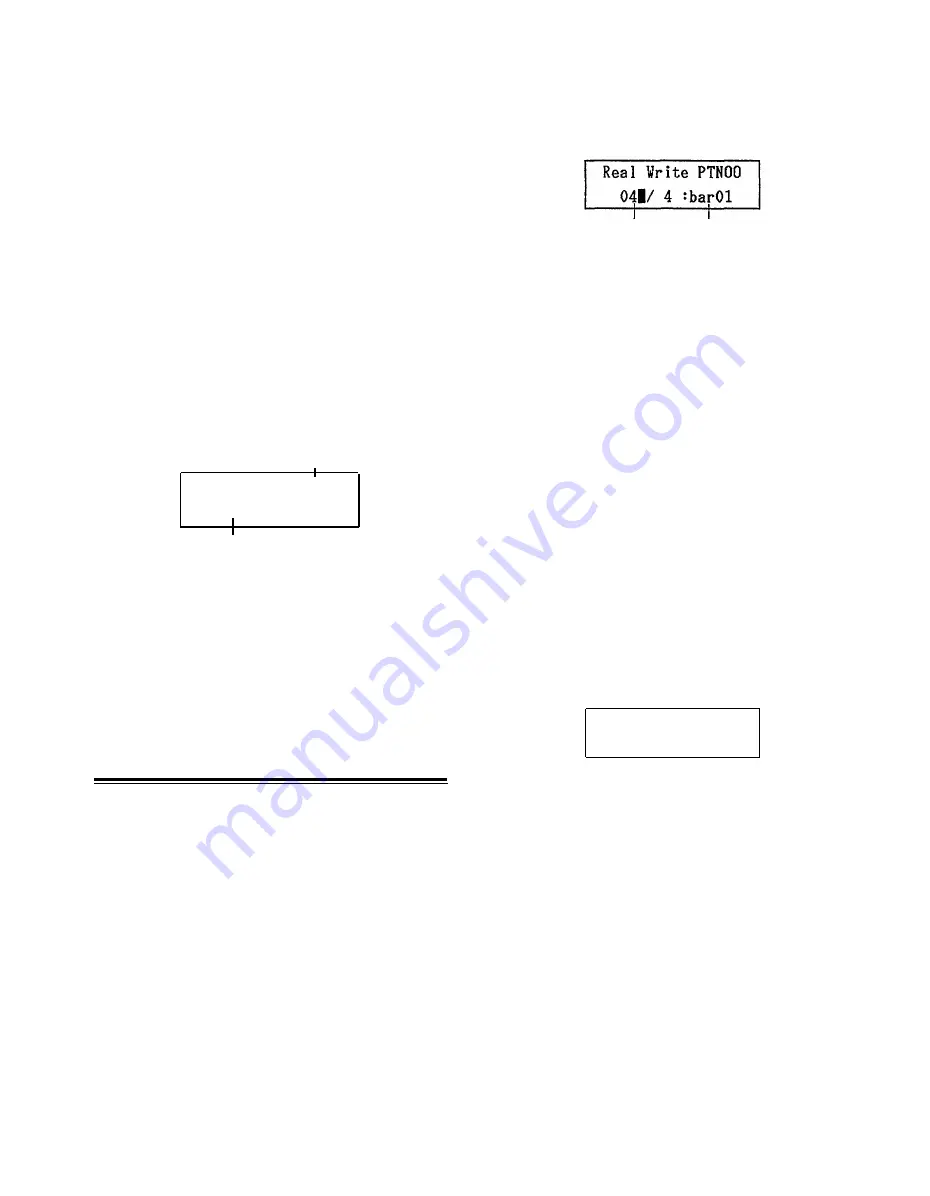
Time signature Pattern length
This shows the “default” setting: time signature = 4/4,
pattern length = 1 bar. The cursor indicates that you
can change these values as required.
NOTE:
Should the LCD show the message “Memory
Protected”, you must first turn off the Memory
Protect function with UTILITY JOB #03.
*
If an existing Pattern was selected, the cursor will not
appear, and you can start to write over (overdub) or alter
the Pattern immediately by pressing START.
2.
Should you not want to use the default setting of common
time and one-bar length, set the time signature numerator
by entering a two-digit number (ex: 3 --> 03) in the range
from 01 to 99.
3.
To set the denominator, move the cursor to the right
using ACCENT 2 and enter a value with the numeric
keys. The fractions from 1/2 to 1/32 printed on the keys
are valid. (1/48 can NOT be used.)
4. Finally, input Pattern length by again moving the cursor
to the right and entering a two-digit number in the range
from 01 to 99.
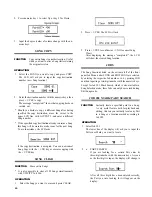
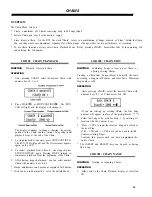
Example: Time signature 6/8, Pattern length 4 bars
*
These settings are not memorized until you actually record
(write) sounds. You can therefore alter them, moving the
cursor with ACCENT 2, until you have input the first
note.
n
n
WRITING A PATTERN
•
Writing with the Instrument Keys
Assuming that Quantize (see example further below), time
signature and Pattern length have been set accordingly,
1. Press START.
The RUN LED will light up, and you will hear the
metronome Click guide. If the Pattern is longer than
one bar, the LCD will indicate the current bar number
as the RX7 cycles through the Pattern.
2. Adjust Tempo and Click if necessary. Once you get the
feeling for the tempo and beat, you can begin writing
any time (usually on the first beat of the first bar).


