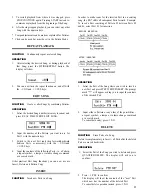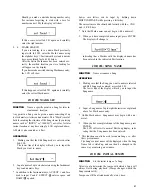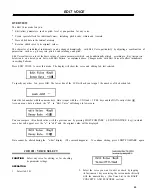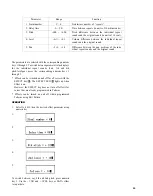
3. Enter the Pattern you want to append the selected Pattern
to, using the numeric keys.
* The cursor can be moved between the lower and upper
display lines with ACCENT 2.
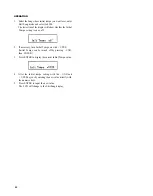
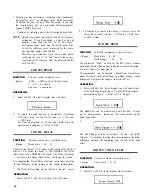
4. Press ENTER (START).
The message "completed!" will be displayed.
EDIT PATTERN
FUNCTION
To check Pattern contents and/or alter the
pitch, level, decay and pan parameters of each
note.
One of the most versatile and creative functions of the RX7,
Edit Pattern lets you step through a Pattern note by note,
altering parameter settings and turning Effect on or off for
each individual note as you go. You can check/change the
notes of all instruments, or just of a selected single instrument.
Subtle alterations in the parameter settings can add "human"
nuances for uncanny realism, making RX7 Patterns practi-
cally indistinguishable from live drum sounds. Besides, Edit
Pattern can be used e.g. for effects such as fade-out (by
gradually decreasing levels) or automatic stereo panning (by
altering pan settings of successive notes).
* The parameter adjustments made in the Edit Pattern mode
affect individual NOTES of a specific Pattern ONLY, and
not the corresponding VOICE as a whole.
The basic parameter settings are all determined by Edit
Voice. Therefore, Edit Pattern settings are always dis-
played as RELATIVE values (offsets, indicated by + or
-). These displayed values are relative to the basic Edit
Voice values. Alterations made with Edit Voice therefore
affect all Edit Pattern settings for that instrument equally.
OPERATION
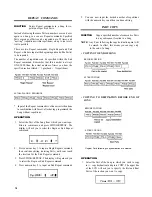
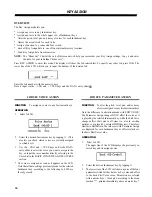
1. Select the Pattern you wish to edit, then press EDIT
PATTERN.
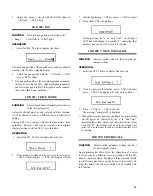
2. Press START.
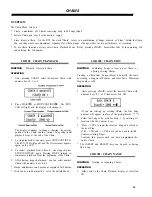
(You can always revert to All Instruments mode by pressing
EDIT PATTERN). The display will change to
* Should the display show "—" as the parameter value, this
indicates that the selected voice is not used in this Pattern.
* "dmp" displayed as parameter value means that the cor-
responding Instrument key was pressed during Real Time
Write while DAMP was on. No sound will be heard for
this note.
* If you want to select an instrument currently not played
by the Instrument keys, assign it using KEY ASSIGN Job
#01.
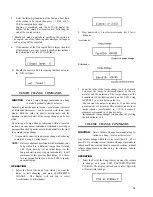
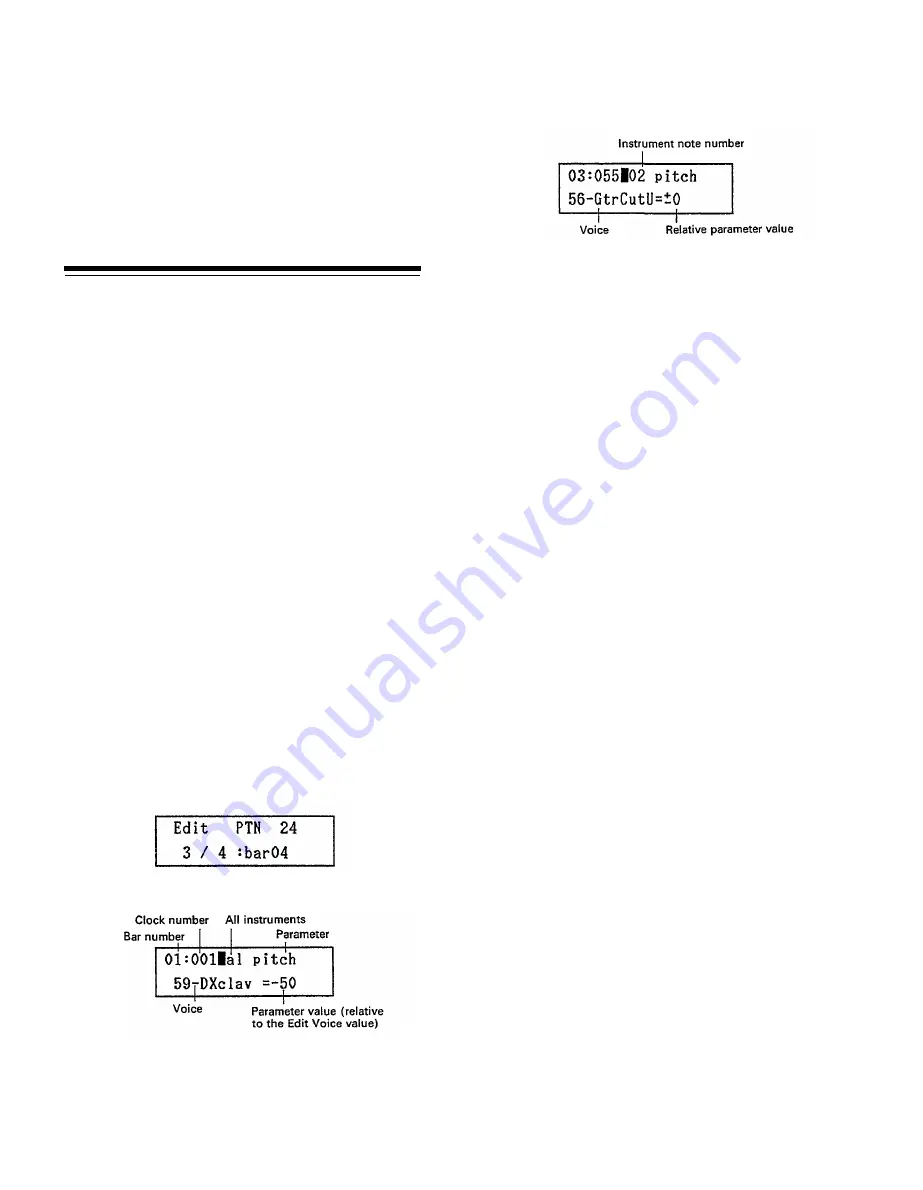
* The clock number indicates on which l/96th beat the note
sounds (1/96 being the the highest Quantize rate).
* The instrument note number shows which note within the
voice's part (first, second, third,...) is currently displayed.
Pressing the + 1/YES key to shift to the next note sounds
the note that was displayed.
Press - 1/NO to step backwards through the Pattern.
3. Use the numeric keys as follows to select the parameter
you want to check or edit.
1: pitch 2: level 3: pan
4: decay 5: effect (on/off only)
* For an explanation of "decay" and "effect", see the cor-
responding chapters in the Edit Voice section.
4. You have two options concerning how to adjust the
displayed parameter:
a) Leaving the cursor where it is (allowing you to switch
between notes with + 1/YES and - 1/NO), you can alter
the value with the DATA slider.
b) You can move the cursor to the lower line by pressing
ACCENT 2 and adjust the value with the + 1/YES and
- 1/NO keys and DATA slider.
(In either case, pressing numeric keys switches between
parameters.)
As soon as a value is altered, it will start to blink.
5. To input the value, press ENTER.
The display will stop blinking, and you can now hear
the alteration when cycling through the Pattern again
(or after backing up with - 1/NO).
6. To exit Edit Pattern any time, press STOP/CONTINUE.
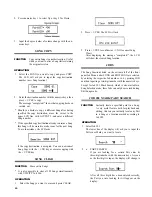
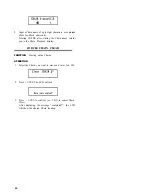
The above display shows the All Instruments mode, in which
you can step through all notes in the Pattern using + 1/YES.
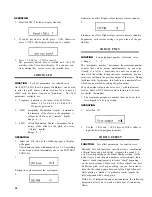
Single Instrument mode lets you limit display to notes of a
certain voice, which is selected by tapping its Instrument key.
15


