37
◆
◆
◆
◆
◆
◆
◆
◆
◆
◆
◆
◆
◆
◆
◆
◆
◆
◆
◆
◆
◆
◆
◆
◆
◆
◆
◆
◆
◆
◆
◆
◆
◆
◆
◆
◆
◆
◆
◆
◆
◆
HINT — Using Fingering
You can play the full chords yourself (in the Fingered Zone at lower part of the keyboard)
by turning Fingering to on. Or turn Fingering off and enter the chords by “typing” them in
— as described in the steps below. (For more about the Fingering function and Fingered
Zone, see page 193.)
Recording a Song
GUIDED TOUR
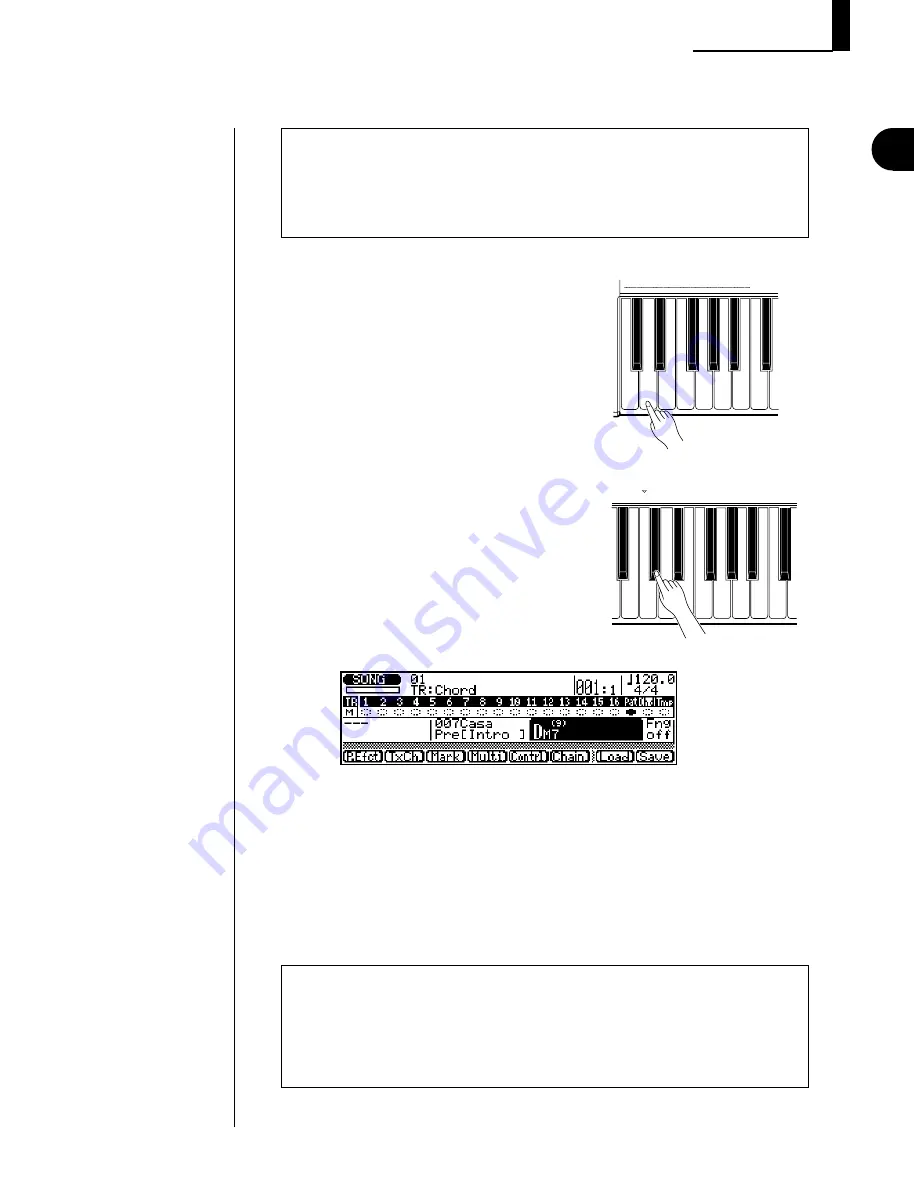
5.
Select the chord type from the key-
board, and press
E
to actually
enter the new chord.
Press the C
#
3 key to select M7
(9)
(major
seventh/ninth).
aug
sus4 Madd9
madd9
7sus4
M7
(9)
6
(9)
7
(9)
m7
(9)
m7
(11)
7
(13)
7
(
b
9)
7
(
b
13)
7
(
b
9)
7
(
#
5)
7
(
#
9)
M
M7
CHORD ROOT
4.
Select the root note for the first chord of
the song.
Press the lowest D key (D1) to select D as
the root note. (The Chord name in the
display flashes.)
6.
Now, press
r
and then
R
to start recording.
Enter chord changes “on the fly,” changing the chord type and/or root note as
the pattern plays back. For this example song, try changing between M7
(9)
and 6 chords (keys: C
#
3 and D2). Also try changing the root note to G and
use 6 and m6 chords for that root (keys: D2 and F
#
2).
HINT
Chord changes normally occur on quarter-note divisions, so try to press the
E
button
to enter each chord either exactly on the beat or just before the beat on which you want the
chord change to occur. Syncopated chord changes can be recorded by entering the chord
an eighth or sixteenth note before the beat. (Syncopated changes can also be pro-
grammed in the Step Record mode; see page 124.)
Summary of Contents for QS300
Page 1: ......
Page 2: ......
Page 3: ......
Page 4: ......
Page 46: ...42 ...
Page 100: ...96 ...
Page 108: ...104 ...
Page 142: ...138 ...
Page 166: ...162 ...
Page 182: ...178 ...
Page 217: ......


