18 / 99
www.xovis.com
As first step, the wizard is asking for the network settings and identification naming. The
sensor can be run with DHCP or a fix IP address. If not using DHCP and the IP settings have
been applied already by using the Xovis Sensor Explorer (see chapter 3.2.3.2), it is
recommended to double check the network settings here. Optionally, a name and group can
be specified for the sensor. By clicking “Next”, the network settings are applied to the
sensor.
If the IP address of the sensor is changed here, the sensor will instantaneously come up
under the new address after pressing “Save”. In that case
the new IP address needs to be
entered in the web browser after saving.
3.2.7.3
Date & Time
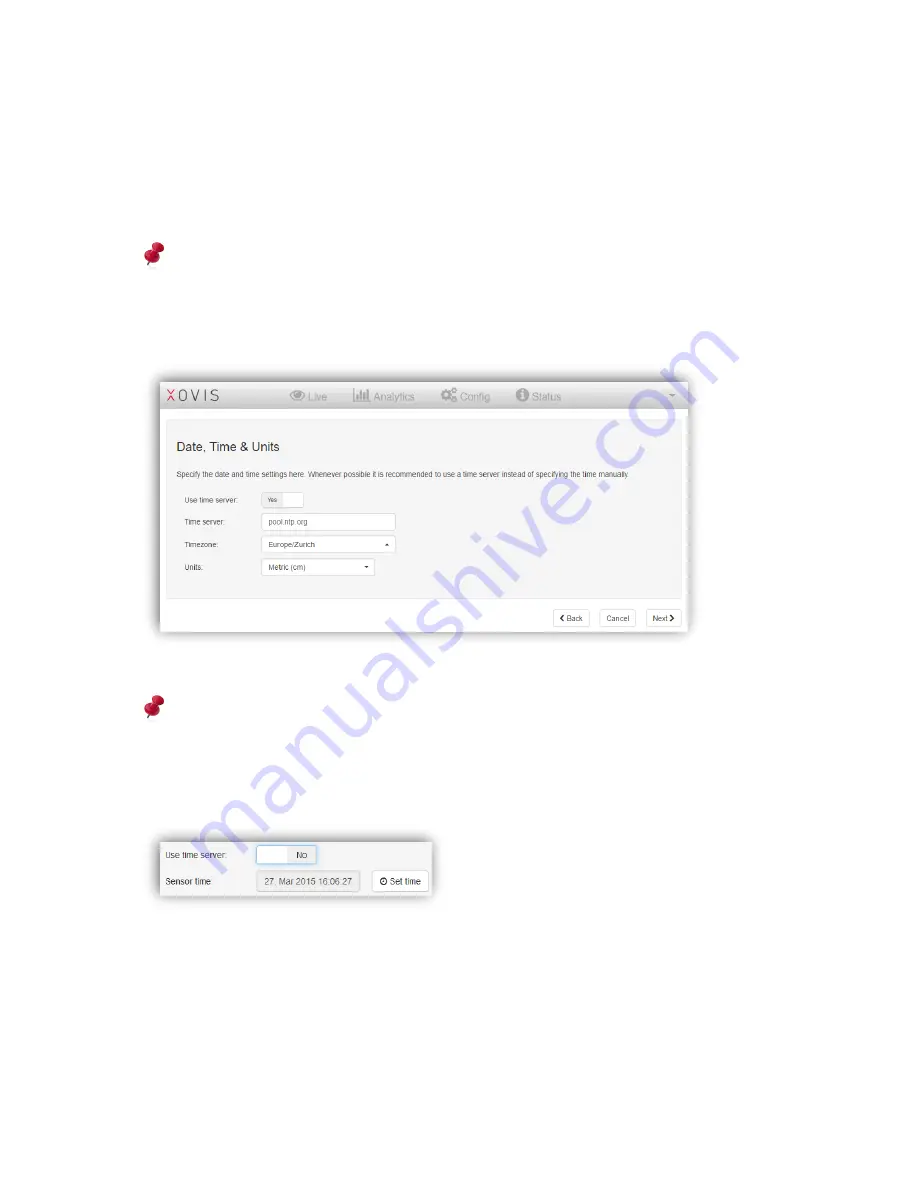
In the next screen the wizard is asking for setting the sensors date, time and units.
Whenever possible it is recommended to use a timeserver, as a correct time can be
crucial for stored counting data statistics.
When not using a time server, the sensor time can be set manually by switching the “Use
time server” toggle to “No” and then clicking on “Set time”:
The time zone dropdown is ordered by continents / geographic regions and cities. The time
zone should be set according to the sensors location.
The “Units” dropdown allows to choose between Metric (cm) and Imperial
(feet/inch) units.
By clicking “Next”, the date and time settings are applied to the sensor.
Summary of Contents for PC Series
Page 1: ...PC Series User manual...


