13 / 99
www.xovis.com
3.2.3.3
Setting a fix IP address to a discovered sensor
The Fix-I
P dialog (see chapter “
3.2.3.2 Installing a sensor in a fix IP environment
”) can also
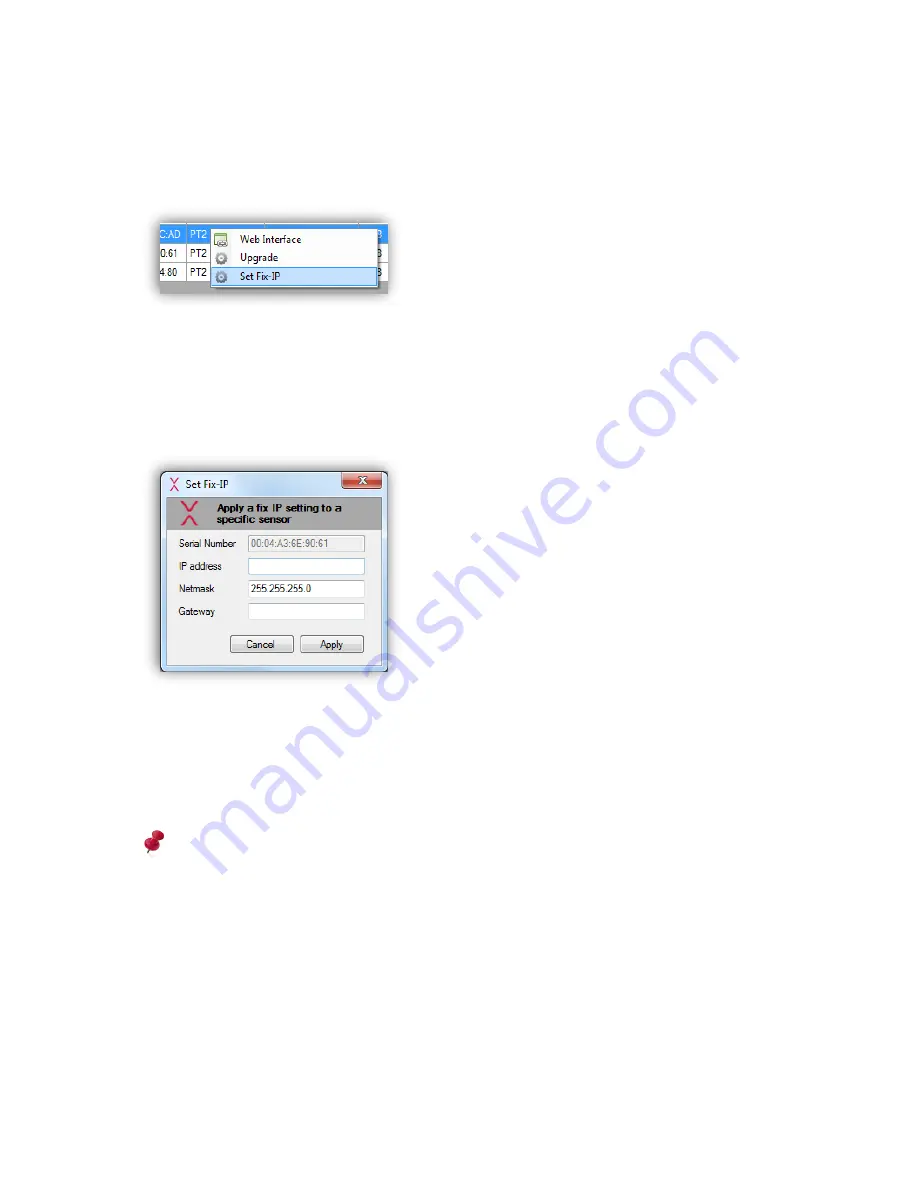
be opened for any sensor already discovered by the Xovis Sensor Explorer by simply right-
clicking on it in the list and choosing “Set Fix
-
IP” in the popping up menu (see
Figure 12).
Figure 12: Set Fix-IP
The same dialog as described in chapter 3.2.3.2 shows up with the single difference that the
serial number field is already filled with the one of the selected sensor. The remaining fields
again request the user to specify the IP address, the subnet mask and the gateway for the
specific sensor:
Figure 13: Set Fix-IP dialog
After applying the IP settings to the sensor by clicking the “Apply” button, the
specified
settings are sent to the sensor and a message informs the user to be patient for 20 seconds.
After this time, the sensor should have come up with the new IP settings and can be found in
the according network and IP range.
After temporarily applying a static IP with this procedure, it is important to permanently
set the fixed IP-address in the web interface afterwards!
3.2.3.4
Upgrading a sensor
A sensors software / firmware can be upgraded by right clicking on a specific sensor in the
list of the Xovis Sensor Explorer and choosing “Upgrade” in the appearing
dropdown menu.
In the appearing file dialog
, an upgrade file of the type “xfw” (file extension) needs to be
selected. After applying a valid upgrade file, the sensor will instantaneously start with the
upgrade procedure which usually takes about 3 minutes. When refreshing the list of sensors
in the network by clicking again on the “Scan” button of the Xovis Sensor Explorer after these
3 minutes, the upgraded sensor will appear with updated software version.
Summary of Contents for PC Series
Page 1: ...PC Series User manual...


