Using SetIP (Phaser 3428/DN only)
10
2
Using SetIP
(Phaser 3428/DN only)
• Installing SetIP
• Using SetIP
Installing SetIP
1
Make sure that the printer is connected to your computer
and powered on.
2
Insert the supplied CD-ROM into your CD-ROM drive.
The CD-ROM should automatically run, and an installation
window appears.
If the installation window does not appear, click
Start
and
then
Run
. Type
X:\Setup.exe
, replacing “
X
” with the
letter which represents your drive and click
OK
.
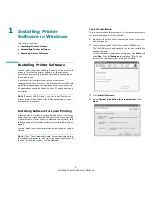
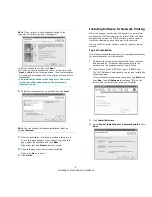
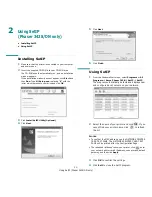
3
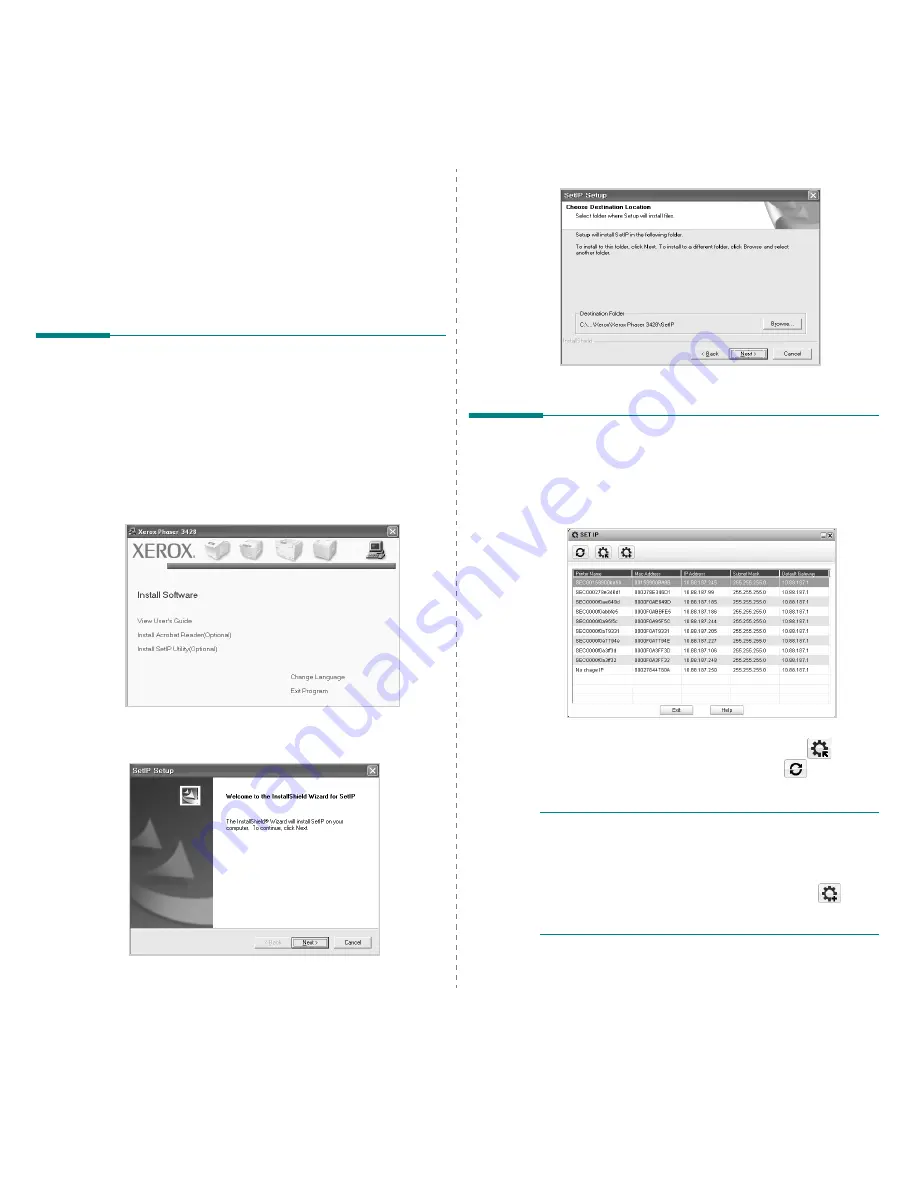
Click
Install SetIP Utility(Optional)
.
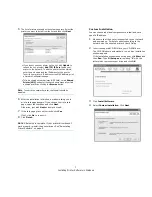
4
Click
Next
.
5
Click
Next
.
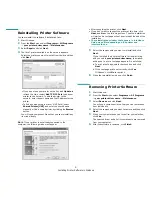
6
Click
Finish
.
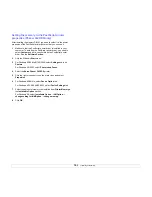
Using SetIP
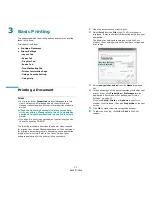
1
From the Windows Start menu, select
Programs
or
All
Programs
Æ
Xerox Phaser 3428
Æ
SetIP
Æ
SetIP
.
The program automatically detects and displays new
and configured print servers on your network.
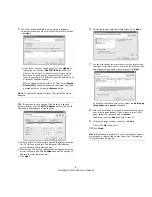
2
Select the name of your printer and click
. If you
cannot find your printer name, click
to refresh
the list.
N
OTES
:
•
To confirm the MAC address, see the NETWORK PRINTER
CARD TEST PAGE. The NETWORK PRINTER CARD TEST
PAGE will be printed after the Configuration Page.
• The refreshed list doesn’t show your printer, click
enter
your network printer card’s IP address, subnet mask, default
gateway, and then click
Apply
.
3
Click
OK
to confirm the settings.
4
Click
Exit
to close the SetIP program.

