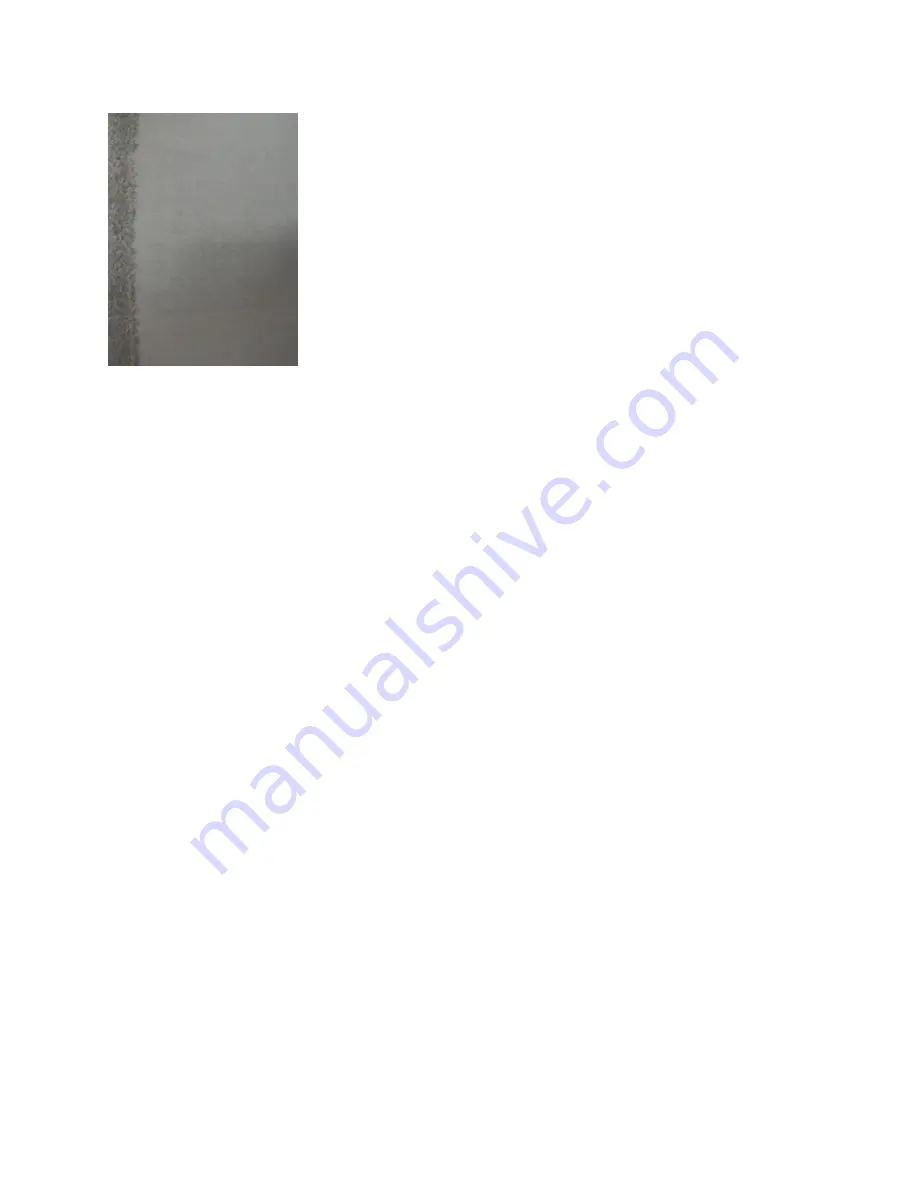
Figure 25: Ink Smear Defect at the Lead Edge
To correct for either type of defect when printing, the system provides two separate setup options that
you enable from the Customer Diagnostics System Optimization Setup window:
• Lead Edge Smear Optimization Mode
• Lead Edge Deletion Optimization Mode
Note
By default, the check boxes for the options are disabled. Select and enable only one of the optimization
modes at a time.
To enable the Lead Edge Smear Optimization Mode or the Lead Edge Deletion Optimization Mode,
perform these steps:
1. From the System menu, select User Diagnostics.
2. From the left panel of the User Diagnostics window, select System > System Optimization Customer
Setup.
3. Scroll to the bottom of the Optimization Switches area of the window.
4. To reduce or eliminate an ink smear defect at the leading edge, select the Lead Edge Smear
Optimization Mode check box. To correct for image or ink deletion defects at the leading edge, select
the Lead Edge Deletion Optimization Mode check box.
A message box appears.
5. Select OK to acknowledge the statement message and continue to the next step.
6. At the left of the Setup window, select OK.
A check mark appears in the check box. The corresponding icon for the selected check box displays
in the Status area of the Xerox FreeFlow Print Server user interface. The icon in the Status area
indicates that the No Smear mode or the Deletion mode is in effect.
7. Close the User Diagnostic window and print the job.
When the job prints with the No Smear mode in effect, the system lessens the amount of force used
to transfer the ink to the sheets at the leading edge only. When the job prints with the Deletion mode
in effect, the system increases the amount of force used to transfer the ink to the sheets at the
leading edge only.
Note
The mode remains in effect until you deselect the check box.
8. To disable the mode, deselect the check box and from the left of the Setup window, select OK.
18-13
Xerox
®
Nuvera
®
User Guide and Training Aid (UGTA)
Problem Solving
Summary of Contents for Nuvera
Page 2: ......
Page 20: ...Xerox Nuvera 1 2 User Guide and Training Aid UGTA Copyright and Trademark Declarations ...
Page 42: ...Xerox Nuvera 4 4 User Guide and Training Aid UGTA About ...
Page 66: ...Xerox Nuvera 7 8 User Guide and Training Aid UGTA Managing System Resources ...
Page 68: ...Xerox Nuvera 8 2 User Guide and Training Aid UGTA Managing System Software and Hardware ...
Page 82: ...Xerox Nuvera 10 12 User Guide and Training Aid UGTA Expected Paper Handling ...
Page 120: ...Xerox Nuvera 12 26 User Guide and Training Aid UGTA Setting Up Complex Jobs ...
Page 124: ...Xerox Nuvera 13 4 User Guide and Training Aid UGTA When to unload Stackers ...
Page 254: ...Xerox Nuvera 19 6 User Guide and Training Aid UGTA Clearing Paper Jams ...
Page 293: ......
Page 294: ......


