


Note
These are only suggested settings.
5. Make any other programming choices.
6. When you are satisfied with your settings, click Scan.
Scan to File Resolution
Remote copy is the use of Scan to File for the purpose of reprinting on another Xerox Nuvera system.
A local copy is created using the Copy function on the Xerox Nuvera. The local copy is equivalent to
1200 x 600 dpi scan (chosen for very high productivity with competitive image quality). Because 1200
x 600 dpi is an asymmetric image which is not conducive to integration into make ready applications,
the 1200 x 600 option is not provided for Scan to File. For particularly stressful documents, local copy
will generally be better than the remote copy.
The Scan to File selection between 600 x 600 dpi and 1200 x1200 dpi is a document dependent one.
It is dependent on productivity, archival file size and image quality requirements. Because the coarseness
of the error diffusion (diffusion dither) varies between the two resolutions, the user is encouraged to try
both and evaluate pictorial and business graphic areas for digital grain and text for sharpness. Chose
the resolution best suited for your application. Generally 600 x 600 dpi image quality is preferred for
pictorials and 1200 x 1200 dpi for text. The preference will also vary depending upon which mode (text,
mixed text and graphics, mixed text and photos) is used.
Remember, documents scanned with higher contrast and lighter (more background washout), will
compress better, improving productivity and storage.
For information on saving your scan jobs, see
Scanning a 2-sided Document
Note
This feature is only available if your system includes the integrated Document Scanner module for
copying and scanning jobs.
Some Xerox Nuvera systems include a document scanner with a full-featured document handling system.
This allows the user to rapidly scan large documents and two-sided documents without requiring the
user to re-load the original document tray.
To scan a 2-sided document
1. Place original document face-up in the Document Feeder.
2. In the Xerox Nuvera user interface, click the Scan to File button.
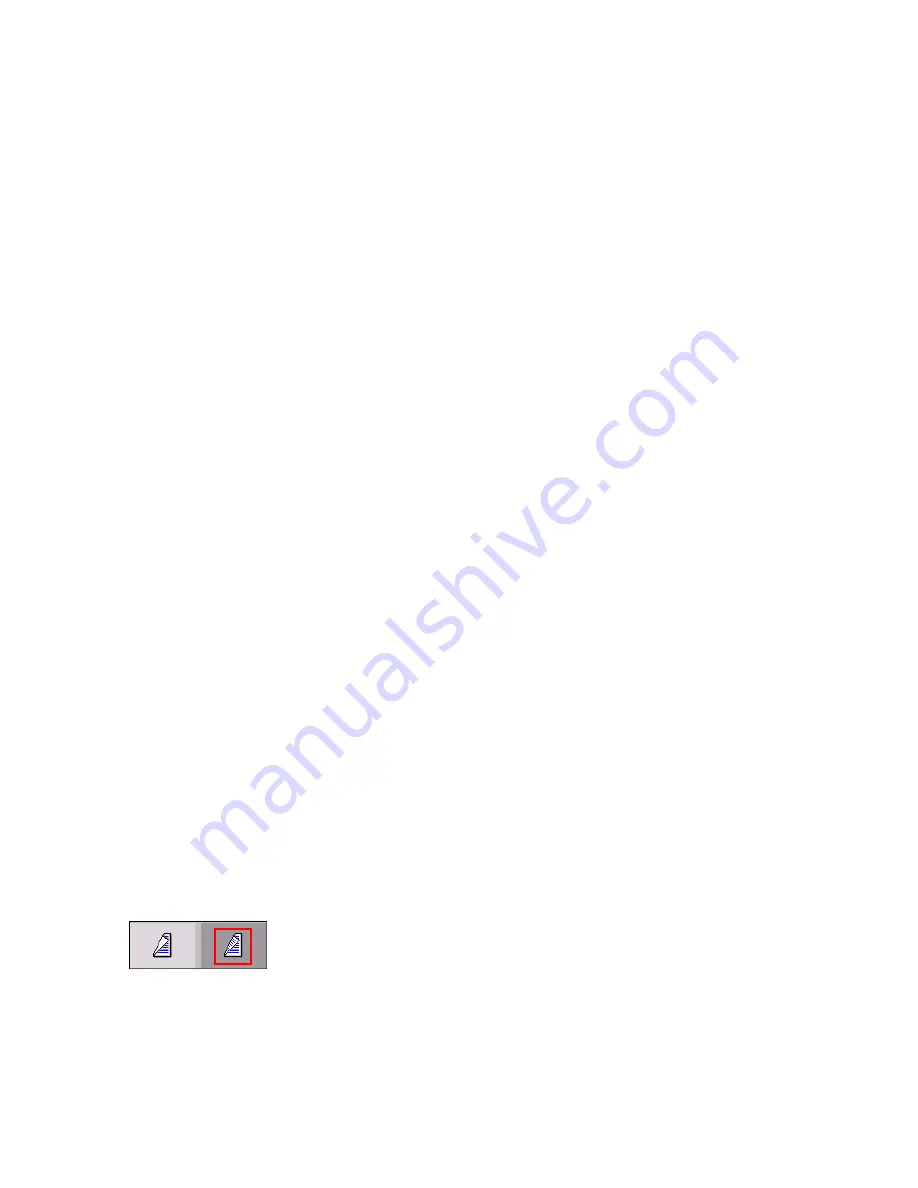
3. On the Basic tab, click the Sides Imaged drop-down menu.
4. Choose the two-sided icon.
5. Click Scan.
The scanner Document Feeder runs both sides of the original document over the Document Glass, then
returns the original document to the output tray.
14-67
Xerox
®
Nuvera
®
User Guide and Training Aid (UGTA)
How Do I...
Summary of Contents for Nuvera
Page 2: ......
Page 20: ...Xerox Nuvera 1 2 User Guide and Training Aid UGTA Copyright and Trademark Declarations ...
Page 42: ...Xerox Nuvera 4 4 User Guide and Training Aid UGTA About ...
Page 66: ...Xerox Nuvera 7 8 User Guide and Training Aid UGTA Managing System Resources ...
Page 68: ...Xerox Nuvera 8 2 User Guide and Training Aid UGTA Managing System Software and Hardware ...
Page 82: ...Xerox Nuvera 10 12 User Guide and Training Aid UGTA Expected Paper Handling ...
Page 120: ...Xerox Nuvera 12 26 User Guide and Training Aid UGTA Setting Up Complex Jobs ...
Page 124: ...Xerox Nuvera 13 4 User Guide and Training Aid UGTA When to unload Stackers ...
Page 254: ...Xerox Nuvera 19 6 User Guide and Training Aid UGTA Clearing Paper Jams ...
Page 293: ......
Page 294: ......


