SETTING UP THE PRINTER CONTROLLER
XEROX DOCUPRINT 96/4635/180 IPS GUIDE TO CONFIGURING AND MANAGING THE SYSTEM
3-3
Specifying the system interface
This section describes the procedure for specifying the network or
channel interface for your system. Your options are Channel and
TCP/IP.
Note:
You can have a bus and tag channel connection plus
multiple TCP/IP connections (Token Ring and Ethernet) installed at
the same time. Your TCP/IP selection is made at installation and
enabled by your service representative. You cannot switch printing
between channel and TCP/IP without performing the following
procedure.
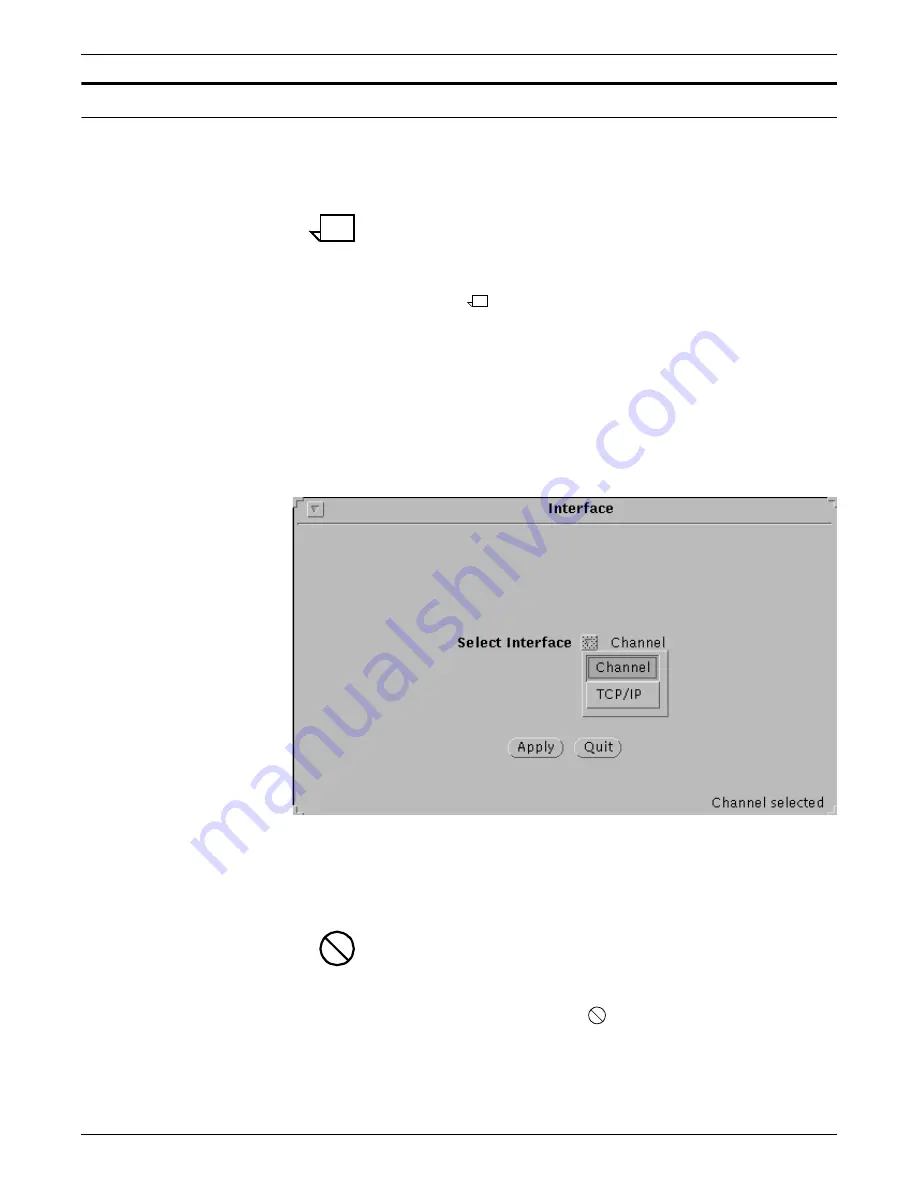
1. From the Configuration pull-down menu, select Interface. The
Interface window displays.
2. From the Select Interface pull-down menu, use the right mouse
button to select the interface you want. Your selection displays
in the lower-right corner of the window.
Figure 3-2.
Interface window displaying the Select Interface
pull-down menu
3. Make the appropriate selections and entries on the Channel
Options or the TCP/IP Interface window. (Refer to the
“Selecting channel interface” or the “Selecting TCP/IP interface”
section later in this chapter.)
Caution:
Selecting the wrong interface for your equipment—
that is, selecting TCP/IP for a system with an HCU enabled, or
selecting Channel for a system without an HCU—can cause the
parser to shut down, making the system unable to print. If this
happens, you must reboot the Printer Controller, then change
your interface selection.


