M
`
If you change the settings of a specific profile for each model, the effective range of the baud rate may be changed accordingly.
Ex) if you set the baud rate of the first profile to 30fps, the send rate of the second profile will be changed to 15fps.
`
Menu options other than codec, resolution and transmission rate can be configured in the settings menu of the network
camera.
`
If you change the current profile settings, you may encounter an interrupted playback on the recording or live screen for a
certain time.
`
Changes made in Camera Setup page are applied immediately, while changes made through the camera's web page may
require up to 3 minutes.
Setup
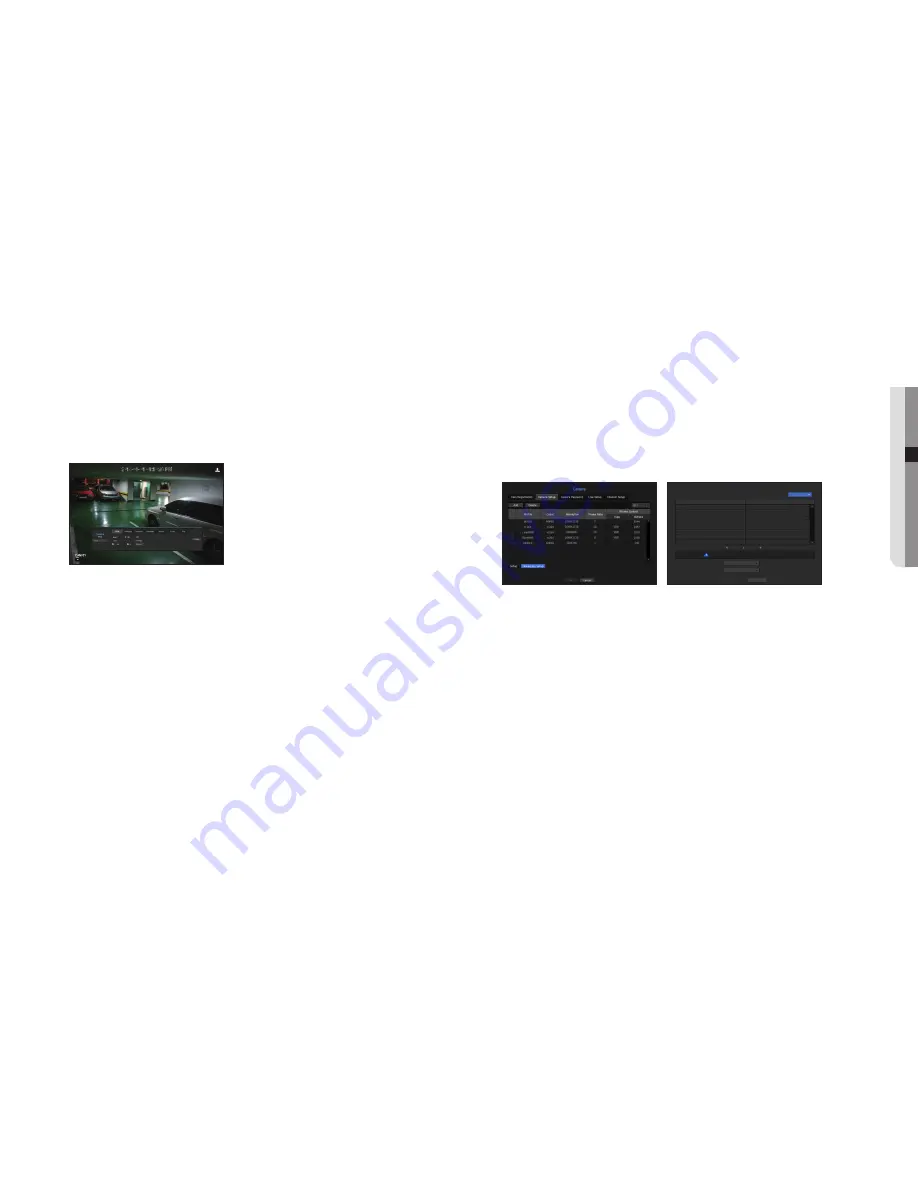
In the bottom of the camera setting screen, press the <
Setup
> button to set your camera while watching the
live video of the selected camera.
M
`
SUNAPI (Samsung Unified Network API) : Camera that supports the communication protocols provided by Hanwha Techwin
1. Camera supporting SUNAPI.
2. A camera connected with admin privileges.
3. A camera connected to Samsung protocols.
In the above cases, you can use the function.
`
For more details on camera settings, refer to the camera user manual.
Settings and operational spec vary depending on each camera.
`
This function is not supported in some models.
SSDR
If there is a significant difference between the dark and the bright areas, increase the brightness of the dark
areas to maintain the level of brightness of the entire area.
Mode, level, D-Range can be set.
Backlight
You can view both bright and dark areas.
Mode, WDR level, WDR black/white levels can be set.
Exposure
You can adjust the exposure of your camera.
Brightness control, shutter, SSNR, Sens-up, shutter/lens, and gains can be set.
Day/Night
You can change the mode to adjust the color and contrast.
Mode, switching time, brightness change, alarm time, alarm input/output, negative color, daytime/nighttime
switching and simple focus, and activation time can be set.
Special
DIS (shaking compensation), use of Defog levels can be set.
Focus
You can adjust the focus of you camera's video.
Items of Simple Focus and Focus-Initialize Setting can be set.
Flip
Mirror and flip modes can be set.
After finishing with setting camera, click on the <
Close
> button to move back to the previous screen.
Dewarping Setup
Press <
Dewarping Setup
> at the bottom of the camera settings screen and a distortion correction settings
window for each channel is prompted.
•
Profile/View type : You can select the view type of profiles, except for fixed profiles (SourceMJPEG,
SourceH264, DewarpMJPEG, DewarpH264) whose settings can't be changed, in the profile list on the
distortion correction settings pop-up window.
•
Mounting mode : You can change the fisheye installation type. You can select a view mode from among
CEILING/GROUND/WALL depending on the installation location.
•
View : You can change the fisheye view mode of the current screen according to each split section.
M
`
If there is no camera registered in the NVR that supports fisheye view, <
Dewarping Setup
> will not be available.
Dewarping Setup
CH6
The camera may be rebooted when changing the mounting mode.
Pro
fi
le
Live4NVR
Rec4NVR
MOBILE
View type
Dewarp View
Source View
Source View
Mounting mode
Ground
View Quad
View
Cancel
OK
English
_35
● MENU SETUP


