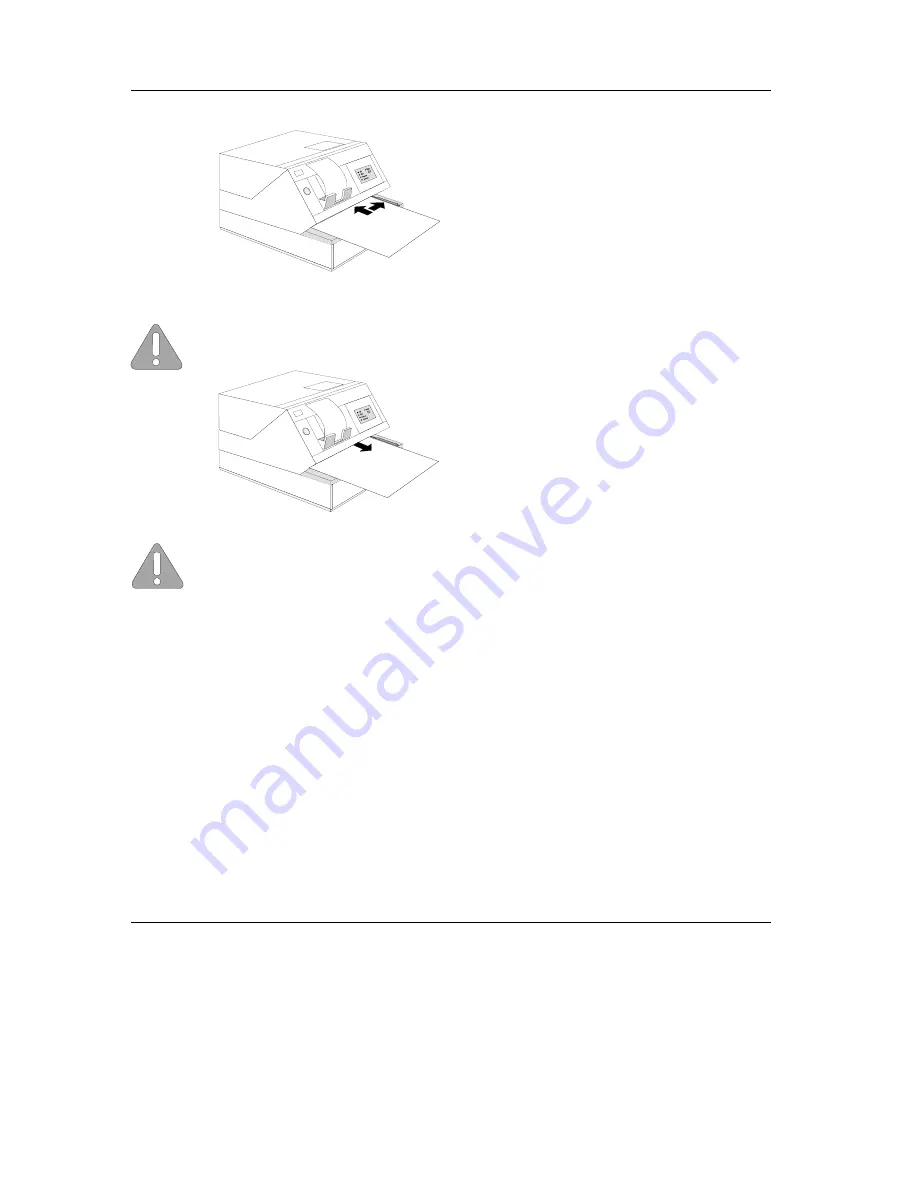
When the yellow LED flashes, place the
document to the right of the guide edge of
the document plate.
This applies particularly to documents
which are narrower than DIN A4 so that
the document sensors can recognize the
paper and draw it in correctly.
Then push the document towards the docu-
ment infeed until the paper is gripped by
the transport rollers (start of transport mo-
tors).
Always insert the paper in such a way that the side to be printed on is facing downwards.
After processing, the document is transpor-
ted out of the printer and it can be removed.
If the document sensors recognize a document end during document processing,
although print data are still located in the print controller, this will lead to a printing stop. In
ND69 and EPSON-TM930 modes, take out the document and insert a second document
sheet if the yellow LED flashes. The printing can now be continued or completed, as the
case may be. In the BEETLE /60 mode, the application program regulates the paper
outfeed and the request for a new document (yellow LED flashes).
Changing the Receipt and Journal Paper
Changing the Receipt and Journal Paper
The following are detailed descriptions of the individual steps for changing the paper. A
simplified version of the steps involved, in the form of pictograms, is on the underside of
the printer cover.
If neither receipt nor journal paper are in place - particularly important for first operation -
the receipt paper must be fitted into the paper feed first. Only then can the journal paper
be fitted.
Changing the Receipt and Journal Paper
Operation of the ND69 POS printer
GB - 22


