Setting System Options
User Guide
75
2)
After the system checks for new firmware updates, it will notify you if an update for your cameras is
available.
3)
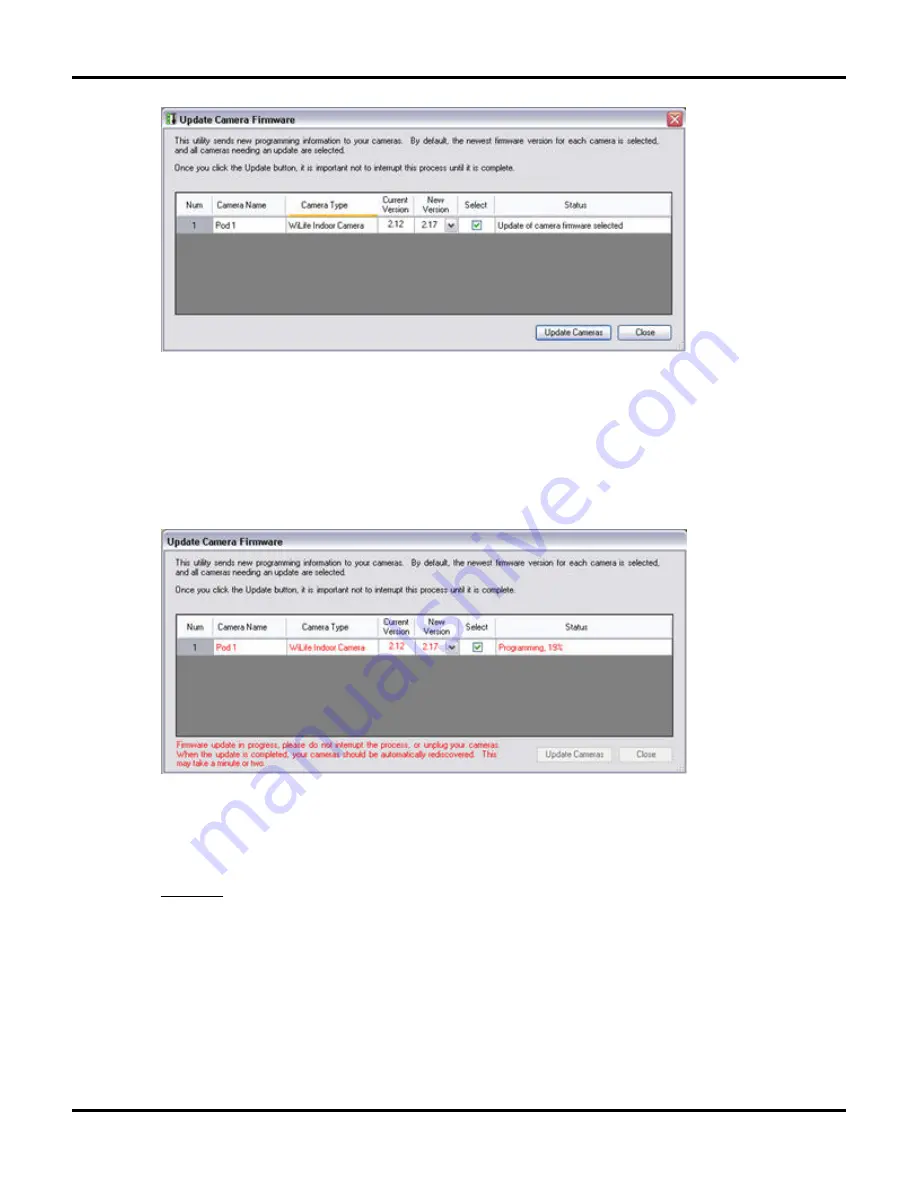
Check the “Select” checkboxes next to the cameras you wish to update.
4)
Select the firmware file using the Browse button. We encourage you to update to the version
defaulted by the system, as that will always show the latest file.
5)
Click the
Update Cameras
button and wait for the process to complete. While Command Center is
loading the new firmware, the Update Camera Firmware screen gives you a status of the update
process.
Note: Each time Command Center starts up, it automatically checks the firmware versions on your cameras
and the available local firmware files. If it finds that new firmware is available, it will prompt you to update your
cameras. As a result, you do not need to worry about manual checking for new camera updates.
Rebuild Video Segment List
Setup > Advanced > Video Maintenance section >
REBUILD VIDEO LIST
button.
This operation rebuilds your video database by examining each file in your Command Center Video Directory.
You may want to perform this operation if you suspect your video database has become corrupt by some hard
disk or computer failure. The obvious sign of a corrupt database is missing video segments in the Playback
window. This process may take a long time to complete if you select to rebuild the list for all cameras.
To rebuild your video database follow these steps:
1)
Go to the Setup > Advanced dialog.
2)
In the Video Maintenance section, click on the
REBUILD VIDEO LIST
button.
Note: Recording and Playback will halt during this operation. This procedure may take a long time.
Summary of Contents for V2.5
Page 1: ...User s Guide V2 5 Logitech Digital Video Security System...
Page 4: ...WiLife User Guide ii...
Page 20: ......
Page 55: ...Using Command Center Applications User Guide 41...
Page 166: ...User Guide 152...


