Using the Command Center
User Guide
28
To navigate through the segments, use one of these operations:
Click on the desired date and time
Click and drag the red position line to the left or right, beyond the edge of the window
Click on a date in the calendar
Use
Å
and
Æ
to step forward and backward through video segments
See the section on
Hot Key Assignments
for more keyboard controls.
C
HANGE
D
ATE
/T
IME
W
INDOW
T
IMESCALE
To navigate using the Date/Time Header, left-click and drag your mouse on the header area above the time-
lines. (This is the area with the dates and times.) Drag the time-line left or right and the whole thing moves.
And you can even keep dragging beyond the limits of the time-line if you want
to!
The top of the Search Navigation window displays dates and times for each
time division. These divisions can be easily changed to zoom in to specific minutes of a day or zoom out to view
an entire day.
Change the time focus by clicking on the timeframe guide to select your focus. A tool tip message informs you
of the time division you have selected. Notice the position of the focus indicator (blue ball) in these examples:
4-hour time focus
30-minute time focus
1-minute time focus
5-second time focus
N
AVIGATING WITH
R
ED
T
IMELINE
A vertical red time-line shows the current position of playback. To navigate, click and drag on the time-line to
the left or right until you see the time and date you want to playback. Then release the mouse button.
Notes:
You may also click anywhere on the navigation window and the red time-line will go directly to that
spot.
Use CTRL-SHIFT F and CTRL-SHIFT B to step forward and back through video segments. See Hot Key
Assignments for more keyboard controls.
You can drag the red timeline beyond the left or right edge, and the displayed time window repositions
accordingly.
You should generally stop playback before trying to drag the timeline (left or right) so that the
automatic repositioning of the displayed time window (during playback) doesn’t conflict with your
manual repositioning actions.
S
ELECT
C
AMERAS TO
R
EVIEW
When playing video segments, you can select one, several, or all cameras for review. By default, all cameras
are selected. You may wish to de-select one or more cameras if you are not interested in video from those
cameras in your current search. Also, de-selecting cameras can reduce the workload on minimally-configured
machines, thus providing improved performance. Here are a few examples:
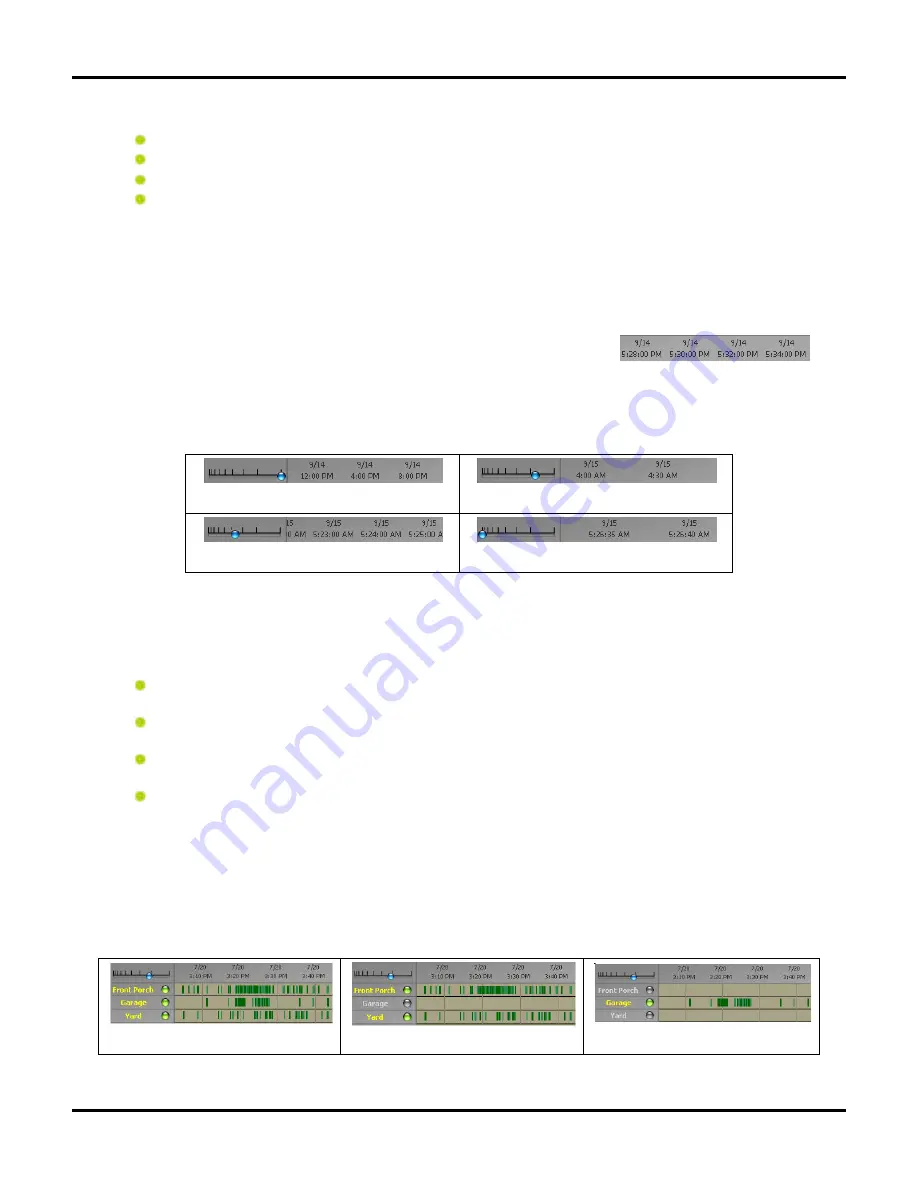
All cameras on
Garage camera off, others on
Garage camera on, others off
Summary of Contents for V2.5
Page 1: ...User s Guide V2 5 Logitech Digital Video Security System...
Page 4: ...WiLife User Guide ii...
Page 20: ......
Page 55: ...Using Command Center Applications User Guide 41...
Page 166: ...User Guide 152...


