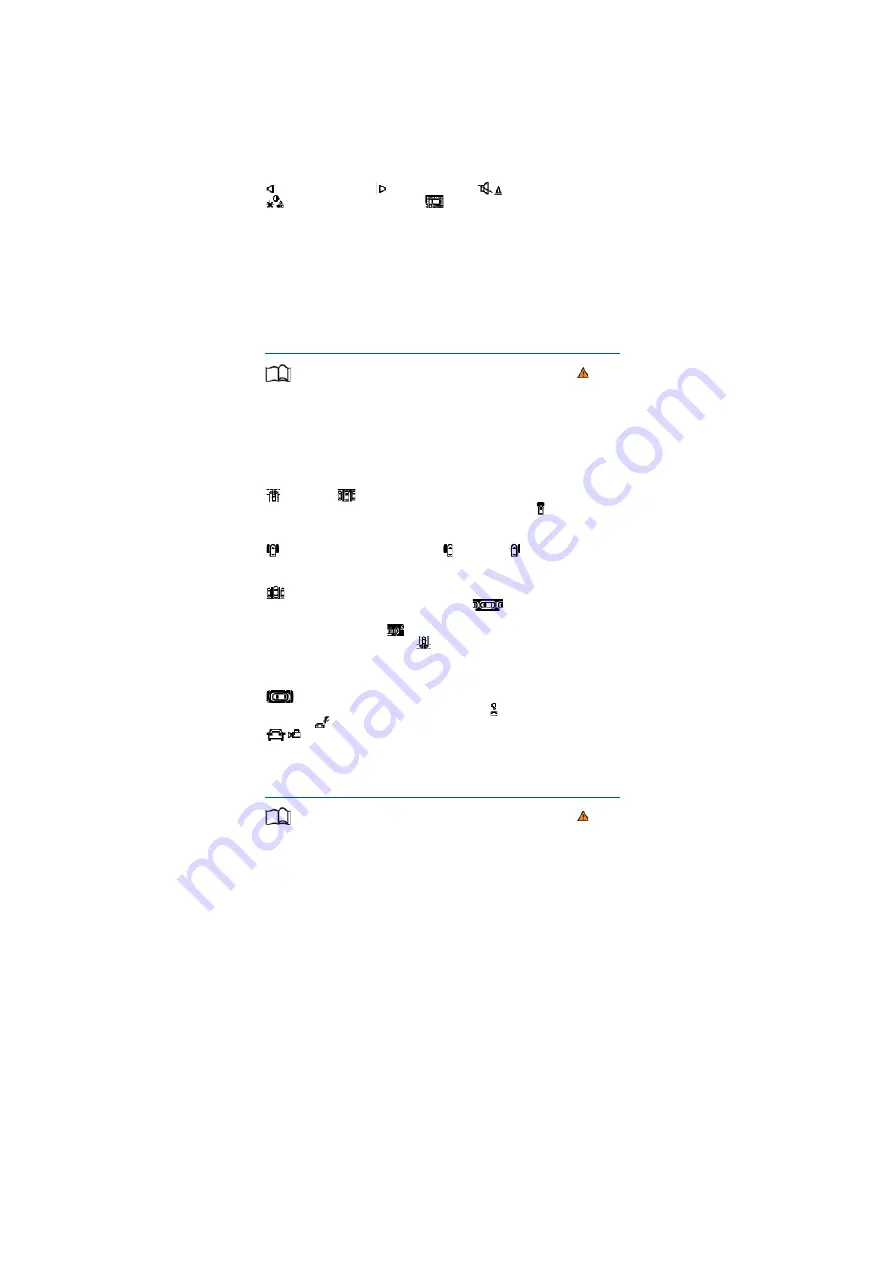
•
Left screen
: the vehicle is shown in the bird's eye view. The view in the right area of the screen
changes when you touch an individual area.
•
Right screen
: the individual camera images are displayed corresponding to the area selected in
the left screen.
In addition, the available menu options and camera views for the corresponding camera are shown
at the right-hand side of the screen.
Displays the bird's eye view.
Hides the bird's eye view.
Switches sound on and off.
Adjusts brightness, contrast and colour.
3D views.xCloses the current display.
The auxiliary lines and boxes are shown by the system independently of the vehicle surroundings.
There is no detection of obstacles. Drivers must judge for themselves whether the vehicle will fit
into the parking space.
Area View hides all the auxiliary orientation lines in the area of the rear camera when the factory-
fitted towing bracket is electrically connected to a trailer
⇒
Trailer towing
.
Operating camera views
First read and observe the introductoryinformation and safety warnings
⇒
Introduction
• Touch the area next to the vehicle.
• Select a corresponding view by means of the function buttons at the edge of the image.
The displayed red lines indicate a distance of approximately 40 cm from the vehicle.
Camera views in front of the vehicle
Crossing traffic.
Perpendicular parking. Orientation lines are displayed as a guide. See
rear view camera system mode 1
⇒
Rear view camera system (Rear View)
. Off-road.
Camera views next to the vehicle
Both areas next to the vehicle simultaneously.
Driver side only.
Front passenger side only.
Camera views behind the vehicle
Perpendicular parking. Orientation lines are displayed as a guide. See rear view camera
system mode 1
⇒
Rear view camera system (Rear View)
.
Parallel parking. The coloured
auxiliary boxes and lines are provided for orientation. See rear view camera system mode 2
⇒
Rear
view camera system (Rear View)
.
Trailer support. See rear view camera system mode 3
⇒
Rear view camera system (Rear View)
.
Crossing traffic. See rear view camera system mode
4
⇒
Rear view camera system (Rear View)
.
3D views
Top view of the vehicle and surroundings. Depending on the vehicle equipment level, the
Park Distance Control vehicle path display may also be shown. Top view of the vehicle and
surroundings.
Vehicle and surrounding area are shown at an angle from above.
Vehicle and surrounding area are shown from the side.
The viewing angle can be changed by swiping in the direction of the arrows.
Troubleshooting
First read and observe the introductoryinformation and safety warnings
⇒
Introduction
No camera visibility, error message, system switches itself off
• Clean the camera or remove the stickers or camera accessories
⇒
Caring for and cleaning the
vehicle exterior
.
• Check whether any damage is visible.
The system is not responding as expected
• The cameras are dirty
⇒
Caring for and cleaning the vehicle exterior
. The camera visibility may
be impaired by dirt and snow or also residue from cleaning agents or coatings.
• The system requirements must be met
⇒
Prerequisites
.
• The cameras are covered by water.
• The vehicle is damaged in the area around the camera, e.g. caused by parking collisions.
• The detection range of the cameras is blocked by add-on parts, e.g. bicycle carriers.
• Changes have been made to the paintwork around the camera or the construction has been
modified, e.g. vehicle front end or the running gear.
Response to all circumstances
• Switch off the system temporarily.
• Check whether any of the causes described below apply.
• You can switch the system back on again once you have rectified the cause of the problem.


