Using the Measure Feature
129
© 2019 Vision Engraving Systems
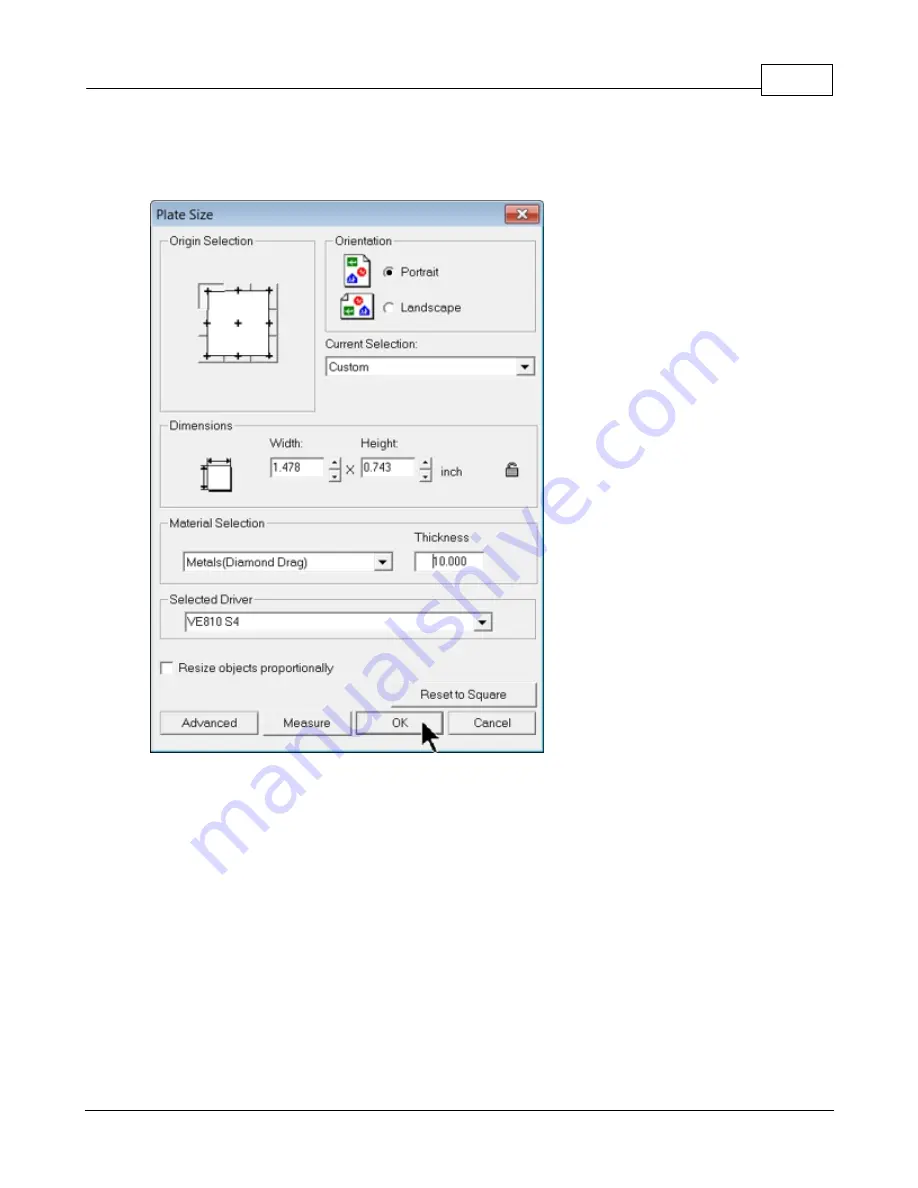
The dimensions of the plate size shown in the Plate Size window will now reflect the engraving area you
have defined on the machine. The Home Position of the machine has also been set to the upper left
corner of this area.
The machine will also allow you to outline the engraving area you just defined. Follow the instructions on
your machine or controller to have the machine outline this engraving area with the red dot laser pointer.
If the area appears to be correct. click on OK in the Plate Size window. The plate size in the Vision 9
software now shows the area defined with the measure feature. Design your job and send the job to the
engraver.
Note that when using the measure feature, the machine will have its home position changed. You will
need to reset the home position to the upper left hand corner of the engraving table in order to use the
machine normally.
Summary of Contents for 1624R
Page 1: ...2019 Vision Engraving Systems Vision 1624R 2525 and 2550 Series 5 User Guide Revised 7 3 2019...
Page 20: ...Vision Series 5 Controller User Manual 20 2019 Vision Engraving Systems 1624R Diagrams...
Page 21: ...1624R 2525 and 2550 Series 5 Installation 21 2019 Vision Engraving Systems...
Page 22: ...Vision Series 5 Controller User Manual 22 2019 Vision Engraving Systems...
Page 26: ...Vision Series 5 Controller User Manual 26 2019 Vision Engraving Systems 2525 2550 Diagrams...
Page 27: ...1624R 2525 and 2550 Series 5 Installation 27 2019 Vision Engraving Systems...
Page 37: ...1624R 2525 and 2550 Series 5 Installation 37 2019 Vision Engraving Systems...
Page 54: ...Vision Series 5 Controller User Manual 54 2019 Vision Engraving Systems...
Page 58: ...Vision Series 5 Controller User Manual 58 2019 Vision Engraving Systems...
Page 128: ...Vision Series 5 Controller User Manual 128 2019 Vision Engraving Systems...
Page 130: ...Vision Series 5 Controller User Manual 130 2019 Vision Engraving Systems...
Page 131: ......


