Vision Series 5 Controller User Manual
102
© 2019 Vision Engraving Systems
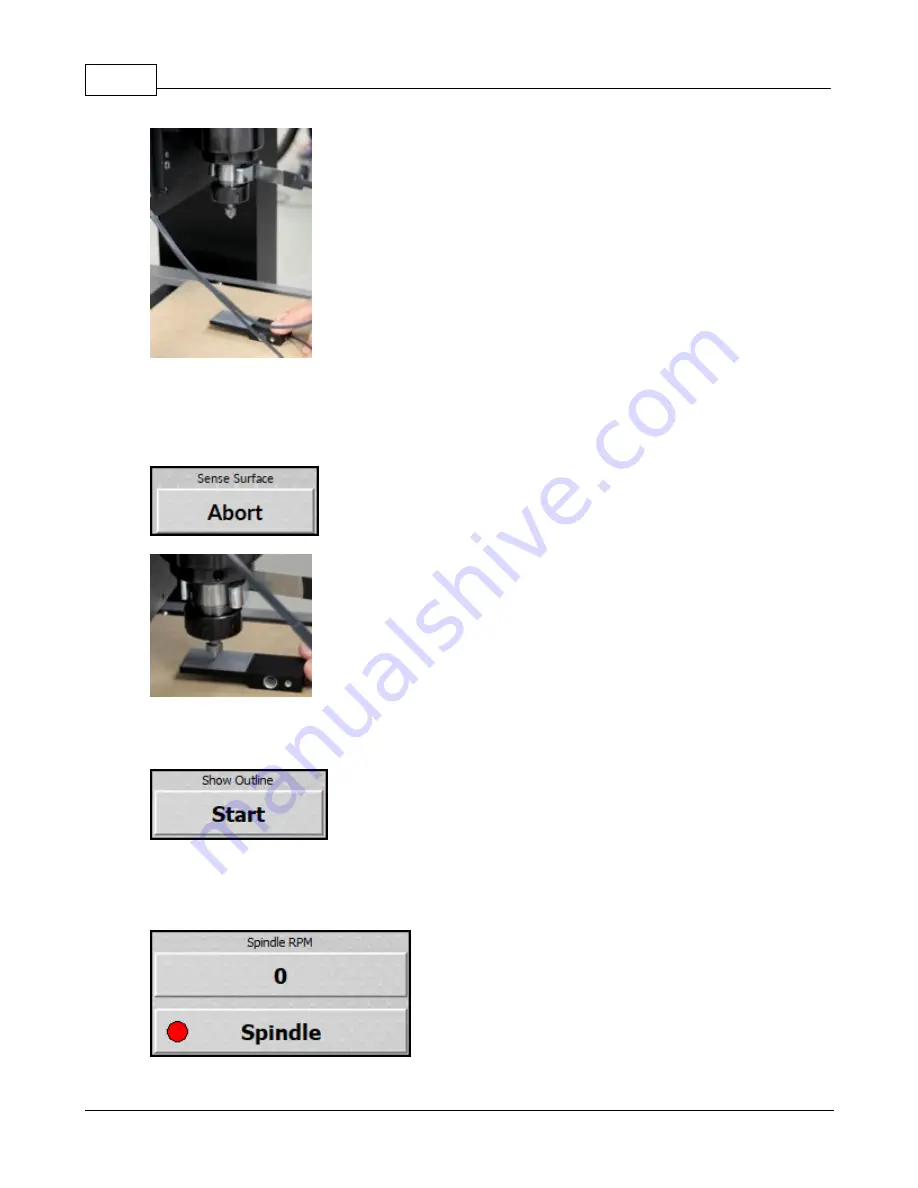
4. Use the jog buttons on the Set XYZ screen to move the tool over the location where the surface will
be set.
5. Press the Sense button on the Sense Material section on the Set XYZ screen. Once the cutter
touches the surface block as shown below, the spindle will stop moving down and the surface will be
set.
NOTE: Pressing Abort will stop the sense surface procedure.
6. Remove the clip from the spindle before starting the job.
NOTE:
This feature is used only with the surface sensor option.
The show outline button will use the red laser pointer to draw a box around the engraving area of the
currently loaded job. Pressing stop while the outline is running will stop this process.
NOTE:
If a job is not currently loaded in the machine, the show outline button will be grayed out.
Summary of Contents for 1624R
Page 1: ...2019 Vision Engraving Systems Vision 1624R 2525 and 2550 Series 5 User Guide Revised 7 3 2019...
Page 20: ...Vision Series 5 Controller User Manual 20 2019 Vision Engraving Systems 1624R Diagrams...
Page 21: ...1624R 2525 and 2550 Series 5 Installation 21 2019 Vision Engraving Systems...
Page 22: ...Vision Series 5 Controller User Manual 22 2019 Vision Engraving Systems...
Page 26: ...Vision Series 5 Controller User Manual 26 2019 Vision Engraving Systems 2525 2550 Diagrams...
Page 27: ...1624R 2525 and 2550 Series 5 Installation 27 2019 Vision Engraving Systems...
Page 37: ...1624R 2525 and 2550 Series 5 Installation 37 2019 Vision Engraving Systems...
Page 54: ...Vision Series 5 Controller User Manual 54 2019 Vision Engraving Systems...
Page 58: ...Vision Series 5 Controller User Manual 58 2019 Vision Engraving Systems...
Page 128: ...Vision Series 5 Controller User Manual 128 2019 Vision Engraving Systems...
Page 130: ...Vision Series 5 Controller User Manual 130 2019 Vision Engraving Systems...
Page 131: ......


