Setting Driver Properties
62
ViewCast
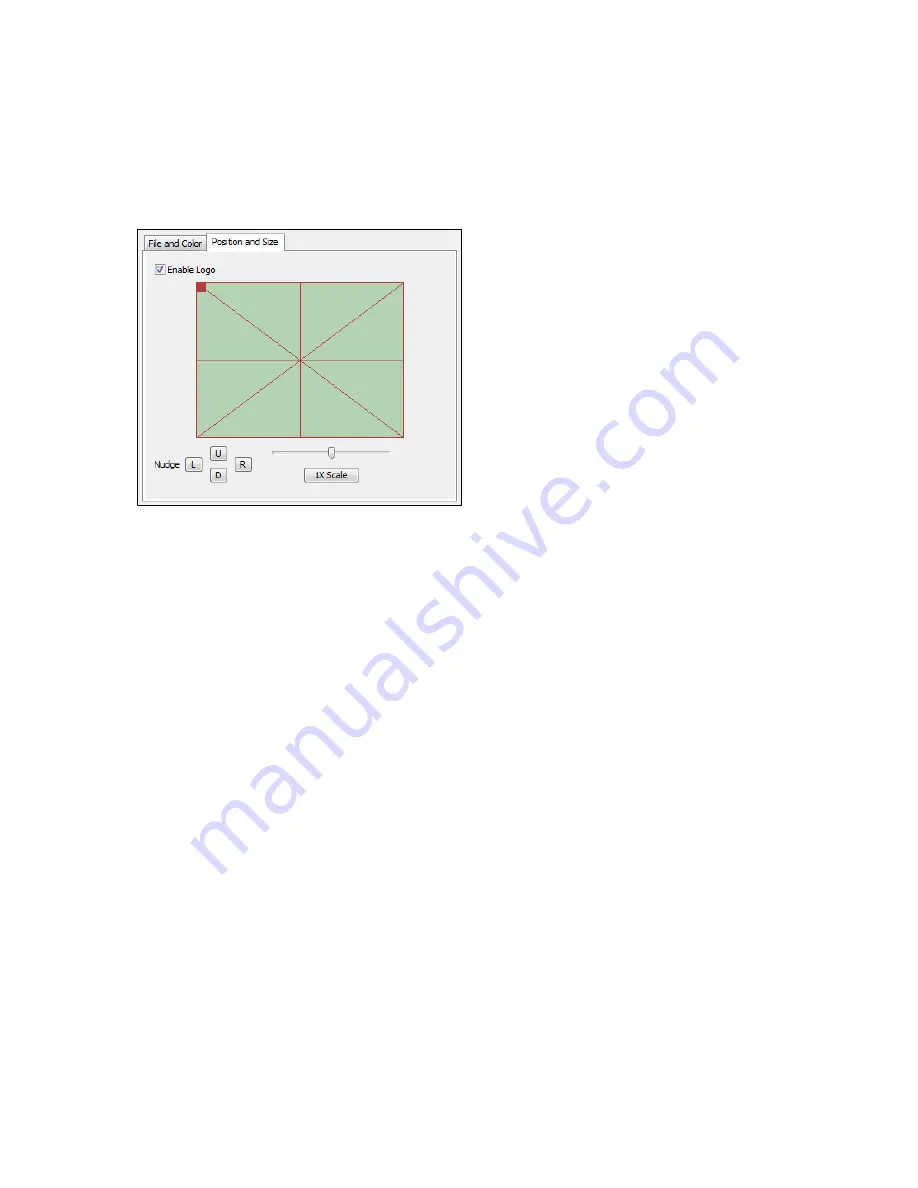
Position and Size
The Position and Size sub-page lets you position and scale the logo. It is strongly recommended that
you have preview video running when you use these controls (Figure 47).
Figure 47. Position and Size
The large green rectangular area at the top of this sub-page represents the video area where the
logo can be positioned. The smaller rectangle represents the logo. To position the logo, click on the
logo rectangle and drag it to the new position.
If logos are enabled but the red rectangle is not visible, it means that the driver could not find the
logo file, or it was in a format other than 24-bit BMP.
The four Nudge buttons, L, R, U, and D, move the logo left, right, up, or down exactly one pixel at a
time on the output video. Since the positioning rectangle may be scaled down from the full video
size, the Nudge buttons allow more accurate positioning of the logo.
The slide control at the bottom right of this sub-page controls the scaling of the logo. The [1X Scale]
button returns the size to the original size of the .bmp graphic. The quality of a scaled image will not
be as good as the quality of the 1X image. We recommend that wherever possible for production
work you prepare artwork of the exact size at which it will be used.
Note: Because the logo properties tab is used to set up a logo interactively on live video, its behavior
is different from the behavior of the other tabs. The driver updates the controls on the logo tab
immediately, without waiting for you to click
Apply
. You will see that Apply enabled only right
after you select a different pin spec. As soon as you make any change to any logo control, Apply
becomes disabled and stays that way until you change to another pin spec.
If you set up a logo with video set to one size, then resize the video, the logo is not scaled
correspondingly. This may not be desirable, since you may want the logo to expand to the same
scale as the video window. Click
1X Scale
to restore the logo to its unscaled size or import a logo
prescaled to the new desired size to ensure the best image quality.
Summary of Contents for Osprey PCI
Page 1: ......
Page 6: ......
Page 29: ...Osprey PCI User Guide ViewCast 23 Figure 15 VbiGraph utility...
Page 56: ...Setting Driver Properties 50 ViewCast Figure 35 Extras...
Page 67: ...Osprey PCI User Guide ViewCast 61 Figure 46 Weighting...
Page 70: ...Setting Driver Properties 64 ViewCast...
Page 77: ...Osprey PCI User Guide ViewCast 71...
Page 107: ...Osprey PCI User Guide ViewCast 101...
Page 114: ......
Page 118: ...Appendix C Troubleshooting 112 ViewCast...
Page 125: ......


