


3. Preparation for Management
The switch provides both in-band and out-band configuration methods.
Out-band Management: You can configure the switch via RS232 console cable if you don’t
attach your admin PC to your network, or if you lose network connection to your switch. It
wouldn’t be affected by network performance. This is so-called out-band management.
In-Band Management: You can remotely manage the switch via the Web browser, such as
Microsoft Internet Explorer, or Mozila, to configure and interrogate the switch from anywhere
on the network.
Following topics are covered in this chapter:
3.1 Preparation for Serial Console
3.2 Preparation for Web Interface
3.1 Preparation for Serial Console
In the package, there is one RS-232 console cable. Please attach one end of the console
cable to your PC COM port, the other end to the console port of the switch.
1. Go to Start -> Program -> Accessories -> Communication -> Hyper Terminal
2. Give a name to the new console connection.
3. Choose the COM name
4. Select correct serial settings. The serial settings of the switch are as below:
Baud Rate: 115200 / Parity: None / Data Bit: 8 / Stop Bit: 1
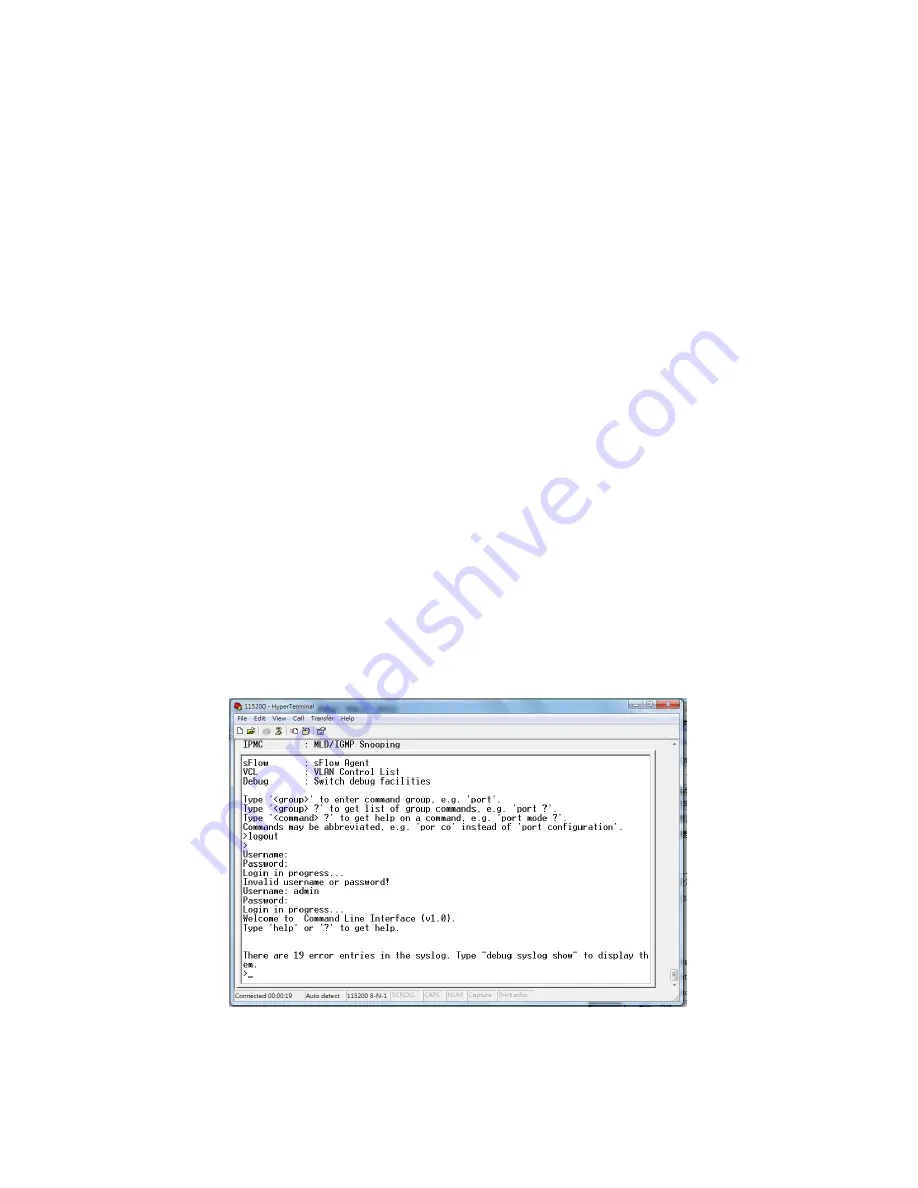
5. After connected, you can see Switch login request.
6. Login the switch. The default username is “admin”, password, “admin”.
Figure 3-1 Hyper Terminal Console Screen
Note: The Win 7 or later OS version doesn't provide Console Terminal tool, please
download the tool, Hyper Terminal from Microsoft web site or other terminal tools, such as
PuTTY for console connection. Type Hyper Terminal or Putty in Google web site, thus you
can find link to download it.
Summary of Contents for VSW7242
Page 1: ......
Page 119: ...119 Reset Click to undo any changes made locally and revert to previously saved values...
Page 197: ...197 Note 2 While firmware uploading process is started please don t shutdown the switch...
Page 286: ...286 Save Click to save the configuration file Upload Click to upload the configuration file...
Page 288: ...288...