


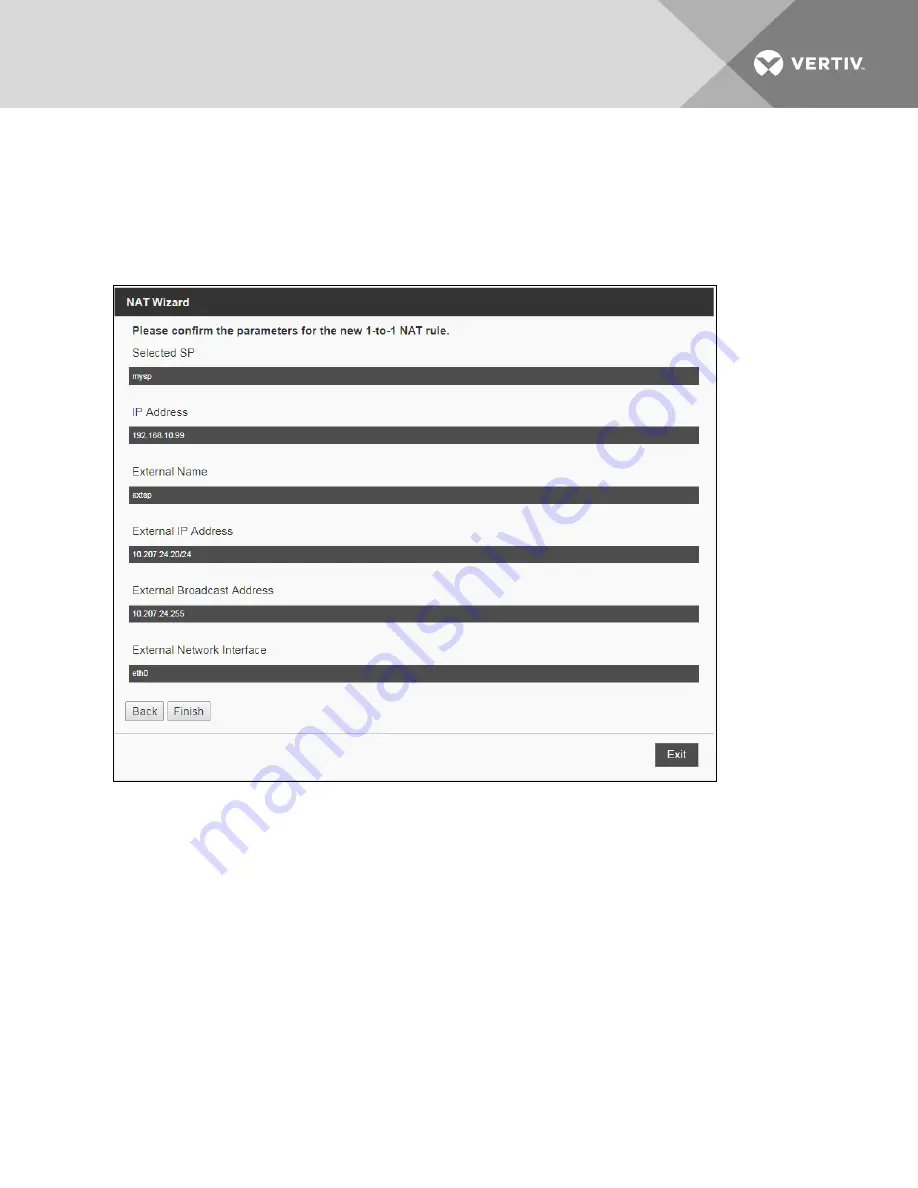
For unmanaged SPs, the wizard requests the name, IP address, user name and password and SP type before locating the SP
and adding it as a managed SP. For both SP types, the wizard then requests an SP alias, an external CIDR IP address (you
can request this information from your network administrator), an external broadcast IP address and an external interface to
be used for the selected SP. The final page of the wizard displays all the information as a final review before you create the
NAT policy for the SP.
NOTE: The 1-to1 NAT wizard is solely for targets physically connected to ports 1-40 on the back of the appliance.
Figure 6.10 NAT Wizard Confirmation window
To setup a 1-to-1 NAT policy rule for an unmanaged SP:
1.
From the sidebar, click
Firewall - NAT
, then click the
1-to-1 NAT
tab.
2.
Click
Add
.
3.
From the NAT wizard window, click the No radio button, then click
Next
.
4. Complete the field(s) on the following NAT wizard windows, then click
Next
to proceed to the next step.
5.
Click
Finish
to confirm the parameters you selected throughout the wizard.
NOTE: Contact your network administrator for the appropriate external CIDR IP address to be used for the SP.
To setup a 1-to-1 NAT policy rule for a managed SP:
1.
From the sidebar, click
Firewall - NAT
, then click the
1-to-1 NAT
tab.
2.
Click
Add
.
3.
From the NAT wizard window, click the Yes radio button, then click
Next
.
4. Complete the field(s) on the following NAT wizard windows, then click
Next
to proceed to the next step.
5.
Click
Finish
to confirm the parameters you selected throughout the wizard.
Vertiv
| Avocent® Universal Management Gateway Appliance Installer/User Guide |
84


