DE35-ST Operating Instructions
D292469I
15
Installing an Eject Head
Select the appropriate Eject Head for the die size which will be picked. If unsure which
Eject Head to use, refer to the
Table of Recommended Eject Head Sizes
at the end of
this manual.
1.
Screw the Eject Head into the Actuator located in the center of the machine,
directly under the Camera.
a.
If the Eject Head is a single needle (used to pick die smaller than 30
mil square), the orientation is not important. Tighten the Eject Head
so that it is snug.
b.
For multiple needle heads, the Eject Head will need to be rotated
until the needles are square with the die being picked. For motorized
stages (DES-AUM), the Eject Head should always be screwed fully into
the Actuator so the Eject Head Body is flush with the top of the
Actuator.
To rotate the Eject Head, loosen the screws at the base of the
Actuator and rotate the Actuator until needles are in desired position.
Then tighten screws at the base of the Actuator.
c.
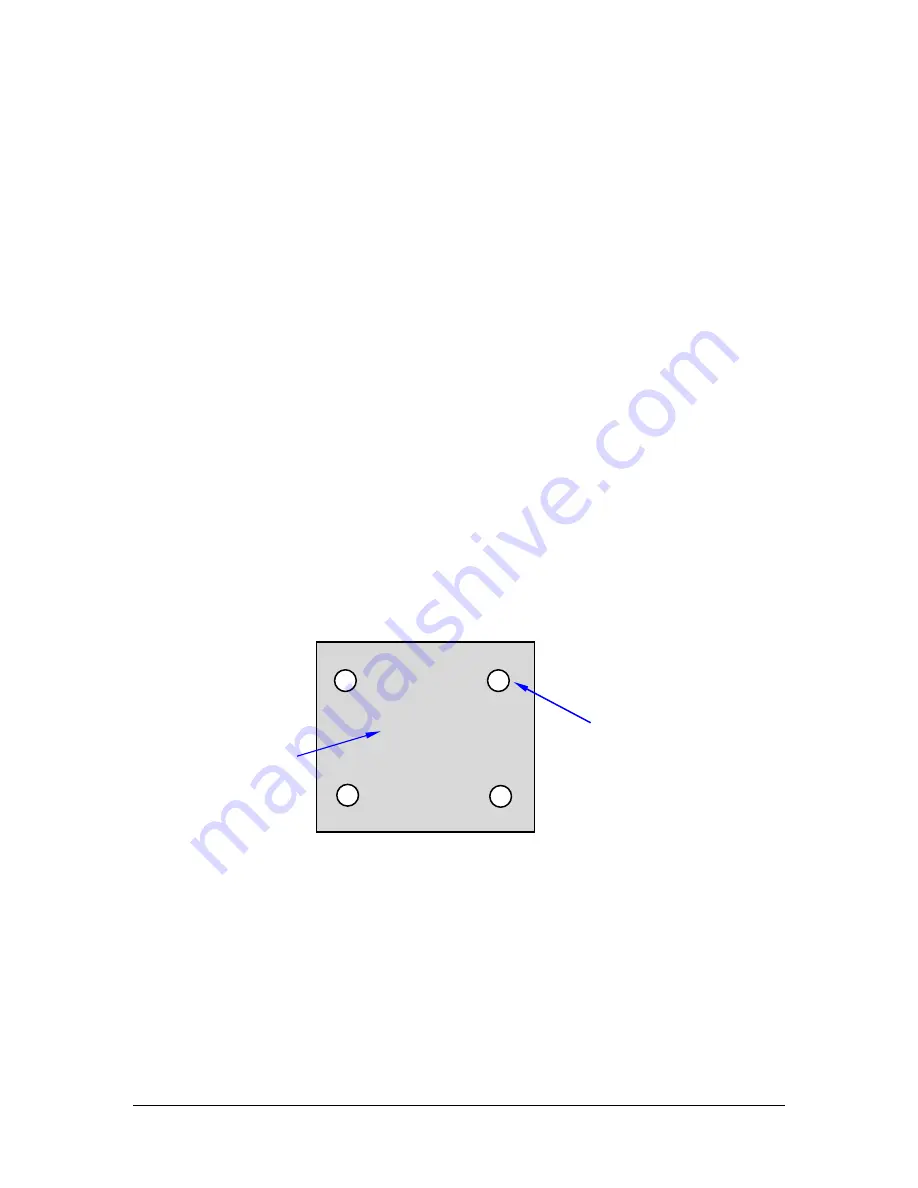
For the standard four-needle Eject Head, the needles should line up
with the four corners of the die, as shown below.
2.
Connect the Vacuum Tube from the Front Panel of the machine to the Nozzle
protruding from the Eject Head.
Eject Needle
Die
Summary of Contents for Royce DE35-ST
Page 2: ...2 D292469I BLANK PAGE...
Page 26: ...DE35 ST Operating Instructions D292469I 25 BLANK PAGE...
Page 45: ...44 D292469I BLANK PAGE...
Page 57: ...56 D292469I BLANK PAGE...
Page 83: ...82 D292469I NOTE The Die Ejector is automatically switched off after about 1 minute...
Page 95: ...94 D292469I Blank Page...
Page 107: ...106 D292469I Blank Page...
Page 130: ...DE35 ST Operating Instructions D292469I 129 Blank Page...
Page 132: ...DE35 ST Operating Instructions D292469I 131 Blank Page...
Page 134: ...DE35 ST Operating Instructions D292469I 133 Blank Page...


