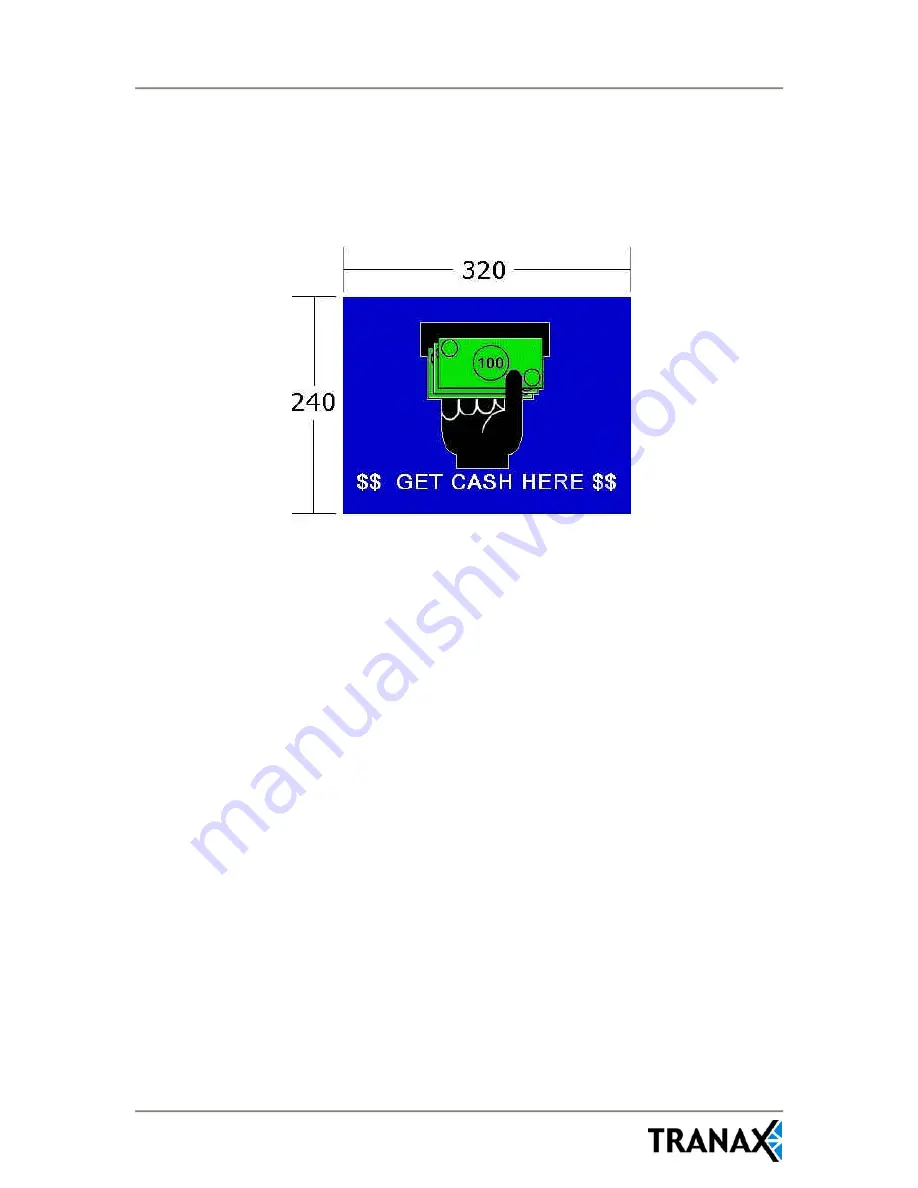
Appendix D: Advertisement Graphics
Operator Manual
Doc. No. 101205
D.4
Step 1: Creating the graphic
Within your graphics program, create a new image and set the image
parameters for 320 pixels wide by 240 pixels tall. It is not recommended
that you reduce larger existing images as the reduction will likely affect
quality.
If the image you are creating will be used on a Mini-Bank with a color LCD
screen, you’ll need to see the colors for the image at 256 (8-bit). This is
typically done in the same setup screen where you set the resolution.
If creating graphics for a Mini-Bank with a monochrome or mono-
transreflective LCD screen set the color properties to 2 color (1-bit).
Once the new image has been created, you’re ready to fill it with whatever
your artistic talent can muster. Some guidelines and helpful tips:
•
Do not import scanned images or photographs. These are high color
(usually 16 million) and when reduced to 256 will look horrible.
•
If you have an existing logo in .JPG or .BMP format, reduce the colors
for that image prior to cutting and pasting into the new image.
•
There will be a blue banner approximately 3/8” tall across the top
portion of the screen to tell the customer the transaction is processing.
Remember this when planning your graphic so as not to have the
banner cut through the top. Center your image in the 320x240 space
a little low to compensate. You can also use a blue background (as we
did in the above sample) which blends into the banner. The banner
cannot be disabled.
Once the image has been created, make sure to save it in the .PCX format.


