P14708
P14706
P14650
EM2196
P14624
--
ENGINE MECHANICAL
CYLINDER HEAD (2RZ--FE)
EM--49
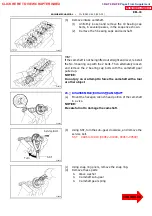
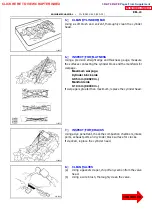
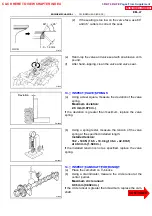
20. INSPECT CAMSHAFT THRUS T CLE ARANCE
(a)
Install the camshaft.
(b)
Using a dial indicator, measure the thrust clearance while
moving the camshaft back and forth.
Standard thrust clearance:
0.040 -- 0.095 mm (0.0016 -- 0.0037 in.)
Maximum thrust clearance:
0.12 mm (0.0047 in.)
If the thrust clearance is greater than maximum, replace the
camshaft. If necessary, replace the bearing caps and cylinder
head as a set.
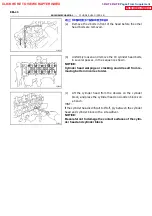
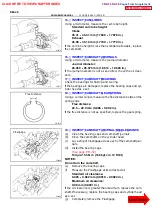
21. INSPECT CAMSHAFT GEAR BACKLAS H
(a)
Install the camshafts without installing the exhaust cam
sub--gear.
(b)
Using a dial indicator, measure the backlash.
Standard backlash:
0.020 -- 0.200 mm (0.0008 -- 0.0079 in.)
Maximum backlash:
0.30 mm (0.0188 in.)
If the backlash is greater than maximum, replace the cam-
shafts.
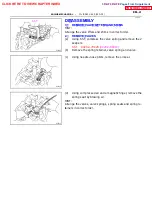
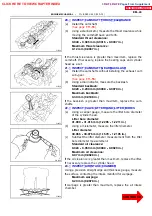
22. INSPECT VALVE LIFTERS AND LIFTER BORES
(a)
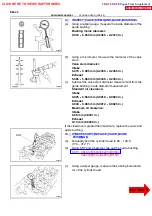
Using a caliper gauge, measure the lifter bore diameter
of the cylinder head.
Lifter bore diameter:
31.000 -- 31.016 mm (1.2205 -- 1.2211 in.)
(b)
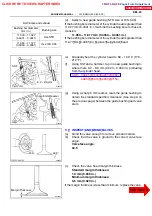
Using a micrometer, measure the lifter diameter.
Lifter diameter:
30.966 -- 30.976 mm (1.1578 -- 1.2195 in.)
(c)
Subtract the lifter diameter measurement from the lifter
bore diameter measurement.
Standard oil clearance:
0.024 -- 0.050 mm (0.0009 -- 0.0020 in.)
Maximum oil clearance:
0.07 mm (0.0028 in.)
If the oil clearance is greater than maximum, replace the lifter.
If necessary, replace the cylinder head.
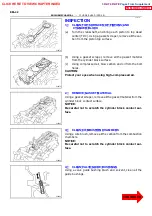
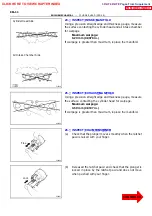
23. INSPECT AIR INTAKE CHAMBE R
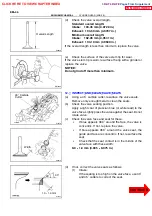
Using a precision straight edge and thickness gauge, measure
the surface contacting the intake manifold for warpage.
Maximum warpage:
0.20 mm (0.0078 in.)
If warpage is greater than maximum, replace the air intake
chamber.
CLICK HERE TO VIEW CHAPTER INDEX
Pages From Supplement
3RZ-F,3RZ-FE

