Virtuo Installation and Setup Guide
Installing Virtuo
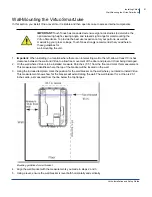
Wall-Mounting the Virtuo SmartJuke
52
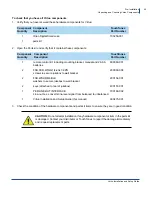
6. Attach the bracket to the wall using at least four (4) lag bolts and washers.
The wall bracket is attached. Continue to the next procedure to hang the Virtuo console on the bracket and attach
it to the wall.
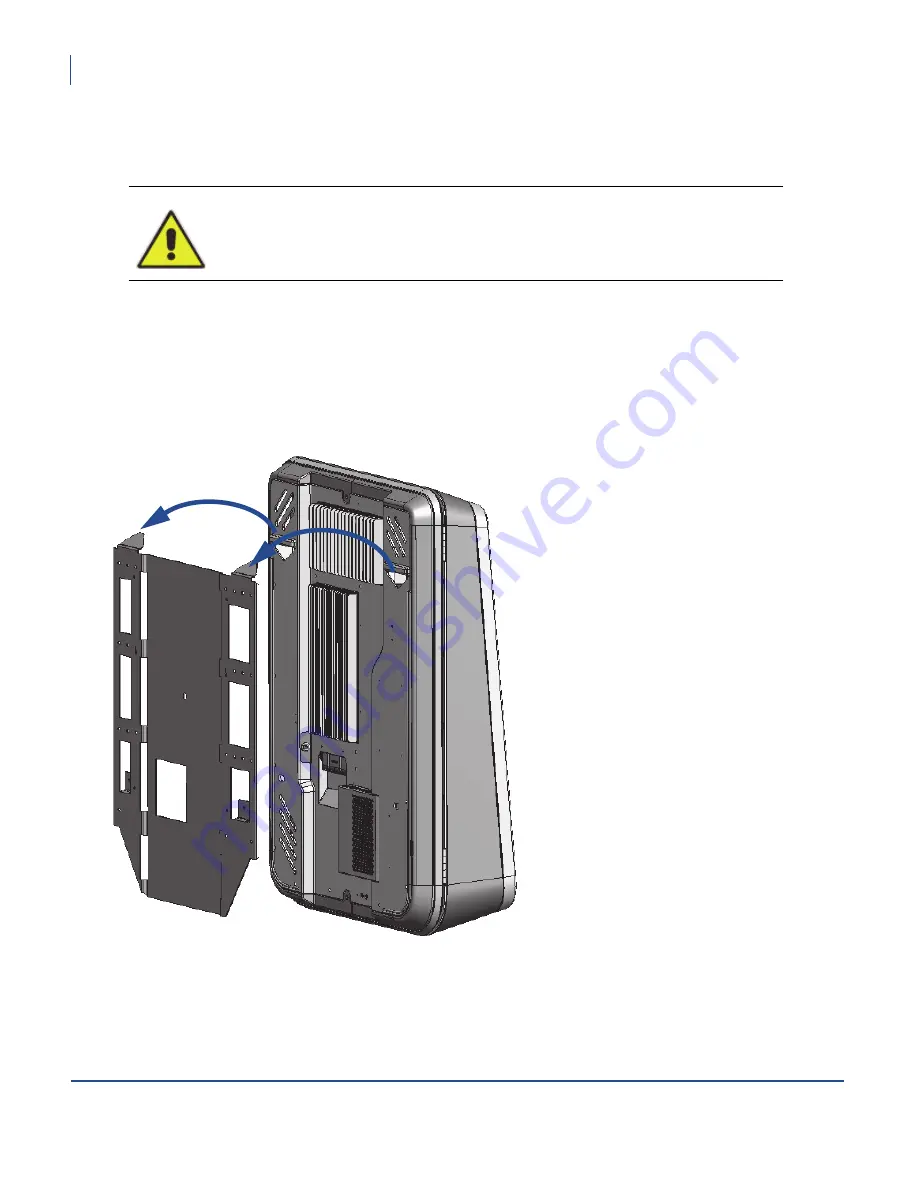
After the wall bracket is securely attached, hang the Virtuo on the wall.
7.
Move the Virtuo so it is close to the wall bracket.
8.
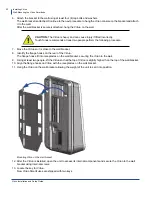
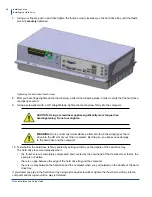
Identify the flange hooks on the rear of the Virtuo.
The flange hooks fit into receptacles on the wall bracket, securing the Virtuo to the wall.
9.
Using at least two people, lift the Virtuo so that the top of Virtuo is slightly higher than the top of the wall bracket.
10. Align the flange hooks on Virtuo with the receptacles on the wall bracket.
11. Hang the Virtuo on the wall bracket allowing the weight of the unit to set it into position.
Mounting Virtuo
on the wall bracket
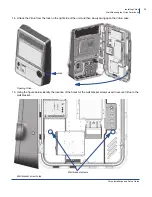
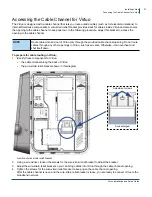
12. After the Virtuo is installed, open the unit to access its internal components and secure the Virtuo to the wall
bracket using internal screws.
13. Locate the key for Virtuo.
New Virtuo SmartJukes are shipped with two keys.
CAUTION:
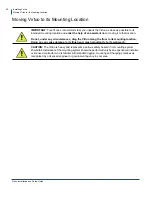
The Virtuo is heavy and can cause injury if lifted incorrectly.
TouchTunes recommends at least two people perform the following procedure.

