Virtuo Installation and Setup Guide
Service and maintenance
106
Replacing a Payment Acceptor
If one of your payment acceptors needs replacing, the following section provides the steps to follow.
•
Replacing a Bill Acceptor
Replacing a Bill Acceptor
Note:
This section assumes that you’re replacing an existing bill acceptor with a new one. If your Virtuo
currently includes only one bill acceptor, with a front payment plate that doesn’t offer an opening for a
second bill acceptor, you should contact TouchTunes in order to order the Virtuo Accessories Kit, which
includes a replacement payment plate.
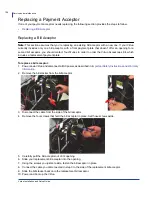
To replace a bill acceptor:
1.
Power down Virtuo and disconnect all AC power, as described in
Important Safety Instructions and Warranty
Information
.
2.
Remove the bill stacker from the bill acceptor.
3.
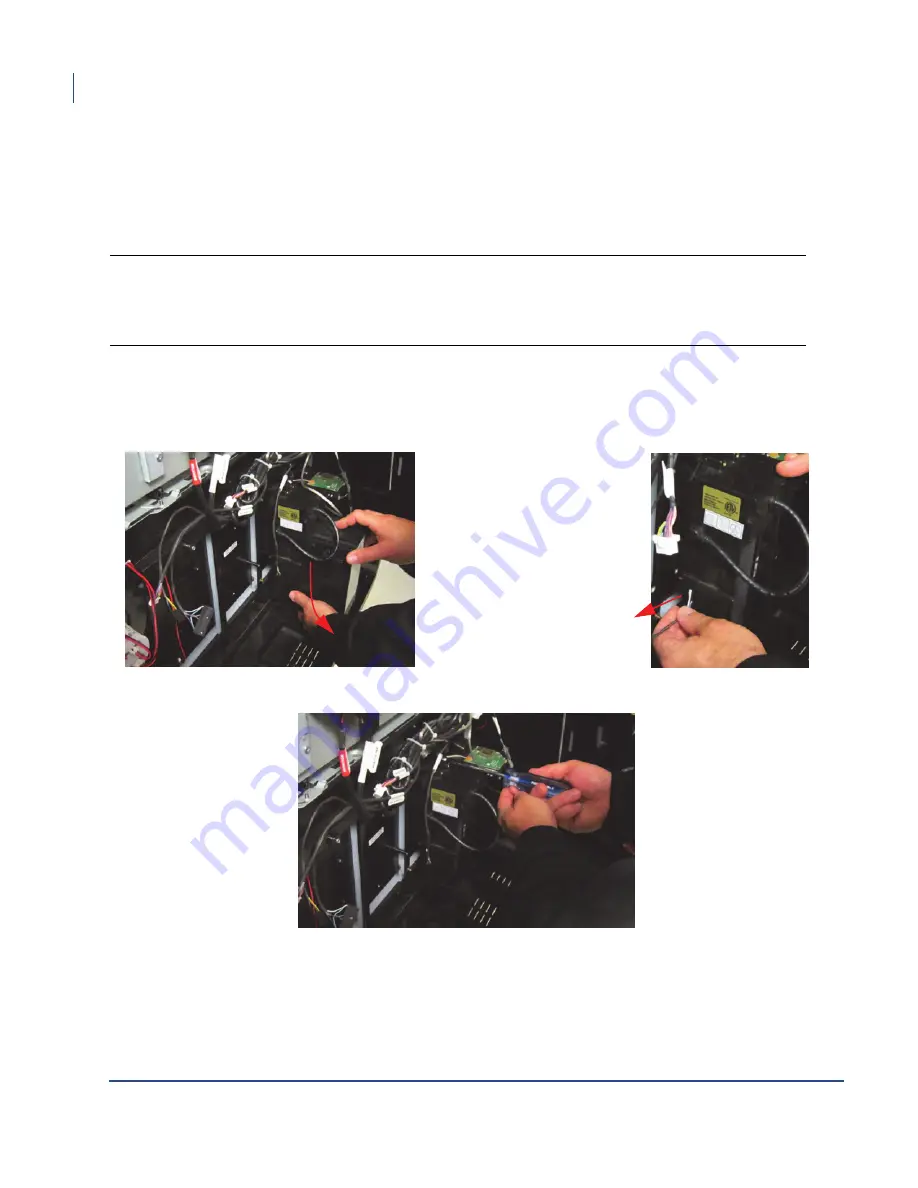
Disconnect the cable from the side of the bill acceptor.
4.
Remove the four screws that hold the bill acceptor in place. Set those screws aside.
5.
Carefully pull the bill acceptor out of its opening.
6.
Slide your replacement bill acceptor into the opening.
7.
Using the screws you just set aside, fasten the bill acceptor in place.
8.
Connect the cable you disconnected in step 3 to the side of the replacement bill acceptor.
9.
Slide the bill stacker back onto the replacement bill acceptor.
10. Power and boot up the Virtuo.
2
3

