e-STUDIO162/162D/151/151D UNPACKING AND INSTALLATION 5 - 5
A. Before Installation
(1) Hardware and software requirements
Check the following hardware and software requirements in order to
install the software.
*
1
The machine's USB connector will transfer data at the speed speci-
fied by the USB 2.0 (Hi-Speed) only if the Microsoft USB 2.0 driver is
preinstalled in the computer, or if the USB 2.0 driver for Windows
2000 Professional/XP that Microsoft provides through its "Windows
Update" is installed.
*
2
Compatible with Windows 98, Windows Me, Windows 2000 Profes-
sional, Windows XP Professional or Windows XP Home Edition pre-
installed model standardly equipped with a USB port.
*
3
Printing is not available in MS-DOS mode.
*
4
The machine does not support printing from a Macintosh environ-
ment.
*
5
Administrator's rights are required to install the software using the
installer.
(2) Installation environment and usable software
The following table shows the drivers and software that can be
installed for each version of Windows and interface connection
method.
*
1
Windows 98/Me does not support USB 2.0. A USB 2.0 connection
can be used in Windows 98/Me, however, the performance will be
the same as USB 1.1. The print speed based on USB 2.0 specifica-
tions can only be attained if your computer is running Windows
2000/XP, you are using a cable that supports USB 2.0 (USB 1.1 or
USB 2.0 certified), and the cable is connected to a USB 2.0 port on
your computer. If the connection is made through a hub, the hub
must support USB 2.0.
*
2
The printer driver that is installed will vary depending on the type of
connection between the machine and your computer.
*
3
Although it is possible to install Button Manager and Desktop Docu-
ment Manager on Windows 98/Me/2000/XP, neither Button Manager
nor the scanner function of Desktop Document Manager can actually
be used.
B. Installing the software
Note:
• If you need to use a different connection method after installing the
software based on a USB or parallel connection, you must first unin-
stall the software and then install it using the new connection
method.
• In the following explanations it is assumed that the mouse is config-
ured for right hand operation.
• The scanner feature only works when using a USB cable.
• If an error message appears, follow the instructions on the screen to
solve the problem. After the problem is solved, the installation proce-
dure will continue. Depending on the problem, you may have to click
the "Cancel" button to exit the installer. In this case, reinstall the soft-
ware from the beginning after solving the problem.
[Standard installation (USB only)]
The procedure for a standard installation of the software is explained
below. If the machine is connected by a USB cable, it is recommended
that you use the standard installation.
Note: The standard installation can only be used when the machine is
connected by a USB cable. If the machine is connected by a
parallel cable, use the custom installation procedure.
1) The USB cable must not be connected to the machine. Make sure
that the cable is not connected before proceeding.
If the cable is connected, a Plug and Play window will appear. If this
happens, click the "Cancel" button to close the window and discon-
nect the cable.
Note: The cable will be connected in step 9).
2) Insert the CD-ROM into your computer's CD-ROM drive.
3) Click the "start" button, click "My Computer", and then double-click
the CD-ROM icon.
In Windows 98/Me/2000, double-click "My Computer", and then
double-click the CD-ROM icon.
4) Double-click the "setup" icon.
Note: If the language selection screen appears after you double click
the "setup" icon, select the language that you wish to use and
click the "Next" button. (Normally the correct language is
selected automatically.)
5) The "SOFTWARE LICENSE" window will appear. Make sure that
you understand the contents of the software license, and then click
the "Yes" button.
6) Read the "Readme First" in the "Welcome" window and then click
the "Next" button.
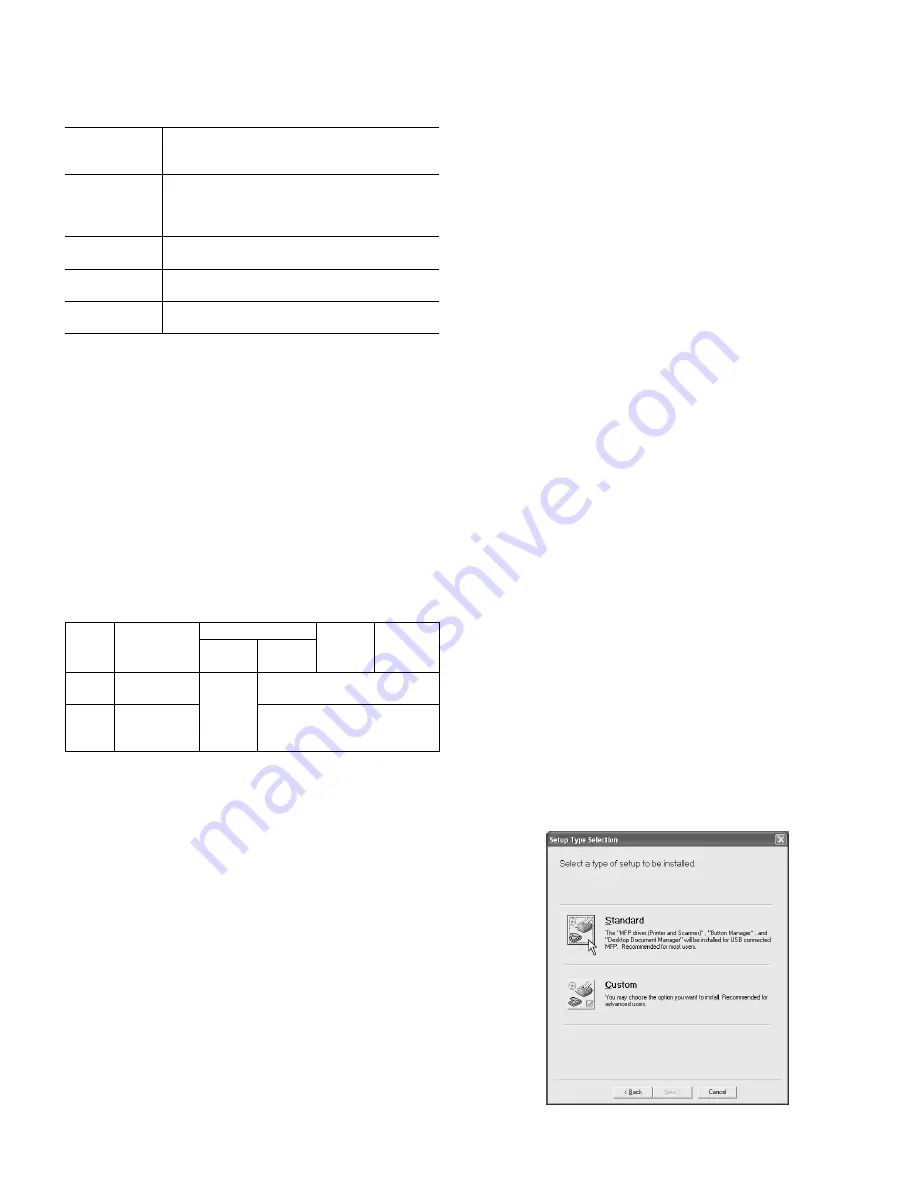
7) Click the "Standard" button.
"Integrated Installer is preparing..." will appear and then installation
of the MFP driver, Button Manager, and Desktop Document Man-
ager will begin automatically.
Follow the on-screen instructions.
Computer type
IBM PC/AT or compatible computer equipped with
a USB2.0*
1
/1.1*
2
or bi-directional parallel interface
(IEEE1284)
Operating
system*
3
*
4
Windows 95, Windows 98, Windows Me, Windows
NT Workstation 4.0 (ServicePack 5 or later)*
5
,
Windows 2000 Professional*
5
, Windows XP
Professional*
5
, Windows XP Home Edition*
5
Display
800 x 600 dots (SVGA) display with 256 colors (or
better)
Hard disk free
space
150MB or more
Other hardware
requirements
An environment on which any of the operating
systems listed above can fully operate
Cable
Operating
system
MFP Driver
Button
Manager
Desktop
Document
Manager
Printer
driver
Scanner
driver
USB*
1
Windows 98/
Me/2000/XP
Available
*
2
Available
Parallel Windows 95/
98/Me/NT 4.0/
2000/XP
Not Available*
3
e-STUDIO162_151.book 5
ページ
2004年12月2日 木曜日 午後9時37分
Summary of Contents for e-studio 151
Page 170: ...Memo ...
Page 171: ...Memo ...
Page 172: ...Memo ...
Page 176: ...2 17 2 HIGASHIGOTANDA SHINAGAWA KU TOKYO 141 8664 JAPAN ...


