25
the right edge of the other object aligned together.
d. Top edge alignment: Take the top-most edges of the object as a base point to align,
and make the top edge of the other object aligned with it.
e. lower end edge alignment: Take the lower-most edges of the objects as a base point
to align, and make the lower edge of the other object aligned with it.
f. Horizontally: to align several numbers of marks onto a same horizontal center line.
g. Vertical center: to align several numbers of marks onto a same vertical center line.
h. Combination line: combine multiple marks onto one line. By using this function, it
will be required to input a spacing dimension between the two marks.
As we have repeatedly mentioned earlier, each time you change the marking position,
engraving needles will automatically aligned to the new location of the marks. This is
the automatic needle alignment feature of the engraving control software, to be noted,
is that needel align feature is only effective to single mark, that is, when you move
more than one mark at same time, the engraving needle will not try to do the
alignment.
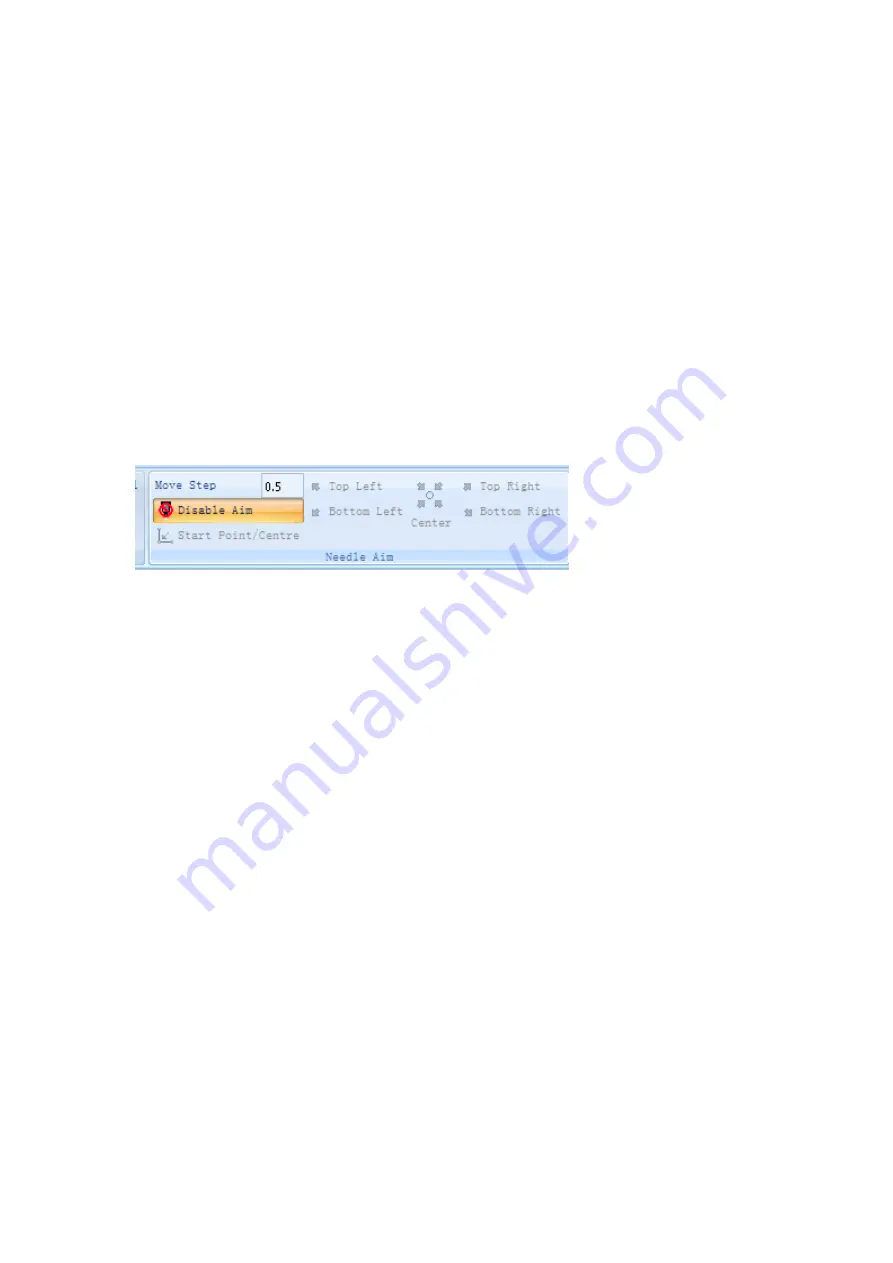
. Click on the menu [mark], [needle align] can open the [needle alignment] feature
sub-menu, [needle alignment] feature has a variety of ways as follows:
a. The lower left corner: aiming the marking needel at the lower left corner of the
mark
b. The lower right corner: aiming the marking needel at the lower right corner of the
mark
c. The upper left corner: aiming the marking needel at the upper left corner of the
mark
d. The upper right corner: aiming the marking needel at the upper right corner of the
mark
e. Center of a circle / starting point: aiming the marking needel to the center of the
circle or a starting point ,this method normally used for marking a fan shaped text to
take the center of the circle as a base point.
f. Stop of needle: after the function is selected, when moving of the marks , this
needles will then not be able to aligned again, unless to re align the needel position.
When you selected a way of needel alignment, the next time when you move the mark,
needle will follow the way you chosen to do the alignment, for example, when you
select the lower right corner of needle alignment, then every time you move the mark ,
needles will start from the lower right corner to align the mark, rather than the lower
left corner that default is supposed.
2.4 Marking operation and its setting:
2.4.1 marking sequence
[Marking] operation panel contains all the functionality required for operation, but
Summary of Contents for HS-DP Series
Page 2: ...2 Air Power switch button Start Marking button Machine top view...
Page 4: ...4...
Page 7: ...7...
Page 8: ...8 Marking results...


