17
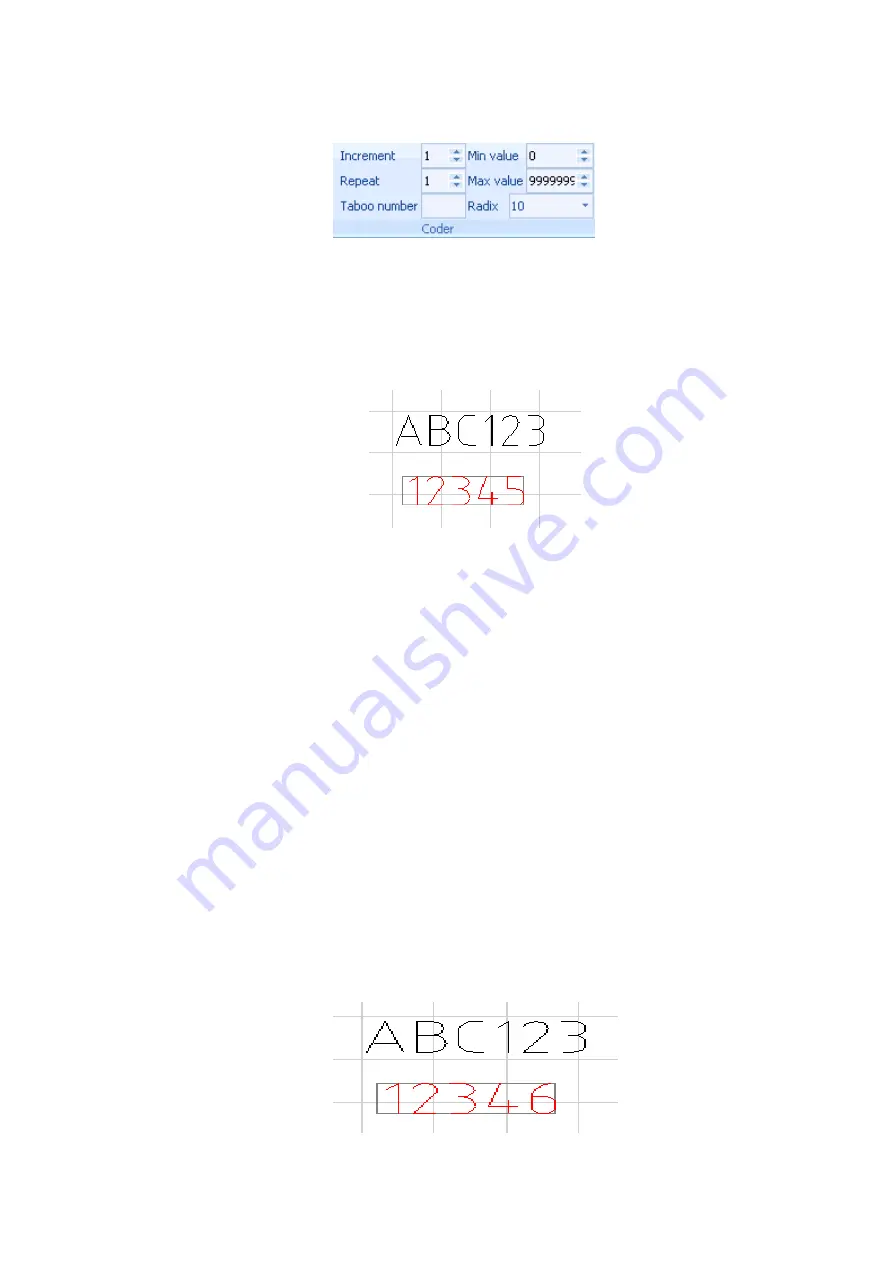
function panel‟s [code] group, as the following figure:
These parameters depends on code types, that meaning if you choose a different
coder types, the parameters are also different. Now the [serial number] coder‟s
parameters are displayed. So far, this marker with [serial number] coder has been
successfully established.
In the marker editor area, you create a marker might look like this, as the
following figure:
May be the location of the mark you created is different from my example, it does not
matter, you can use the arrow keys on your keyboard to move the last mark you
established, every time you press on the arrow key, the mark‟s location will
move 1mm to the way you want. In the moving process, you can notice that marking
needle, it will move according with "12345" location‟s changes, this is a main
function of the software. every time you change the mark's location, marking needle
will automatically move to the new marker location.
There is another more efficient way to change the mark‟s position, click the mark to
select an object by mouse, then you will know the mark you chosen is enclosed by an
outline frame, move your mouse on the outline frame , press and hold the left mouse
button can be directly drag the mark to a new location. Similarly, when you drag a
marker to new location, engraving needle will be automatically aligned to the new
location.
Move two marks to the right place, and then we can try to mark this two markers on
your work piece, marking operation is very simple, click [marking] ,and then click
[Start engraving] can be, or just directly Press shortcut key [F9] to start marking, now
marking machine start to work, then the marking machine will mark these two marks
on your work piece, wait marking finished, you will find the contents of the serial
number has already been changed as the following figure:
Summary of Contents for HS-DP Series
Page 2: ...2 Air Power switch button Start Marking button Machine top view...
Page 4: ...4...
Page 7: ...7...
Page 8: ...8 Marking results...


