OLT6 and 1134 Description Installation and Turnup Guide
Page 37 of 50
3. Insert the two remaining screws into the bottom mounting holes and tighten as
required. Tighten the two upper mounting screws to ensure the splitter shelf is
secure.
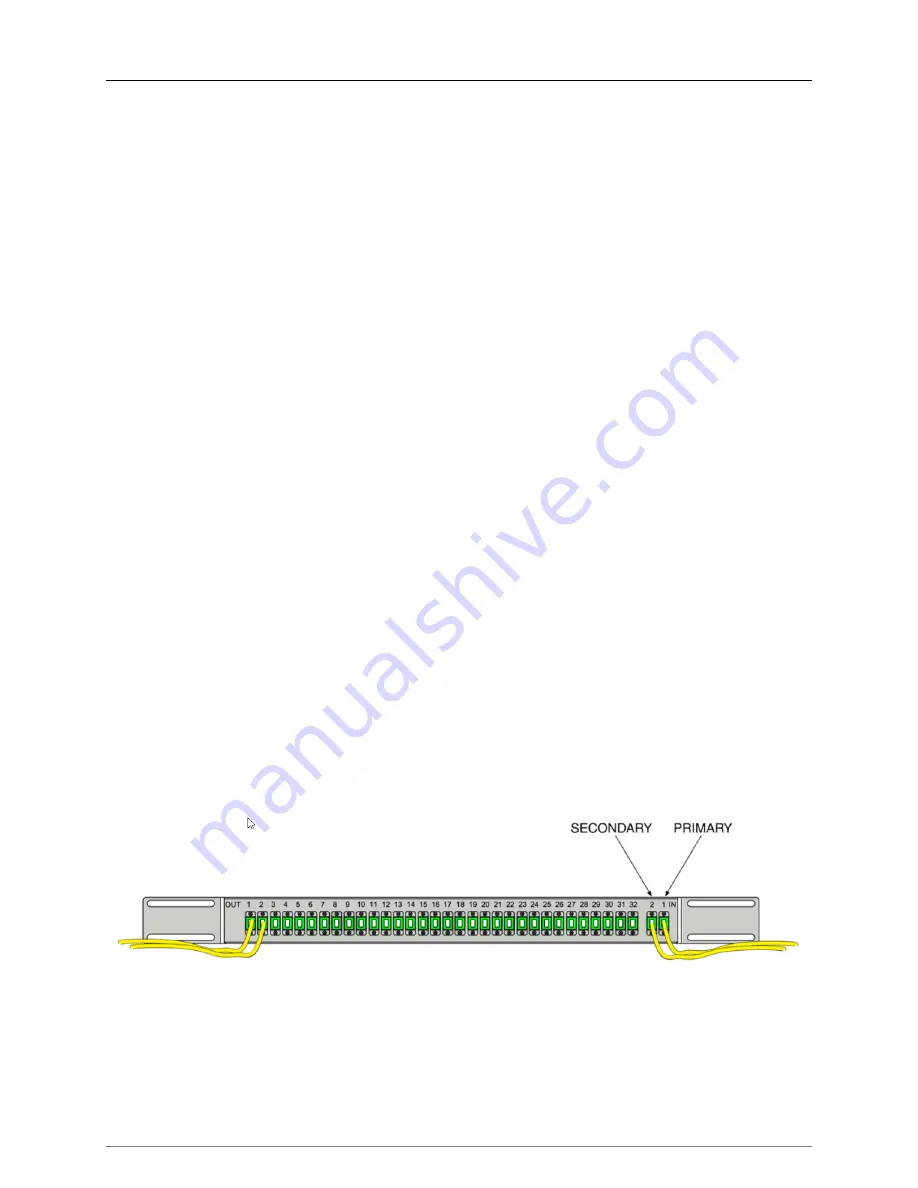
4. Obtain an SC/UPC to SC/APC jumper cable of appropriate length. Connect
SC/UPC (OLT side, blue connector) to the correct OLT PON port, then connect
the SC/APC (splitter side, green connector) to the #1 port on the input side of the
splitter. If PPG is in use, repeat for the secondary OLT laser connection.
a. Ensure that the key on the optical connector is oriented properly to mate
with notch on the connector of the splitter
b. Ensure that an audible click is heard when installing the cable to ensure
the cable is properly seated.
c. Clean fibers prior to every installation of a fiber connector to ensure proper
cleanliness is maintained in the fiber network.
d. Ensure that all unused fiber and splitter connectors are capped to keep
connectors clean.
5. Obtain an SC/APC to SC/APC jumper cable of appropriate length. Connect one
end to any output side connector of the splitter and then connect to the ONT.
6. It is important that the secondary PON fiber not be connected until after the PPG
has been configured when using PON protection. Plugging both in without a
PPG configured will cause both to transmit light and interfere which prevents the
system from bringing up the ONTs properly.


