


Operating Basics
DG2040 Data Generator
2Ć29
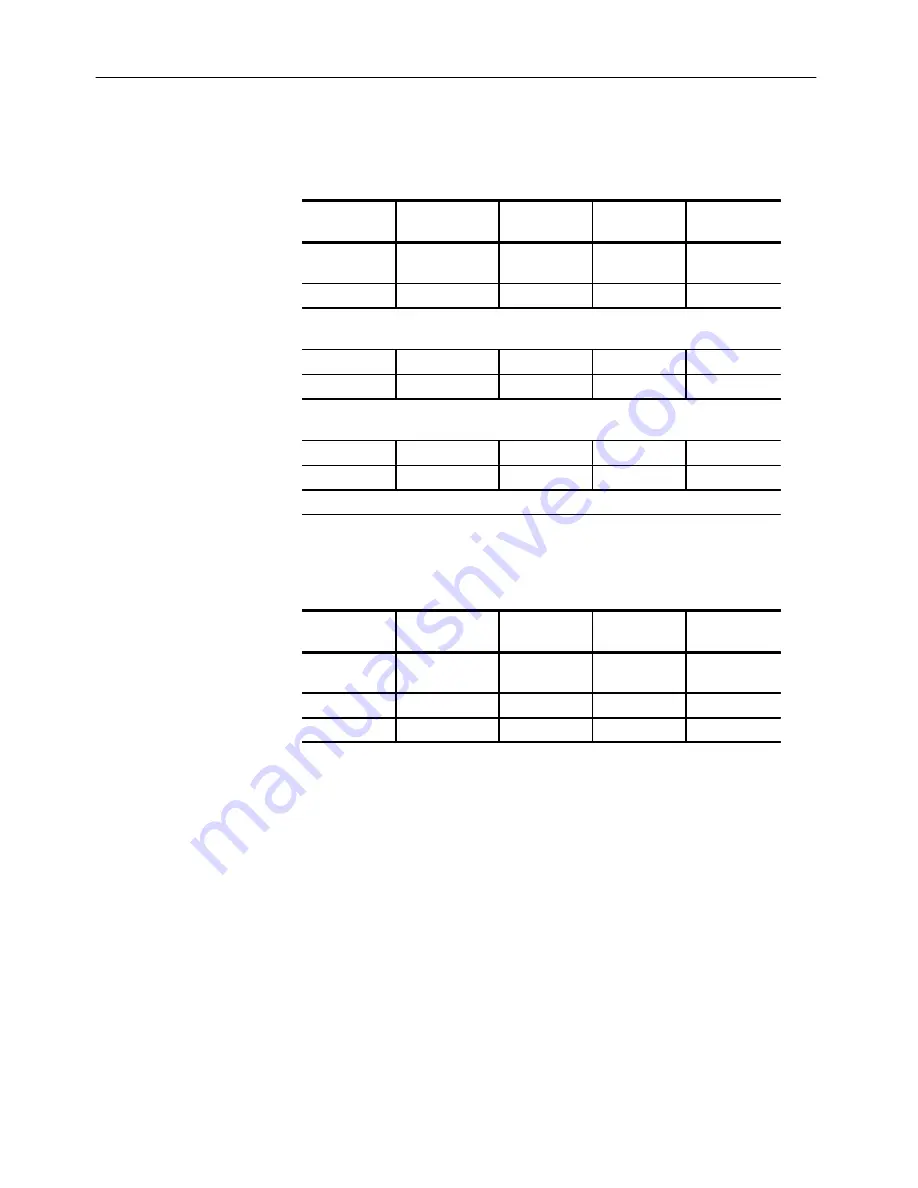
3. Set the data bit positions and bit widths by setting the height (scope) and
width of the data that you are going to edit.
Menubutton
Bottom button
PopĆup menu
Side button
FrontĆpanel
button
Execute
Action
Set scope
OK
2
OK
Move the knob icon to the Cursor window in the upper left area of the screen by
pressing the frontĆpanel
CURSOR
button once or twice.
0
ENTER
Move the knob icon to the Width window in the upper left area of the screen by pressing
the frontĆpanel
CURSOR
button once.
1024
ENTER
Press the down arrow button until the area cursor covers DATA0 to DATA1.
4. Create the binary pattern for a value increasing every 2 clock ticks.
Menubutton
Bottom button
PopĆup menu
Side button
FrontĆpanel
button
Execute
Action
Binary up
counter
OK
2
ENTER
OK
EXECUTE
The previous steps created the binary pattern shown in Figure 2-22 in
DATA0 to DATA1.
Summary of Contents for DG2040
Page 1: ...User Manual DG2040 Data Generator 071 0257 04 This document supports firmware version 1 00...
Page 4: ......
Page 18: ...Preface xiv DG2040 Data Generator...
Page 19: ...Getting Started...
Page 20: ......
Page 32: ...Getting Started 1 12 DG2040 Data Generator...
Page 33: ...Operating Basics...
Page 34: ......
Page 87: ...Reference...
Page 88: ......
Page 152: ...Reference 3 64 DG2040 Data Generator...
Page 186: ...Reference 3 98 DG2040 Data Generator...
Page 187: ...Appendices...
Page 188: ......
Page 200: ...Appendix A Specifications A 12 DG2040 Data Generator...
Page 248: ...Appendix B Performance Verification B 48 DG2040 Data Generator...
Page 258: ...Appendix C Miscellaneous C 10 DG2040 Data Generator...
Page 259: ...Index...
Page 260: ......
Page 265: ......
Page 266: ......


