Chapter 5: Advanced Serverboard Setup
5-21
5-20
S
UPER
S
TORAGE
S
YSTEM 6037R-E1R16N User's Manual
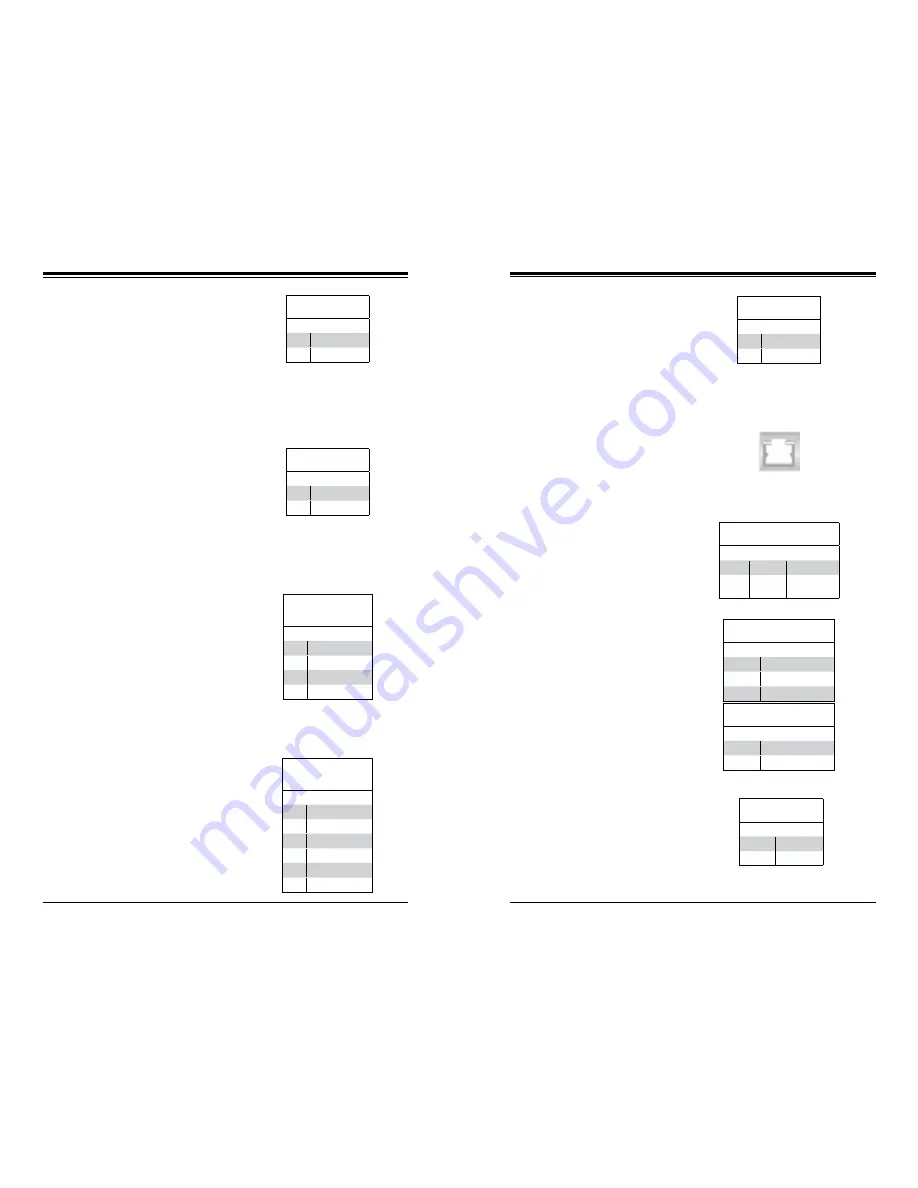
Fan Headers
There are eight fan headers on the
serverboard, all of which are 4-pin
fans. Pins 1-3 of the fan headers are
backward compatible with the tradi-
tional 3-pin fans. (Fan speed control
is supported with 4-pin fans only.)
See the table on the right for pin defi
-
nitions. The onboard fan speeds are
controlled by Thermal Management
(via Hardware Monitoring) under the
Advanced Section in the BIOS.
ATX PS/2 Keyboard and PS/2
Mouse Ports
The ATX PS/2 keyboard and the PS/2
mouse are located beside the USB0/1
ports. The mouse port is above the
keyboard port. See the table on the
right for pin definitions.
NMI Button
The non-maskable interrupt button
header is located on pins 19 and 20
of JF1. Refer to the table on the right
for pin definitions.
NMI Button
Pin Definitions (JF1)
Pin# Definition
19
Control
20
Ground
Fan Header
Pin Definitions
(FAN1-8)
Pin# Definition
1
Ground (Black)
2
+12V (Red)
3
Tachometer
4
PWR Modulation
PS/2 Keyboard and
Mouse Port Pin
Definitions
Pin# Definition
1
Data
2
NC
3
Ground
4
VCC
5
Clock
6
NC
Power On LED
The Power On LED connector is lo-
cated on pins 15 and 16 of JF1 (use
JLED for a 3-pin connector). This
connection is used to provide LED
indication of power being supplied to
the system. See the table on the right
for pin definitions.
Power LED
Pin Definitions (JF1)
Pin# Definition
15
5V Stby
16
Control
Chassis Intrusion
The Chassis Intrusion header is des-
ignated JL1. Attach an appropriate
cable from the chassis to inform you
of a chassis intrusion when the chas-
sis is opened
Chassis Intrusion
Pin Definitions
Pin# Definition
1
Intrusion Input
2
Ground
Ethernet Ports
Four Ethernet ports are located on the
I/O backplane. A dedicated IPMI LAN
port is also included to provide KVM
support for IPMI 2.0. These ports ac-
cept RJ45 type cables. Please refer to
Section 5-11 for LAN LED information.
Power LED/Speaker
On the JD1 header, pins 1-3 are for
a power LED and pins 4-7 are for the
speaker. Close pins 4-7 with a jumper
to use an external speaker. If you wish
to use the onboard speaker, please
close pins 6-7. See the table on the
right for speaker pin definitions.
Speaker Connector
Pin Settings
Pin Setting Definition
Pins 4-7
External Speaker
Pins 6-7
Internal Speaker
Internal Speaker
The internal speaker, located at SP1,
can be used to provide audible indica-
tions for various beep codes. See the
table on the right for pin definitions..
Internal Buzzer (SP1)
Pin Definition
Pin# Definitions
Pin 1
Pos. (+)
Beep In
Pin 2
Neg. (-)
Alarm
Speaker
PWR LED Connector
Pin Definitions
Pin Setting Definition
Pin 1
Anode (+)
Pin2
Cathode (-)
Pin3
NA
Overheat/Fan Fail LED
The JOH1 header is used to connect
an LED indicator to provide warnings
of chassis overheating and fan failure.
This LED will blink when a fan failure
occurs. Refer to the table on the right
for pin definitions.
OH/Fan Fail LED
Status
State Message
Solid
Overheat
Blinking
Fan Fail
Summary of Contents for Supero 6037R-E1R16N
Page 1: ... SUPER STORAGE SYSTEM 6037R E1R16N SUPER USER S MANUAL 1 0c ...
Page 14: ...2 8 SUPERSTORAGESYSTEM 6037R E1R16N User s Manual Notes ...
Page 17: ...3 4 SUPERSTORAGESYSTEM 6037R E1R16N User s Manual Notes ...
Page 28: ...4 20 SUPERSTORAGESYSTEM 6037R E1R16N User s Manual Notes ...
Page 46: ...5 34 SUPERSTORAGESYSTEM 6037R E1R16N User s Manual Notes ...
Page 53: ...6 12 SUPERSTORAGESYSTEM 6037R E1R16N User s Manual Notes ...
Page 70: ...7 32 SUPERSTORAGESYSTEM 6037R E1R16N User s Manual Notes ...
Page 72: ...A 2 SUPERSTORAGESYSTEM 6037R E1R16N User s Manual Notes ...


