Eden260V User Guide
6 Operating and Maintaining the Printer
DOC-32020 Rev. F
6-40
9. In the wizard screen shown in Figure 6-49, select the
Transparency removed
check box, and click
Next
.
The first in a series of alignment screens appears.
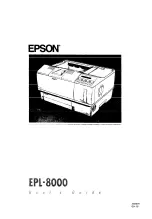
Figure 6-52 Head alignment selection
10.In the head-alignment screen, select the number that indicates which lines
align in the upper and lower rows of a pair on the transparency (counting from
the left) for this print head.
Note:
Because the alignment of the fourth lines is optimum, the number “4”
is selected, by default, in the wizard screen. This does not change the head
alignment. If you select other numbers, the wizard adjusts the head
alignment, accordingly.
11.Click
Next
to display the next head alignment screen, and again select the
number representing the most closely aligned vertical lines on the
transparency for that print head.
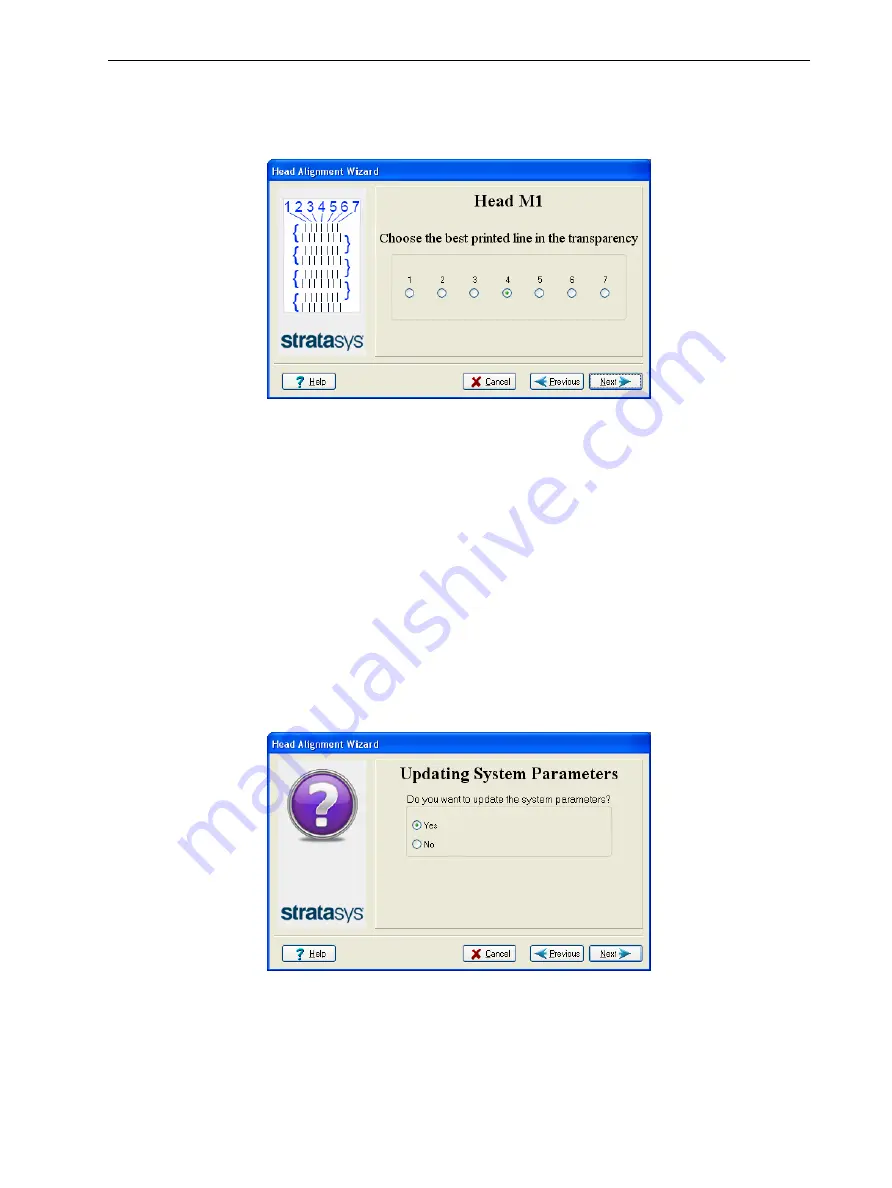
When you have finished aligning all of the heads, the following screen is
displayed.
Figure 6-53 Parameter update confirmation