84
Appendix B: Windows 2000/XP Host PC Software Installation
¤
2005-2010 SR Research Ltd.
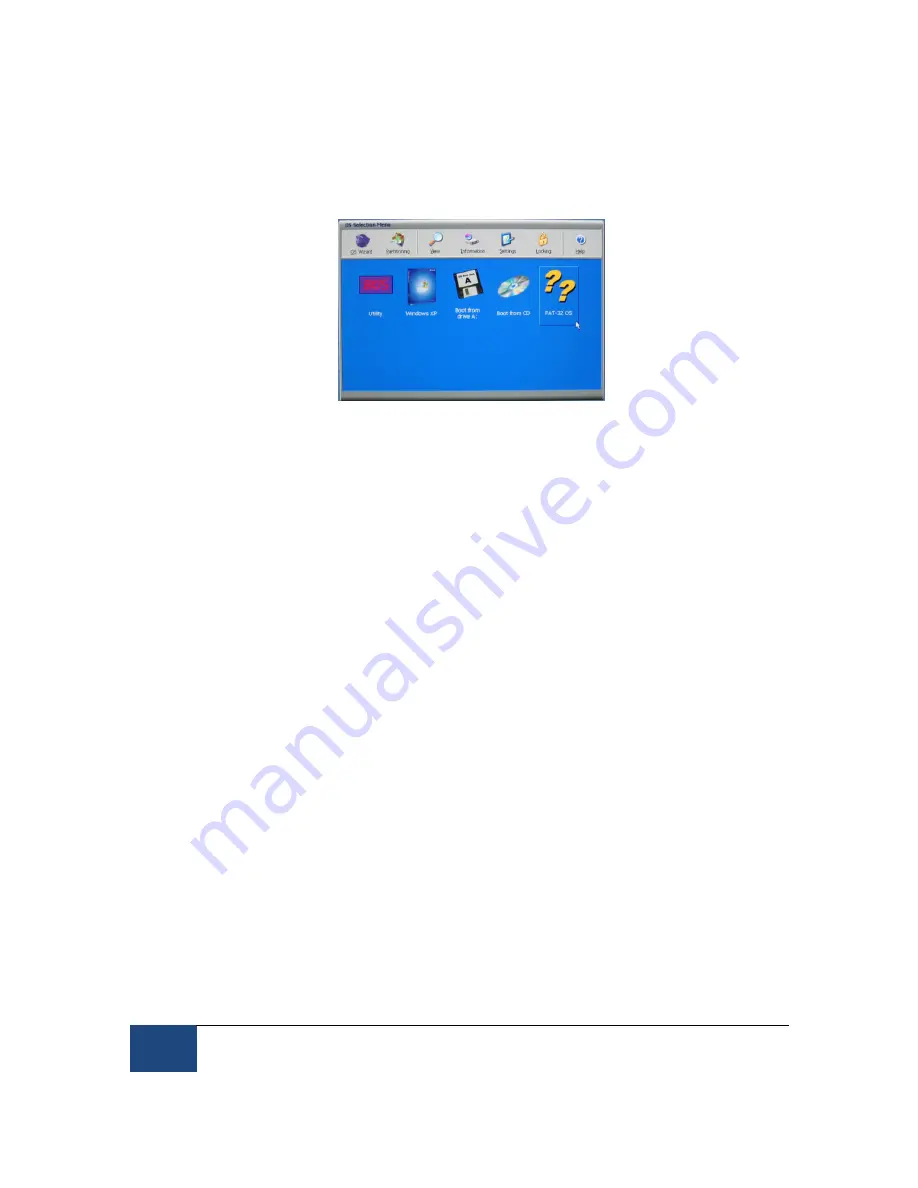
4. Reboot the computer. Once System Commander runs, you should see something like
the screen pictured in Figure 11-8 with ?? and FAT-32 describing the EyeLink Host
partition.
Figure 11-8: Select Partition to Rename
11.7
Organize System Commander’s ‘OS Selection Menu’
1. When System Commander starts up, you will see a screen similar to Figure 11-8. Click
on the ‘Settings’ icon.
2. From the ‘Settings’ window, select ‘Descriptions and Icons’ as illustrated in the left side
of Figure 11-9.
3.
From the screen in the right side of Figure 11-9, click on the arrow buttons of the
‘Current Selection’ box to select the ‘FAT-32 OS’. In the ‘EDIT DESCRIPTION’ box type
EyeLink
. Under ‘SELECT ICONS’, use the ’+’ and ‘-‘ buttons to change both large and
small icons to ‘OS’.
4. Click ‘OK’ to finish. Then from the ‘Settings’ window, select ‘Order Add and Remove’ as
illustrated in Figure 11-10.
5. From the ‘Order Add and Remove’ window, remove all icons except for the Windows XP
and EyeLink by highlighting each one and clicking the ‘Remove’ button as in the right
side of Figure 11-10.
6. Highlight the EyeLink OS and click the ‘Top’ button to make EyeLink the default
partition.
7. Click ‘OK’ to finish and close the ‘Order and Remove’ window.


