Change Settings
124
ntouch VP 8.0
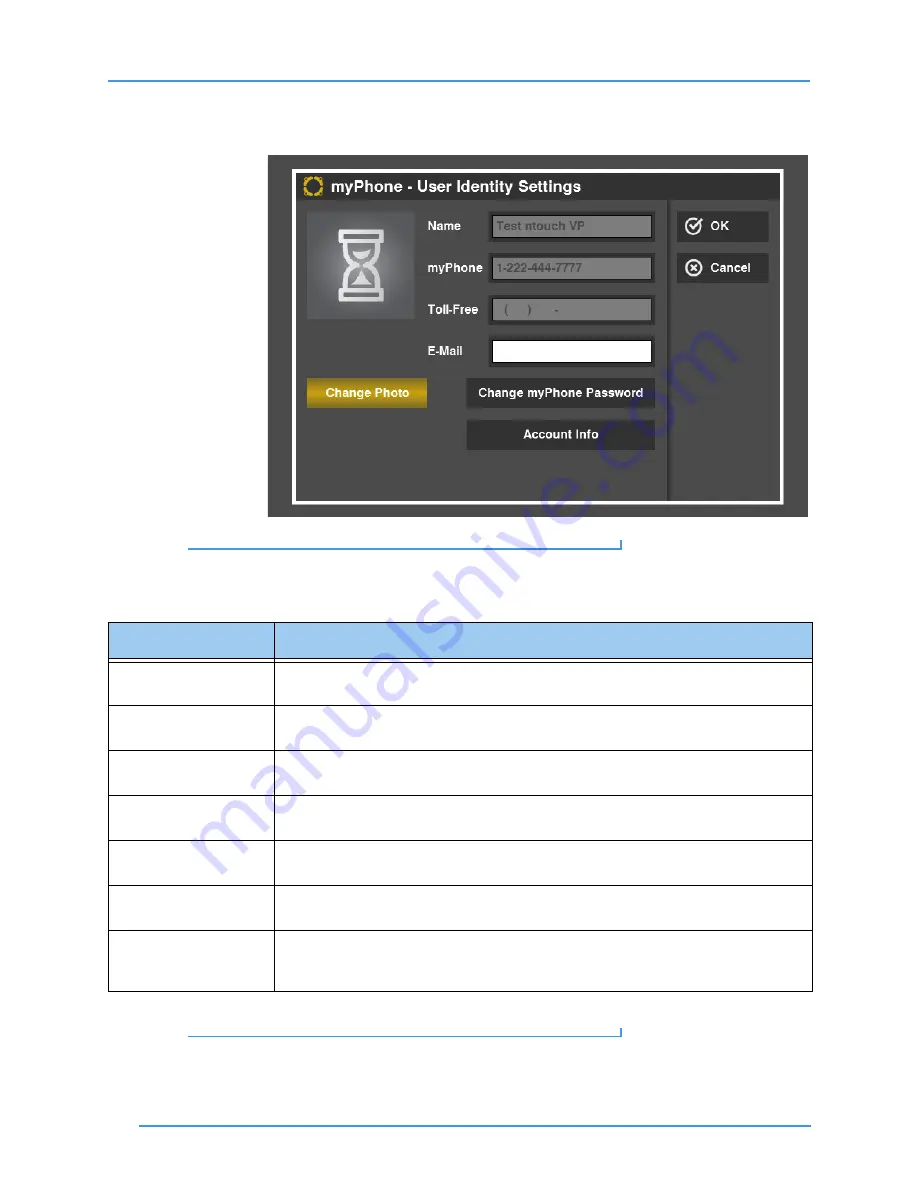
Step 12. The User Identity Settings screen appears. This example shows the appearance of
the screen when ntouch VP is part of a myPhone Group.
Figure 204:
User Identity Settings screen
Step 13. Study the table below to learn about the settings. Then select the settings you want
to use.
Table 7:
User Identity Settings screen details
Step 14. Select
OK
to save the changes. Select
Cancel
to exit without saving.
Feature
Description
Name field
This field contains your name. You cannot change this field yourself. If you need to
change the name, please contact Sorenson Technical Support.
Local (or myPhone)
field
This field contains your phone number (or the number of the myPhone Group). You
cannot change this field.
Toll-Free field
This field shows the toll-free 10-digit number assigned to your Sorenson user account, if
you have one. You cannot change this field.
E-mail field
Enter the email address that you want to associate with your Sorenson user account in
this field. Entering an email address is optional; you do not have to put an entry here.
Change Photo button
Use this button to add a profile photo to your ntouch VP user account. See the section
that starts on
for details about adding a profile photo.
Change Password
button
Use this button to change the password associated with your Sorenson user account.
Account Info button
Use this button to display the User Identity Settings screen as it would appear if this
ntouch VP were not a member of a myPhone Group. You cannot change any of the
fields, but you can see the Local number assigned to this ntouch VP.


