Op
erat
io
n
Editing Pictures
21
3
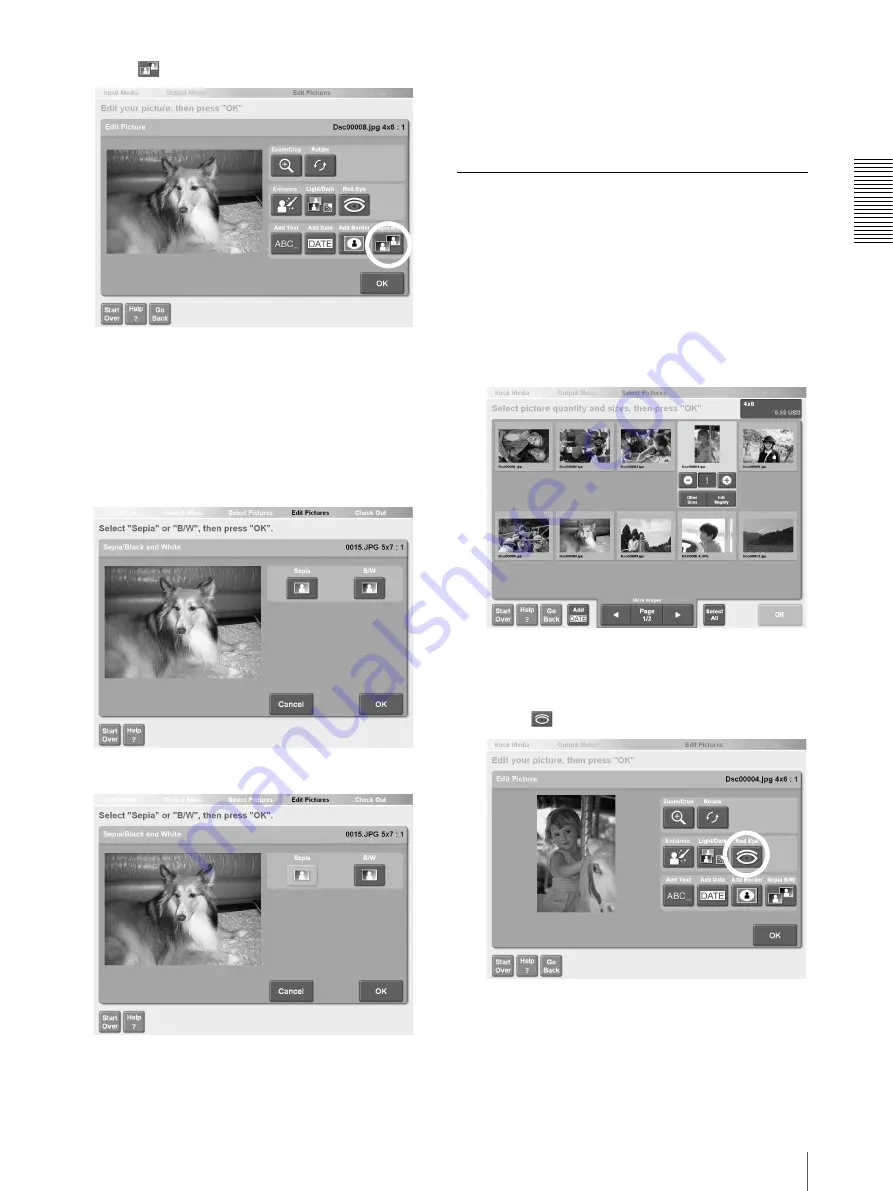
Touch
The screen for selecting sepia or black and white
appears.
4
Select sepia or black and white.
• [Sepia]. Converts the picture to sepia tone.
• [Black and White]. Converts the picture to black
and white.
To cancel the selection, touch the [Cancel] button.
5
When you are finished, touch the [OK] button.
The display returns to the screen at step 3.
6
Touch the [OK] button.
The display returns to the screen at step 1. You can
continue editing other pictures or return to the
output operation.
Removing Red Eye
You can reduce red eye in pictures.
1
To select a picture for red eye correction, touch the
picture in the screen used to specify the number of
copies.
For details, see “Selecting the Pictures and
Specifying the Number of Copies to Print”
(page 6), step 2, or “Specifying the Number of
Copies to Print” (page 11), step 1.
2
Touch the [Edit/Magnify] button.
The picture editing screen appears.
3
Touch
Red eye is automatically corrected. The red eye
correction area (green frame) appears at the center
of the picture.


