A
d
mini
s
tra
ting
t
he
Came
ra
Setting the Camera Image — Camera Menu
38
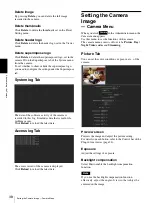
Delete image
By pressing
Delete
, you can delete the full image
recorded in the camera.
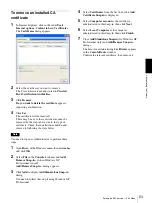
Delete thumbnails
Click
Delete
to delete the thumbnails set in the Preset
Setting menu.
Delete header logo
Click
Delete
to delete the header logo set in the Viewer
menu.
Delete superimpose logo
Click
Delete
to delete the superimposed logo, set in the
camera ID on the Superimpose tab of the System menu,
from the camera.
To set whether to show or hide the superimpose logo,
you need to configure the setting under the Superimpose
tab.
System log Tab
The data of the software activity of the camera is
recorded in this log. It includes data that is useful if a
problem occurs.
Click
Reload
to reload the latest data.
Access log Tab
The access record of the camera is displayed.
Click
Reload
to reload the latest data.
Setting the Camera
Image
— Camera Menu
When you click
in the Administrator menu, the
Camera menu appears.
Use this menu to set the functions of the camera.
The camera menu consists of four tabs:
Picture
,
Day/
Night
,
Video codec
and
Streaming
.
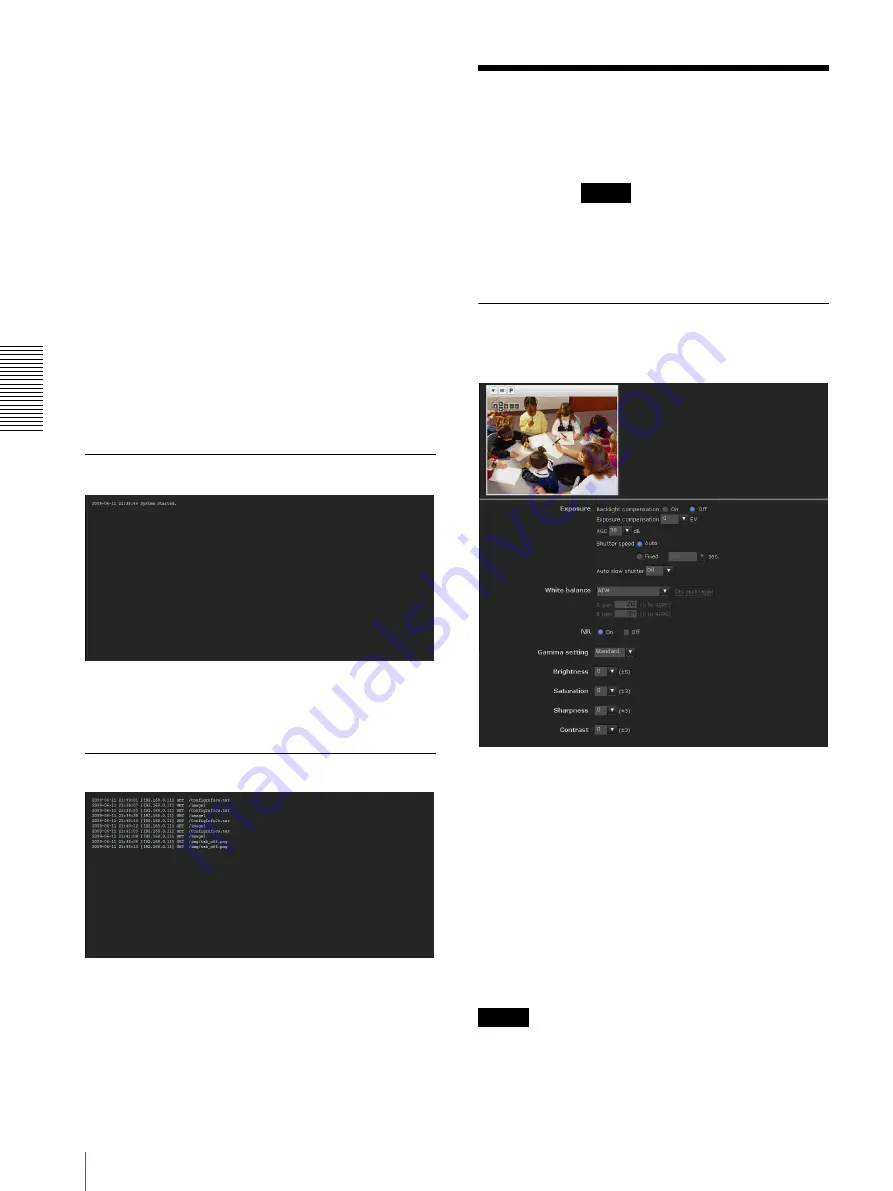
Picture Tab
You can set the color conditions, exposure, etc., of the
camera.
Preview screen
Preview the image and adjust the picture setting.
For details on each button, refer to the Control bar of the
Plug-in free viewer (page 24).
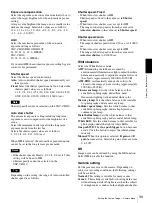
Exposure
Adjust the settings of exposure.
Backlight compensation
Select
On
to enable the backlight compensation
function.
Note
If you use the backlight compensation function
effectively, adjust the angle of view so that subject be
centered in the image.
Camera


