1-27
DFS-700/700P
Chapter 3 Basic Operation
3-26
Chapter 3 Basic Operation
Modifying the Boundary — Border, Soft Edge,
Beveled Edge, and Crop
You can apply a border to the boundary between the foreground image and
background image, or mask unwanted parts of the image.
There are four effects for modifying the boundary, as follows. You can use
all four simultaneously.
Border: apply a border to the image boundary.
Soft edge: blur the image boundary.
Beveled edge: apply a bevel to the image boundary.
Crop: adjust the image boundary position, to eliminate unwanted parts.
(For picture-in-picture and other effects in which a reduced image is
used, reduce noise on the periphery of the image.)
Note
Depending on the effect pattern, you may not be able to apply the above
effects. For details, see the section “Effect Pattern Variant Forms and
Decorations” (page A-22).
Procedure
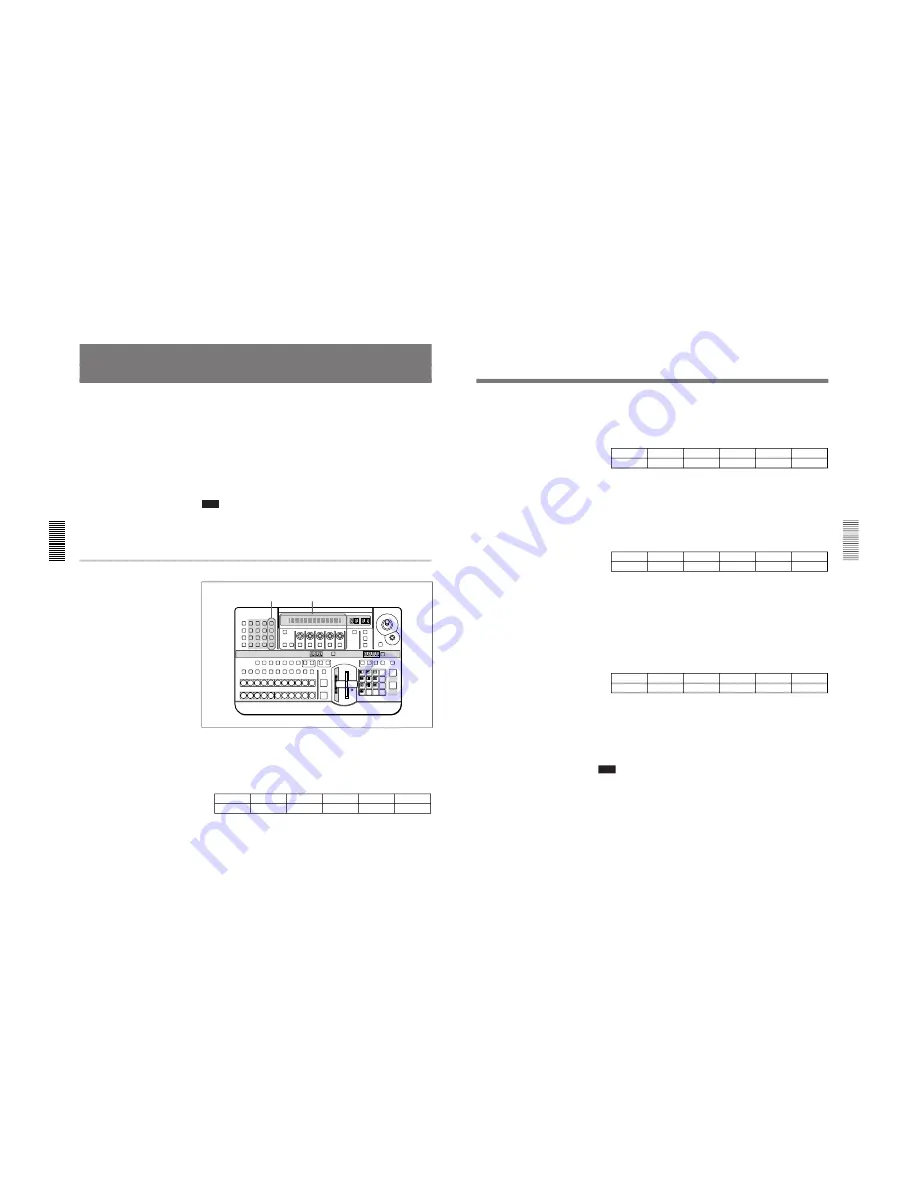
Controls used in modifying the boundary
To apply a border
Use the following procedure.
1
Press the BORDER button in the EDGE section, turning it on, and
display page 1 of the EDGE menu.
EDGE
1/2
Border
0-100
Soft
0-100
BvlWid
–100-100
BVLTYP
01-20
BvlInt
0-100
PAGE
F1
F2
F3
F4
F5
2
Turn the F1(Border) knob, to set the width of the border.
EDGE section
LAST X
INS
RST
TITLE
1
2
EDITOR
LUM
LUM
LUM
DSK
EDGE
TRAIL
SHADOW
GPI
CRK
CRK
BORDER BEVELD
EDGE
SET UP
MASK
MASK
MASK
SOFT
SHIFT
CCR
LIGHTING
BORDER
MATTES
LOCATION
LEARN
EDIT
RECALL
HOLD
INPUT
INITIAL
PATTERN
ADJ
PAGE
F1
F2
F3
F4
F5
USER PGM
STATUS EDIT
SNAP SHOT
SET
PATTERN NUMBER
EFFECT
DSK
FTB
SET
TRANS RATE
7
8
9
4
5
6
1
2
3
0
DOWN
UP
ENTER
FADE
TO
BLACK
P IN P
DSK
DEL
N/R
REV
DSK PVW
DIRECT
RECALL
DIRECT
PATTERN
CCR
TITLE 1
SOURCE
TITLE 2
SOURCE
DSK
FILL
SUPER BG FRGD 2 MEMORY
FRAME
FREEZ
MIX
EFFECT
BACKGROUND
BLACK
MEMORY
INT
VIDEO
TITLE
1
2
3
4
5
6
7
8
CUT
AUTO
TRANS
AUXILIARY
BLACK
MEMORY
INT
VIDEO
1
2
3
4
5
6
7
8
FOREGROUND
BLACK
MEMORY
INT
VIDEO
1
2
3
4
5
6
7
8
PATTERN/KEY PAD
Effect control section
Chapter 3 Basic Operation
Chapter 3 Basic Operation
3-27
To blur the image boundary
Use the following procedure.
1
Press the SOFT button in the EDGE section, turning it on, and display
page 1 of the EDGE menu.
EDGE
1/2
Border
0-100
Soft
0-100
BvlWid
–100-100
BVLTYP
01-20
BvlInt
0-100
PAGE
F1
F2
F3
F4
F5
2
Turn the F2(Soft) knob, to set the degree of boundary blurring.
To apply a beveled edge to the image boundary
Use the following procedure.
1
Press the BEVELD EDGE button in the EDGE section, turning it on,
and display page 1 of the EDGE menu.
EDGE
1/2
Border
0-100
Soft
0-100
BvlWid
–100-100
BVLTYP
01-20
BvlInt
0-100
PAGE
F1
F2
F3
F4
F5
2
Turn knobs F3(BvlWid), F4(BVLTYP), and F5(BvlInt) to set the
width, type, and contrast of the beveled edge.
To remove unwanted portions of the image
Use the following procedure.
1
Press any one of the BORDER, SOFT, and BEVELD EDGE buttons,
turning it on, and display page 2 of the EDGE menu. (Press the PAGE
button to change the page.)
EDGE
2/2
CROP
AUTO
Left
–400-400
Right
–400-400
Top
–300-300
Bottom
–300-300
PAGE
F1
F2
F3
F4
F5
2
To adjust the image boundary manually, press the F1(CROP) button to
select “MANUAL”.
3
Turn the F2(Left), F3(Right), F4(Top), F5(Bottom) knobs, to adjust the
four sides of the image boundary.
Note
If in step
2
you set F1(CROP) to “AUTO”, the automatic adjustment for
the particular effect pattern is carried out. Selecting “OFF” disables the
cropping.
When effect parameters are already adjusted
When parameters of a border, soft edge, beveled edge, or crop effect are
already adjusted, simply pressing any one of the BORDER, SOFT, and
BEVELD EDGE buttons in the EDGE section to turn it on allows you to
apply the selected effects to the effect pattern.


