Page 42
Public Server on DMZ
Completing the Public Server Wizard
The Public Server Wizard guides you through a few simple
steps, automatically creating address objects and rules to allow
server access. To complete the public server wizard, perform
the following steps:
1.
Click the
Wizards
button in the upper right corner of the
SonicOS management interface to launch the wizard.
2.
Select
Public Server Wizard
and click
Next
to continue.
3.
Select
Web Server
as the server type and ensure that the
HTTP
and
HTTPS
services are selected.
Tip:
HTTPS is required for servers authenticating SSL or
other HTTPS-supported encryption methods. If your
server does not require encryption, you can de-select
the HTTPS service.
4.
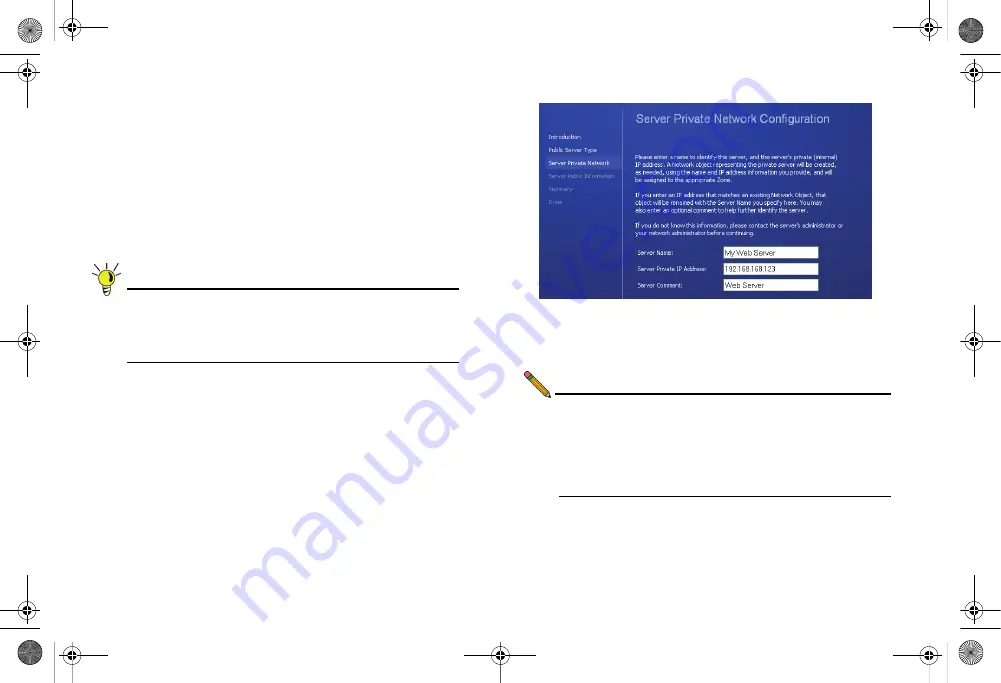
Enter a
Server Name
in the field that is easy to remember
such as “My Web Server”. This name is for your reference
and does not necessarily need to be a domain or address.
5.
Enter the
Private IP Address
of your server. This is the IP
address where the server will reside within the DMZ zone.
If you do not have a DMZ configured yet, select a private IP
address (such as 192.168.168.123) and write it down, you
will need to refer to this later.
6.
Enter a
Server Comment
(optional) and click
Next
.
7.
Enter the
Server Public IP Address
in the field (normally
your primary WAN IP address). This IP Address is used to
access your Web server from the Internet.
8.
Click
Next
and then click
Apply
to finish the wizard.
Note:
If your server is on the LAN zone, you have completed
the required steps for basic server access.
If you wish to continue with an advanced DMZ zone
configuration, turn to the Configuring a DMZ Zone
section, on page 43.
TZ_210_GSG.book Page 42 Thursday, November 13, 2008 7:41 PM


