I M P O R T A N T I N F O R M A T I O N
ii
l
When mounting the projector boom on a framed or hollow wall, attach the mounting
bracket to a stud to safely support the projector’s weight. If you use only drywall anchors,
the drywall can fail, resulting in possible personal injury, and damage to the product which
may not be covered by your warranty.
l
Do not leave cables on the floor where they can be a tripping hazard. If you must run a
cable over the floor, lay it in a flat, straight line and secure it to the floor with tape or a cable
management strip of a contrasting colour. Handle cables carefully and avoid excessive
bending.
C A U T I O N
l
Do not operate this unit immediately after moving it from a cold location to a warm
location. When the unit is exposed to such a change in temperature, moisture can
condense on the lens and crucial internal parts. Allow the system to stabilise to room
temperature before operation to prevent possible damage to the unit.
l
Do not place the unit in hot locations, such as near heating equipment. Doing so could
cause a malfunction and shorten the life of the projector.
l
Avoid setting up and using the SMART product in an area with excessive levels of dust,
humidity and smoke.
l
Do not place your SMART product in direct sunlight or near any appliance that generates a
strong magnetic field.
l
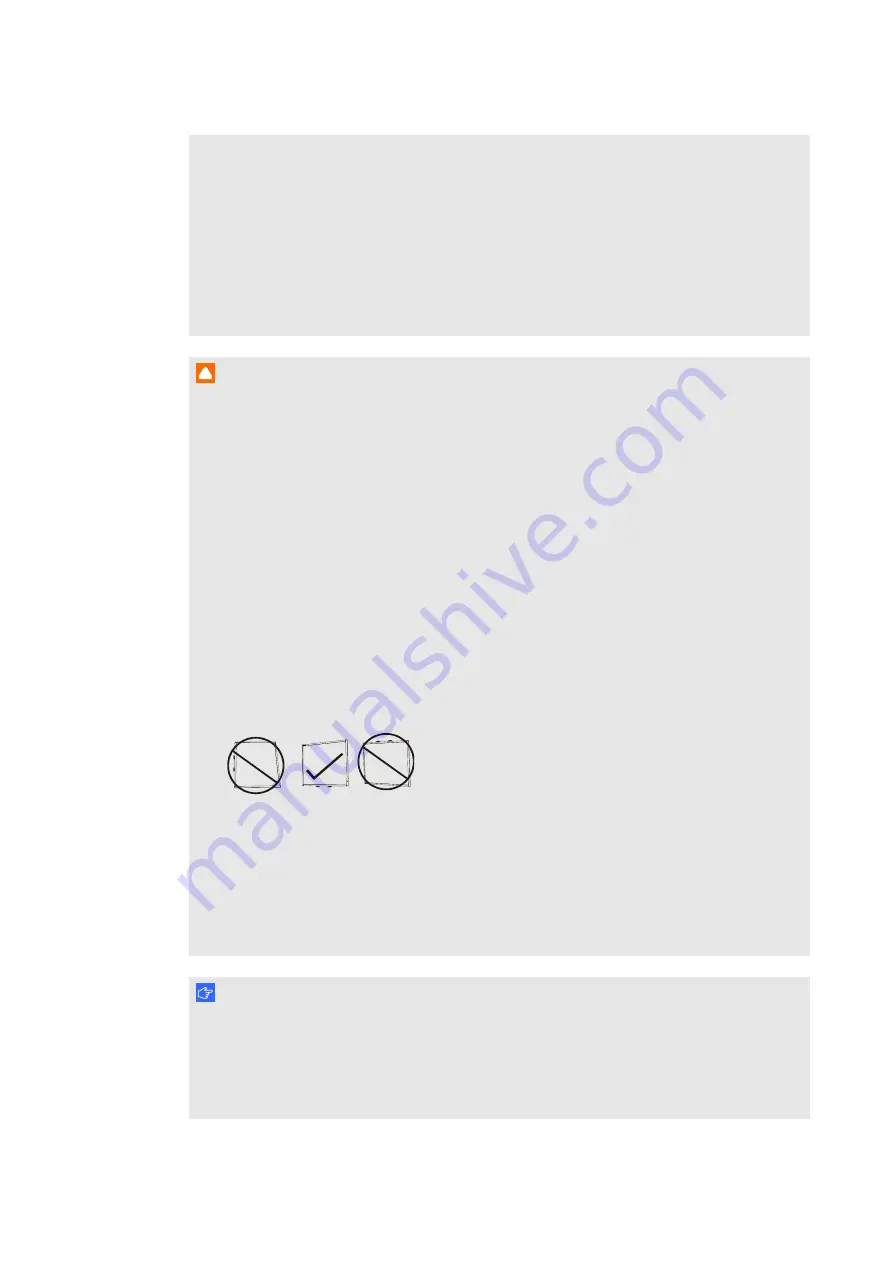
If you need to lean the interactive whiteboard against a wall before you mount it, make
sure that it remains in an upright position, resting on the pen tray brackets, which can
sustain the weight of the interactive whiteboard.
Do not rest the interactive whiteboard on its side or on the top of the frame.
l
You must connect the USB cable that came with your SMART Board interactive
whiteboard to a computer that has a USB compliant interface and that bears the USB
logo. In addition, the USB source computer must be compliant with CSA/UL/EN 60950
and bear the CE mark and CSA and/or UL Mark(s) for CSA/UL 60950. This is for operating
safety and to avoid damage to the SMART Board interactive whiteboard.
I M P O R T A N T
l
The SMART Board 680i6 and 685i6 interactive whiteboard system textless installation
guide is also available online (
).
l
Make sure an electrical socket is near your SMART product and remains easily
accessible during use.
Summary of Contents for Board 600i6
Page 1: ...SMART Board 600i6 Interactive whiteboard system Configuration and user s guide...
Page 2: ......
Page 13: ......
Page 19: ......
Page 39: ......
Page 47: ......
Page 55: ......
Page 105: ......
Page 109: ......
Page 111: ......
Page 115: ......
Page 116: ......
Page 117: ...SMART Technologies smarttech com support smarttech com contactsupport...


