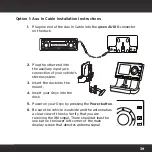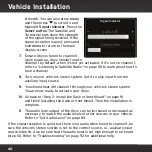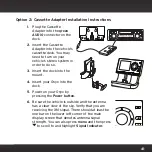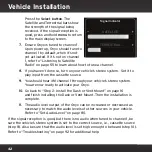
33
•
SUV:
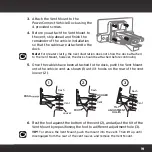
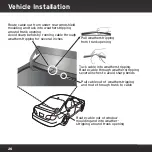
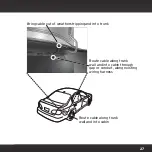
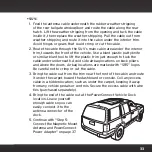
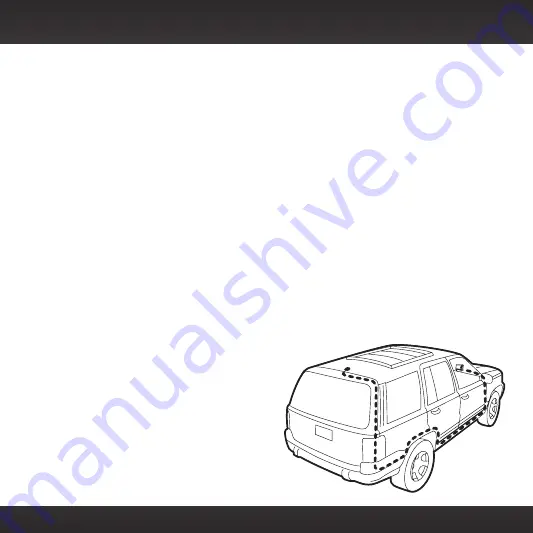
1. Feed the antenna cable underneath the rubber weather stripping
of the rear tailgate window/door and route the cable along the rear
hatch. Lift the weather stripping from the opening and tuck the cable
inside it, then replace the weather stripping. Pull the cable out from
weather stripping and route it into the cabin under the interior trim.
Avoid hinges or gears that could crimp or cut the cable.
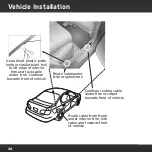
2. Route the cable through the SUV’s main cabin area under the interior
trim, towards the front of the vehicle. Use a blunt plastic putty knife
or similar blunt tool to lift the plastic trim just enough to tuck the
cable under underneath. Avoid side airbag locations on back pillars
and above the doors. Airbag locations are marked with “SRS” logos.
Be careful not to crimp or cut the cable.
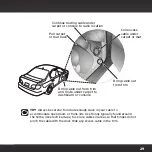
3. Bring the cable out from the trim near the front of the cabin and route
it under the carpet toward the dashboard or console. Coil any excess
cable in a hidden location, such as under the carpet, keeping it away
from any vehicle pedals or controls. Secure the excess cable with wire
ties (purchased separately).
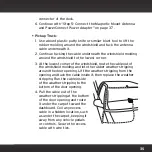
4. Bring the end of the cable out at the
Power
Connect Vehicle Dock
location. Leave yourself
enough cable so you can
easily connect it to the
antenna connector of the
dock.
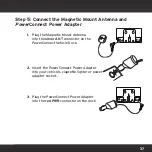
5. Continue with “Step 5:
Connect the Magnetic Mount
Antenna and
Power
Connect
Power Adapter” on page 37.
Summary of Contents for Onyx
Page 1: ...Onyx Radio Vehicle Kit User Guide ...
Page 2: ......
Page 4: ...4 ...
Page 5: ...5 Introduction ...
Page 13: ...13 Vehicle Installation ...
Page 48: ...48 ...
Page 49: ...49 Activation ...
Page 51: ...51 Using Your Onyx ...
Page 62: ...62 ...
Page 63: ...63 Special Features ...
Page 71: ...71 Configuring Your Onyx ...
Page 90: ...90 ...
Page 91: ...91 Troubleshooting ...
Page 96: ...96 ...
Page 97: ...97 Product Specifications ...
Page 103: ......

