57
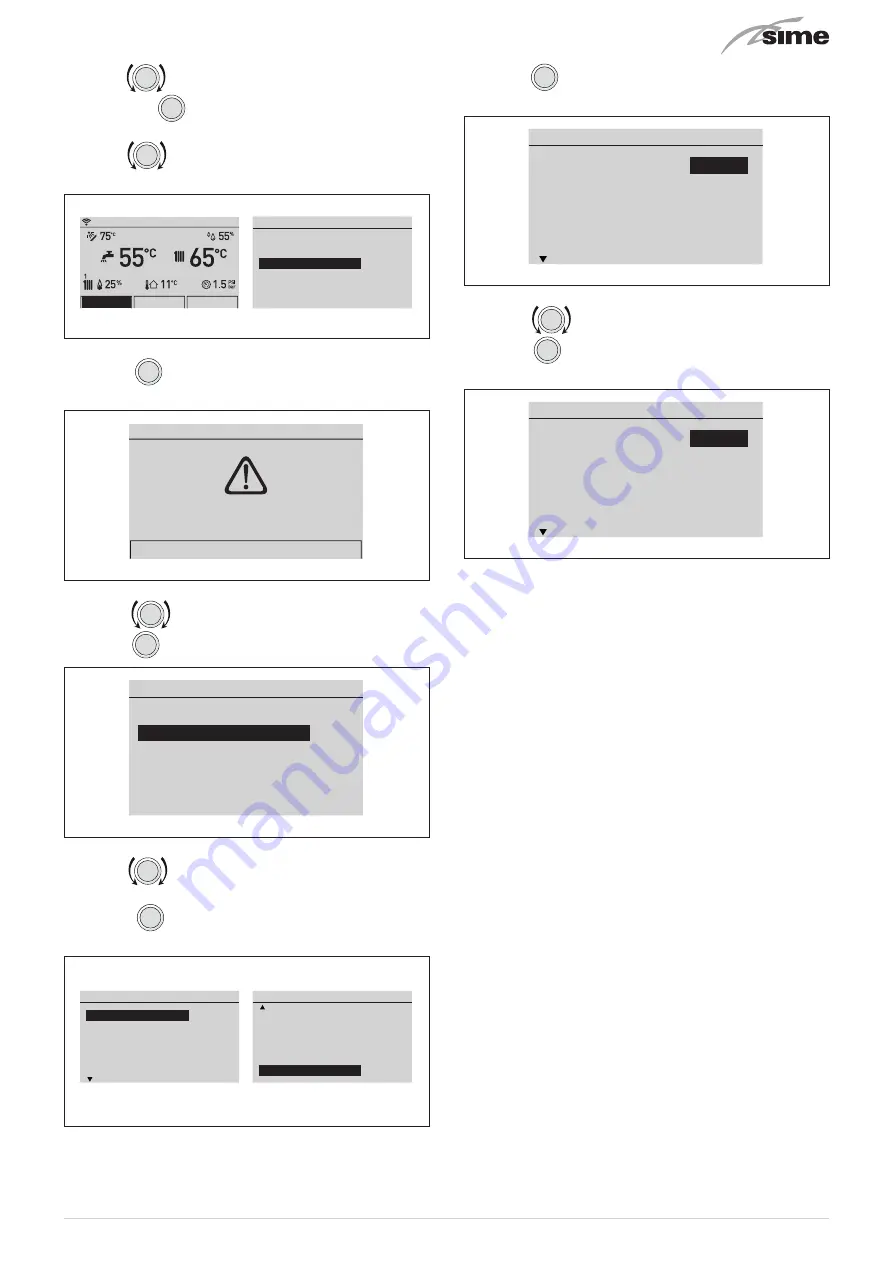
– turn the
encoder to select the
“Menu”
(Menu) function
and press the
click
encoder to enter the
“Menu”
(Menu) se-
lection screen
– turn the
encoder to select the
“TECHNICAL”
(TECHNI-
CAL) menu
Menu
GENERAL SETTINGS
[...]
INFORMATION
[...]
TECHNICAL
[...]
Menu
Mode
Zones
Mon 01.01.2018
10:30
Fig. 97
– press the
click
encoder to access the modifiable area. The
following screen is displayed:
TECHNICAL
Confirm operation
Confirm
Fig. 98
– turn the
encoder to select
“Confirm”
(Confirm) and
press the
click
encoder to open the submenus
TECHNICAL
Information
[...]
Plant solution
[...]
Technician param.
[...]
Chimney sweeper
[...]
IoT
[...]
Fig. 99
– turn the
encoder to select the desired submenu, e.g.
“Plant solution”
(Plant solution)
– press the
click
encoder to confirm the selected submenu
and enter the modifiable data area
Plant solution
R5S
0
S1
0
S2
0
PT1000
0
ID1
0
ID2
0
Plant solution
Solution type
1
R1
2
R2
3
R3
4
R4S
5
R5S
6
Fig. 100
– press the
click
encoder to confirm the highlighted “Row” and
access the modifiable area
Plant solution
Solution type
1
R1
2
R2
3
R3
4
R4S
5
R5S
6
Fig. 101
– press the
encoder to set the new value
– press the
click
encoder to confirm the change and move to
the another row
Plant solution
Solution type
3
R1
2
R2
3
R3
4
R4S
5
R5S
6
Fig. 102
– after displaying/making changes, press the
“ESC”
button to
complete the modification and return to the main screens.
Summary of Contents for 8115101
Page 6: ...6 ...


