REKORD AY
Operating manual - English
18
Copyright Silca 2019
Fig. 22
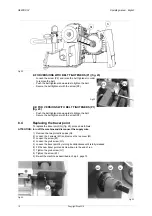
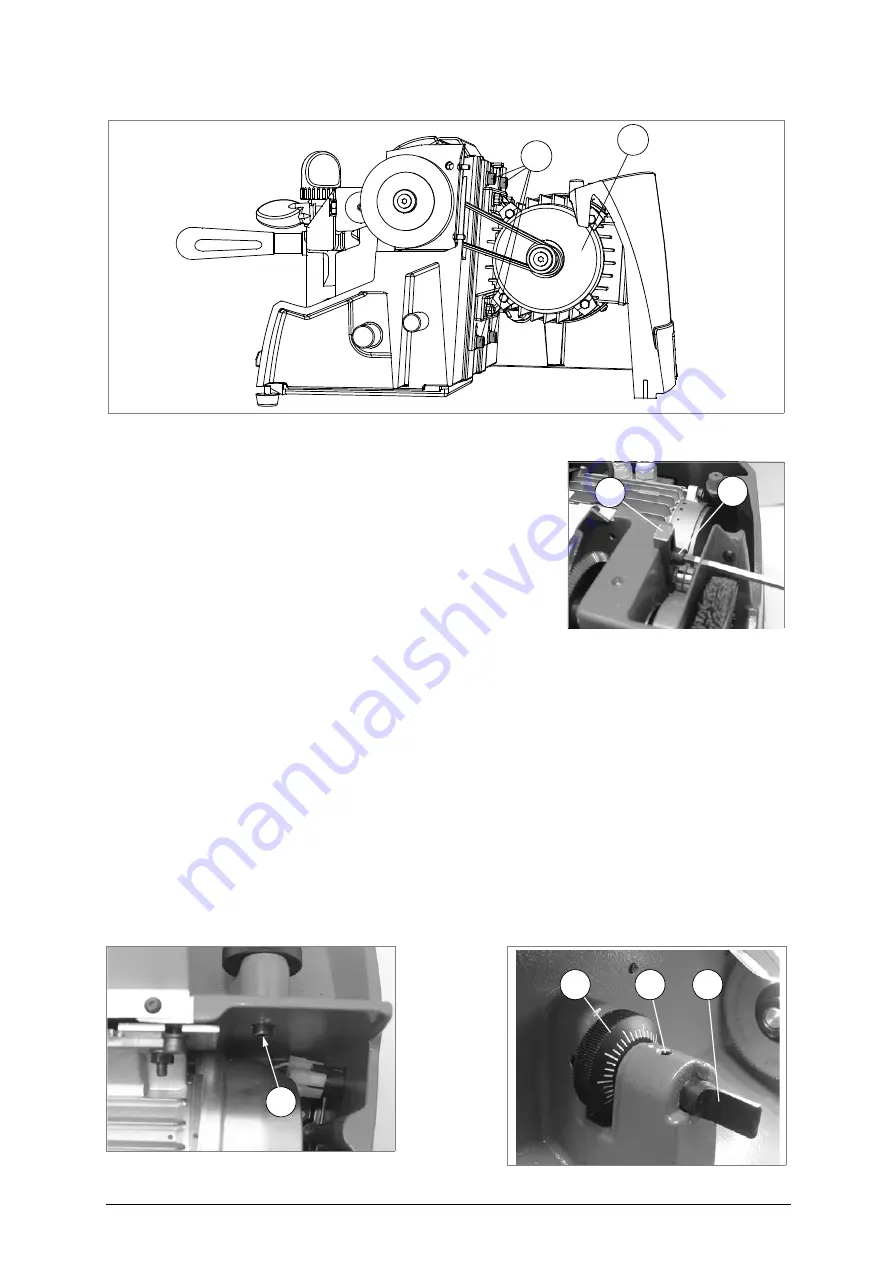
FOR VERSIONS WITH BELT TIGHTENERS (P1) (fig. 23)
-
Loosen the screw (P2) and raise the belt tightener in order
to remove the belt.
-
Push the belt tightener downwards to tighten the belt.
-
Secure the belt tightener with the screw (P2).
Fig. 23
FOR VERSIONS WITH BELT TIGHTENERS (P1)
(fig. 23)
-
Push the belt tightener downwards to tighten the belt.
-
Secure the belt tightener with the screw (P2).
8.4
Replacing the tracer point
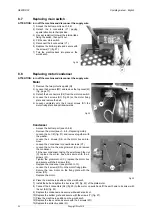
To replace the tracer point (G) (fig. 25), proceed as follows:
ATTENTION: turn off the machine and disconnect the supply wire.
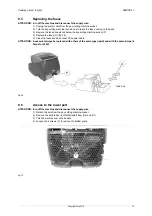
1) Remove the two protective pads (Q).
2) Loosen the 3 screws (M1) and remove the top cover (M).
3) Loosen the screw (K1).
4) Loosen the grub screw (G1).
5) Loosen the tracer point by turning it anticlockwise until is fully released.
6) Fit the new tracer point and screw down to the end of run.
7) Tighten the grub screw (G1).
8) Tighten the screw (K1).
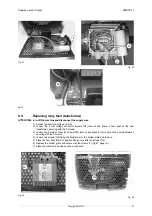
9) Re-set the machine as described in chap. 6, page 13.
Fig. 24
Fig. 25
S
S1
P2
P1
K1
G2
G1
G

