Shining 3D Transcan-C_User Manual_V1.4.2
30
Hide cutting plane
After clicking this item, the cut surface on the interface is hidden.
Right camera
After clicking this item, the corresponding camera viewport is
displayed in the upper left corner of the interface.
5.3.4.
Cutting Plane
Cutting plane is very useful when a base need to be removed during scanning. You can
orient the plane around X,Y, Z axes. The plane can be rotated, zoom, move.
After setting cut plane, there will be no more data scanned below the cut plane during the
scanning process, preventing irrelevant data getting scanned.
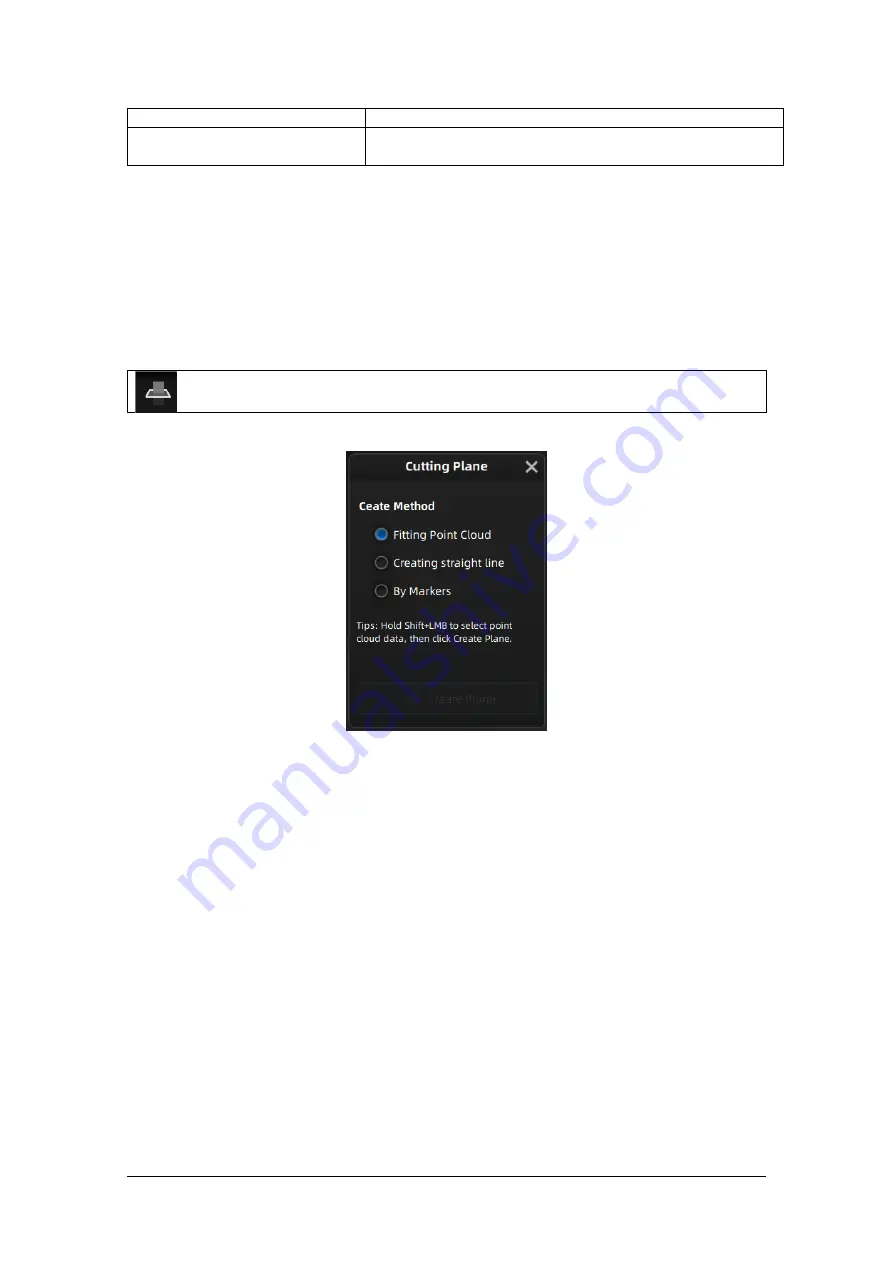
Create Cut Plane
Interface of creating cut plane
Fitting Point cloud
: Press Shift + left-click to select data, then click the button “Generate
plane”. The cut plane will be created by point cloud fitting. The direction of the plane will be
calculated by the software according to the direction of point cloud.
Creating straight line
: Press Shift + left-click to draw a line, and generate the cut plane
according to the line.
By Marker
: Press Shift + left-click to select markers. 3 markers or more are required to
generate the cut plane.
Cut Plane setting
Rotation axis
: Cut plane can be rotated around the axis by operating the active bar, editing
the text box or placing the cursor on the edge of the cut plane and dragging.
Translation increment
: Translate the cut plane by operating the active bar, editing the text
box or placing the cursor in the center of the cut plane and dragging. After translation, the
increment value will be reset to 0.
Delete
: click this option, data in the reverse direction will be shown in red. Apply this, and
the red data will be deleted.
Reverse
: Reverse the normal direction of the cut plane.
Cut Plane
Click this button to enter the cut plane mode.


