31
notice
notice
notice
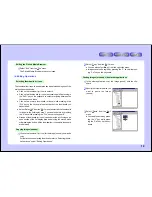
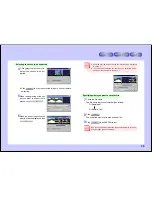
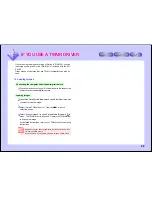
Specifying the folder in which the HTML document is to be saved
If you specify a folder containing the same file name, the old file is
overwritten.
To avoid this, directly input a new folder name.
Example: C:\sample\image
10
Specify the name of the folder in which the HTML document is to
be saved.
There are two ways to do this:
●
Inputting the name of the folder directly in the dialog box.
Input the folder’s path from the keyboard.
●
Clicking the
button to select the folder name.
When the
button is clicked, a window for selecting the
folder opens. Click on the folder name in this window, then
click the
button.
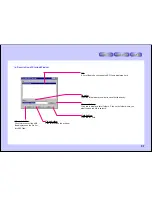
Specifying the page title
HTML documents can be given page titles.
HTML documents can be created even without inputting a page title.
11
Input the title from the keyboard.
The Enter key cannot be used here.
Choosing the page title color
12
Click
, click on a color from the font color selection
window to select that color, then click
.
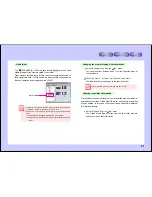
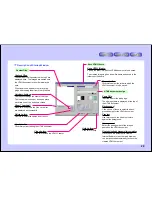
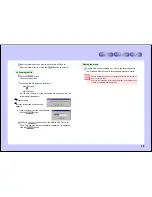
Choosing the background design
13
Click on one of the backgrounds
to select it.
●
The text may be hard to see with some combinations of font colors
and backgrounds. Display a preview to check.
●
When the plain pattern (at the far left) is selected, the color can be
specified with the
button.
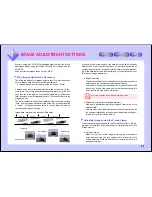
Selecting the Image Arrangement
14
Click on one of the Arrangement
to select it.
Creating the HTML document
15
Once all the settings are made, click on the
button.
HTML creation starts.
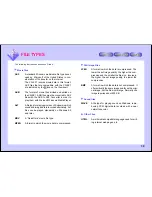
BMP files are converted into JPEG files when the HTML document is
created.
This is done because some web browsers cannot display BMP files.
Viewing the created HTML file
16
To view the HTML file, check “View in default web browser after
completion” beforehand.
Once the file is created, the web browser is launched so you can
view the created HTML document.

