26
ATTACHING IMAGE FILES TO E-MAIL
MESSAGES
3
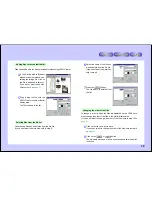
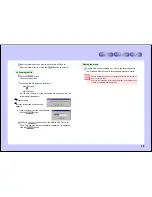
Select the Image Quality, then click to set to .
When sending the movie by e-mail, select a setting at which the
File Condition indicator is
or
.
4
Click the
button to check the movie after conversion.
The Windows Media Player is launched and the file is played.
Close the Windows Media Player when the Preview is finished.
5
Click the
button.
6
Specify where you want to save the file and the file name.
7
Click the
button.
Conversion starts.
8
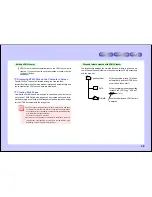
Once conversion is completed, use your e-mail application to at-
tach the file.
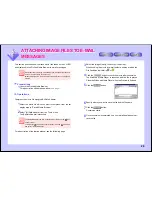
This section describes how to attach movie files taken on the VN-EZ1
and displayed in the PixLab Media Browser to e-mail messages.
Movie files tend to be large, and sending them as such often results in
errors or inconvenience to the receiver.
“Bit Rate Adapter” is a tool for compressing movie files to an appropri-
ate size.
Preparations
1
Launch the PixLab Media Browser.
For a description of the startup window,
see page 7
.
Operations
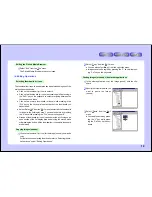
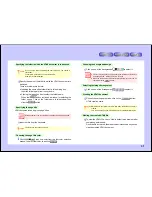
Compress the movie file using the Bit Rate Adapter.
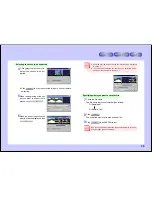
1
Select the movie file which you want to compress, from the list
display area in “PixLab Media Browser”.
2
Select “Bit Rate Adapter” from the “Tools” menu.
The Bit Rate Adapter is launched.
The Bit Rate Adapter can also be launched by clicking on the
icon
on the tool bar.
To display the
icon, select “Tool Selection” from the “Option” menu
and select “Bit Rate Adapter”.
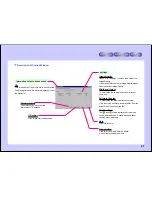
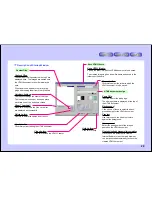
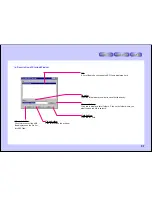
For a description of the startup window, see the following page.
ATTACHING IMAGE FILES TO E-MAIL
MESSAGES


