29
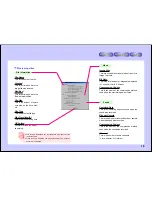
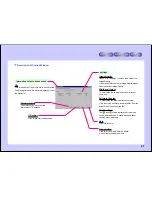
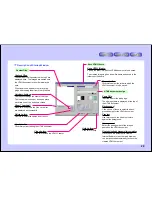
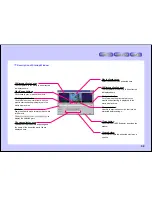
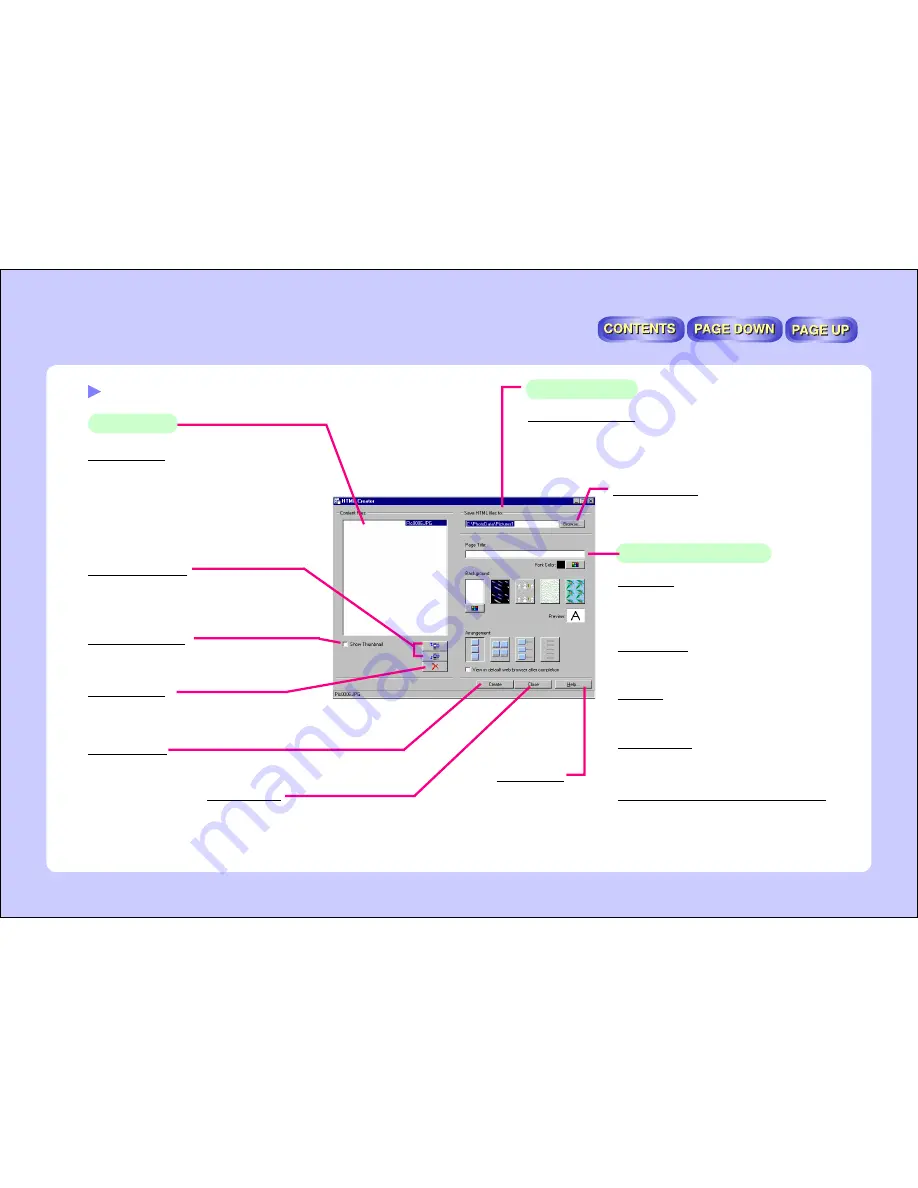
Description of Startup Window
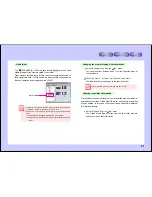
Content Files
Save HTML files to
Content Files
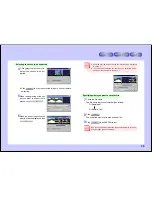
The names of the files selected in step 4 are
displayed here. The images are pasted onto
the HTML document in the order displayed
here.
Files can also be added to the list by drag-
ging and dropping them from other windows.
Show Thumbnail
When this is checked, the files on the list
are displayed as thumbnails.
Delete button
Use this to delete file names from the list.
Create button
Click this to start creating the HTML document.
Close button
Click this to close the HTML Creator.
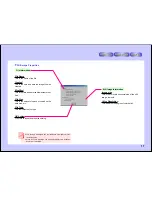
Save HTML files to
Specify the folder in which the HTML document is to be saved.
The created image is given a new file name and saved in the
folder specified here.
Browse button
Click this to select the folder in which the
HTML document is to be saved.
Up/down buttons
Use these to change the order of the files.
The file name moves up or down one place
each time one of the buttons is clicked.
Help button
Click this for help.
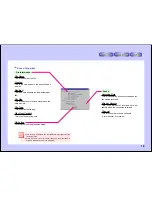
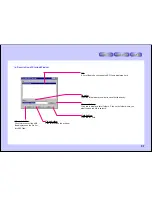
Page Title
Input the title for the web page.
The title input here is displayed at the top of
the HTML document.
Background
Click on one of these to select the back-
ground design for the HTML document.
Preview
Use this to check the title’s font colors
against the background.
Arrangement
Select the arrangement of the images
pasted on the HTML document.
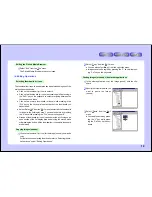
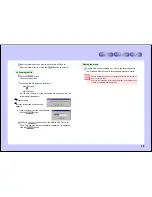
View in default web browser after completion
Once the HTML document is created,
Internet Explorer or another web browser
can be launched automatically to check the
created HTML document.
HTML document design


